I have to let you in on a little secret: I have made these no-bake peanut butter cups more times than I can count, and each time, they disappear faster than I can say “delicious”! Trust me, once you whip up this creamy and chocolatey delight, you’ll be the star of every gathering. They are the perfect treat for any occasion and a total game-changer for your dessert menu. So, let’s dive into why these Peanut Butter Cups No-Bake are going to become your new favorite indulgence!
Why You’ll Love This Peanut Butter Cups No-Bake
- No Baking Required: Say goodbye to preheating the oven! These cups come together easily without any baking fuss.
- Super Simple Ingredients: You’ll only need a handful of pantry staples, making it a budget-friendly option.
- Versatile Treat: You can customize these cups with different flavors and toppings, making them perfect for any palate!
- Make Ahead Convenience: Prepare them in advance and store them in the fridge for a ready-to-serve dessert!
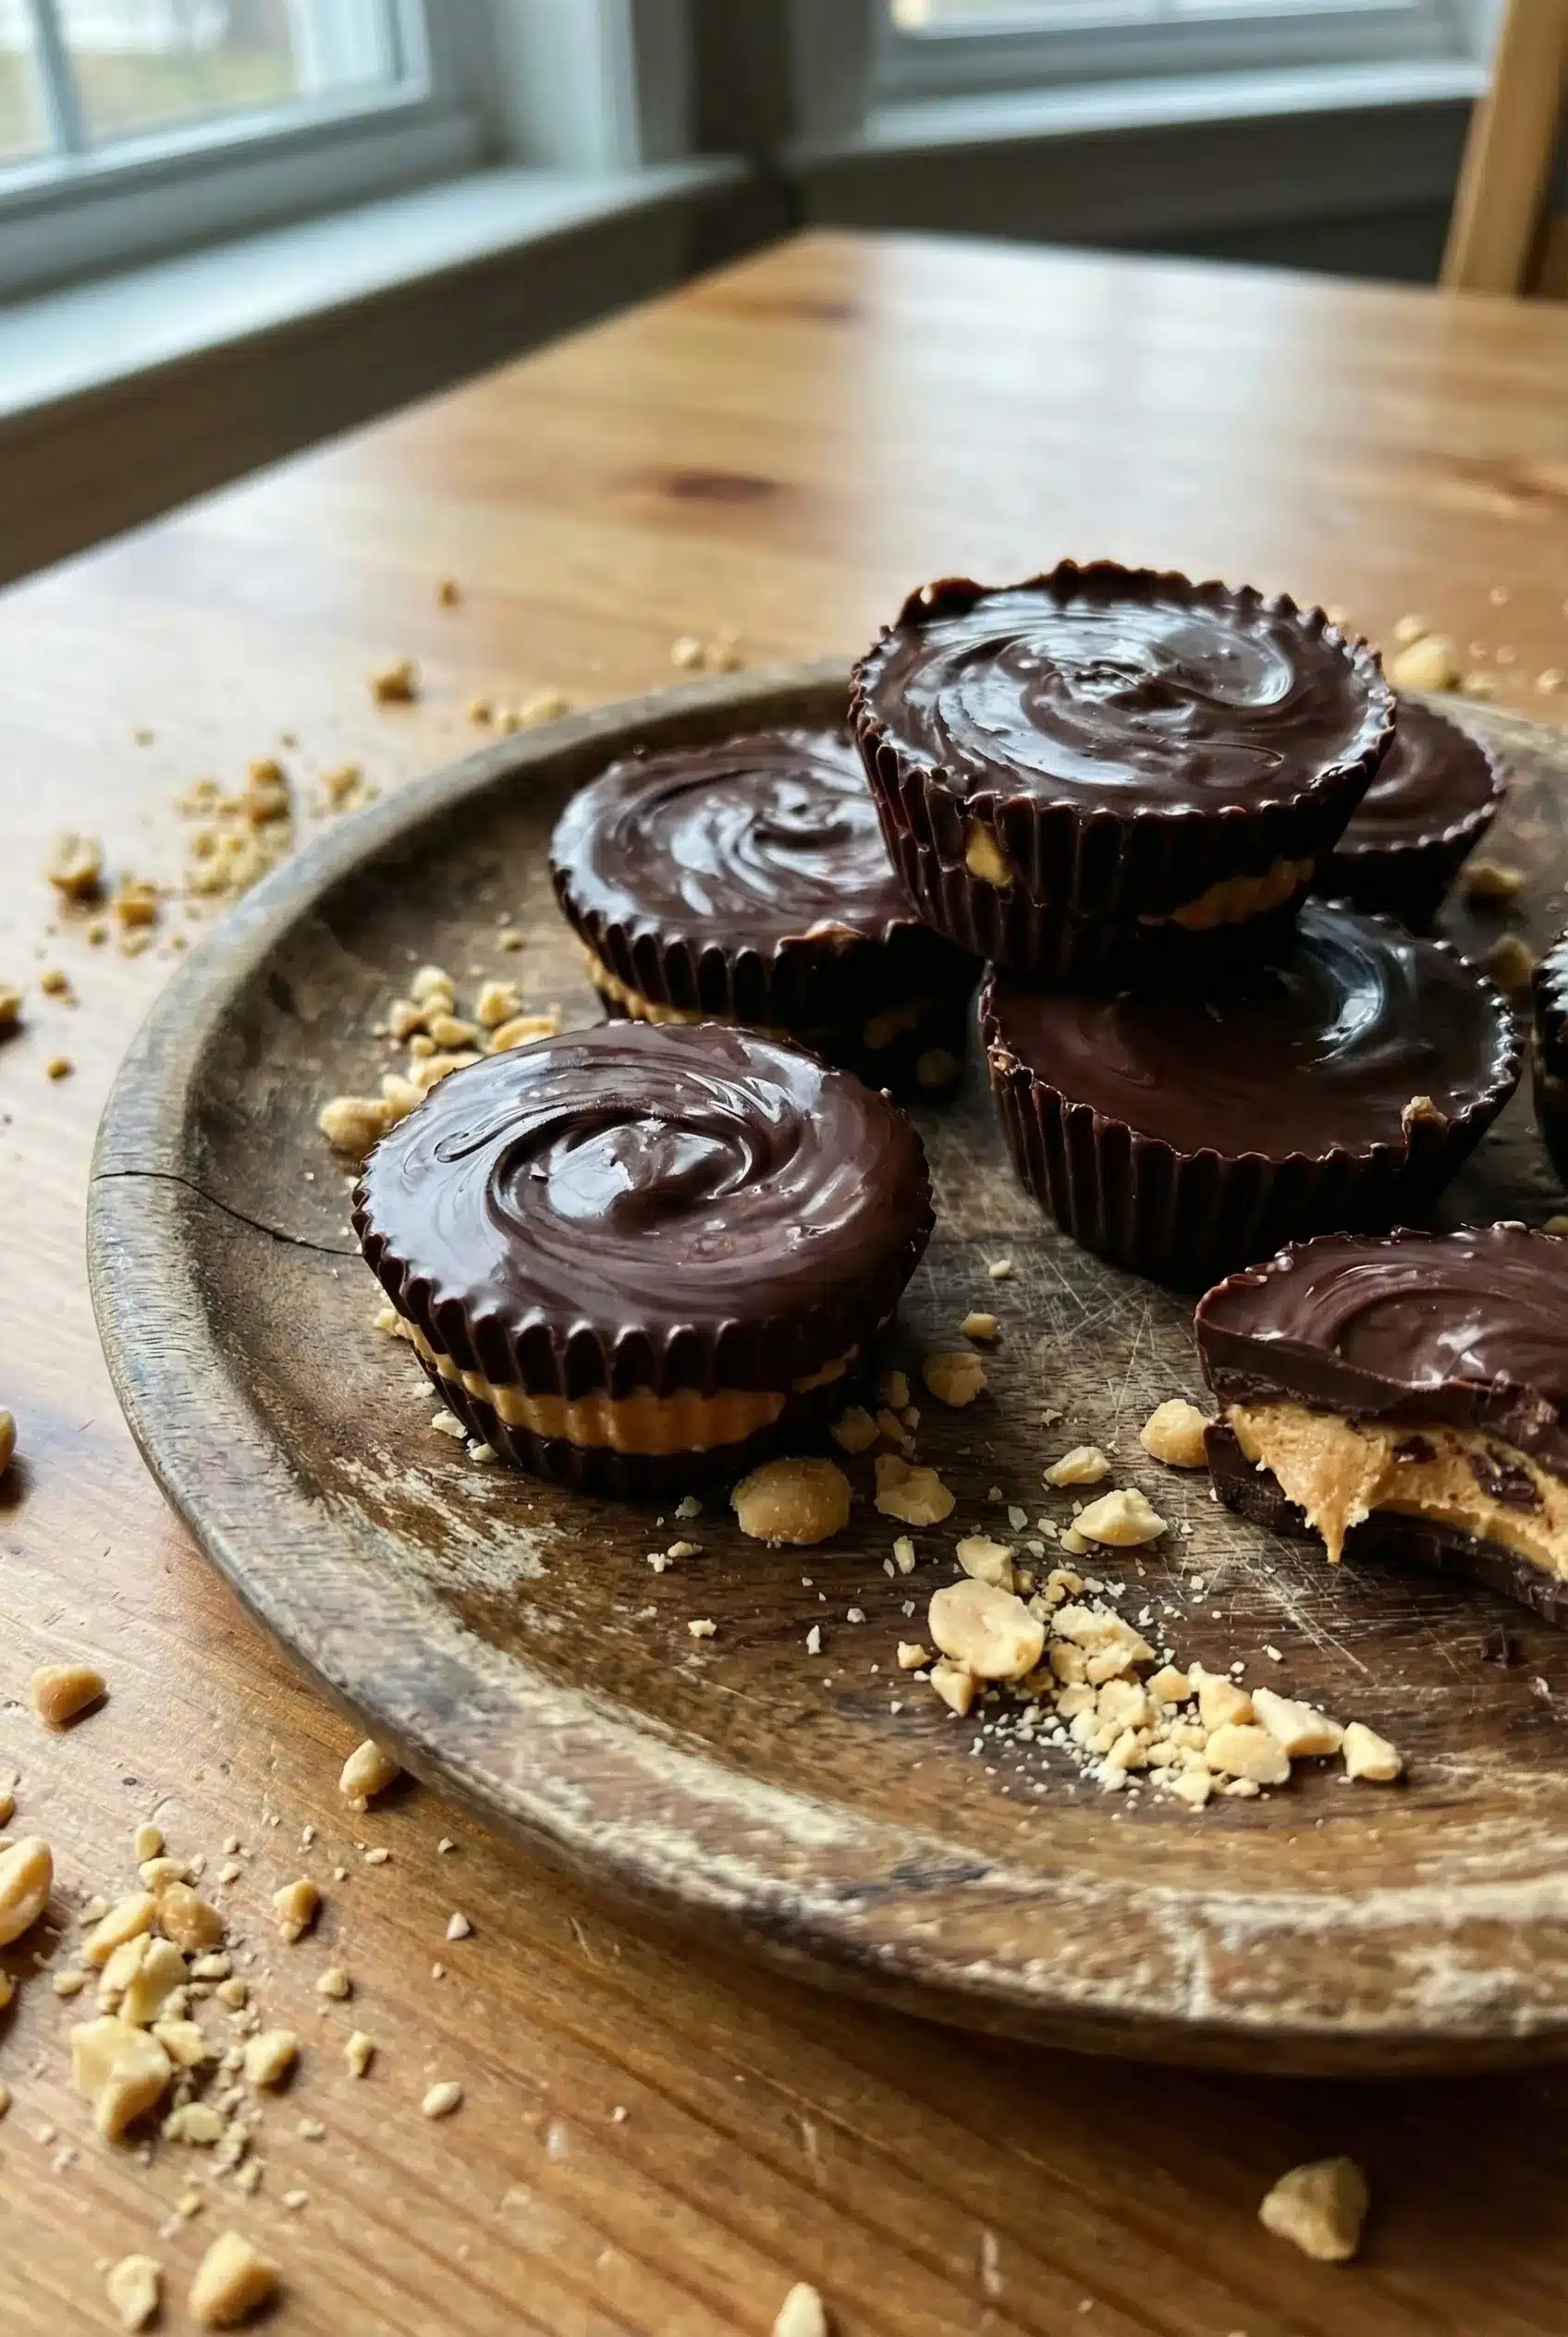
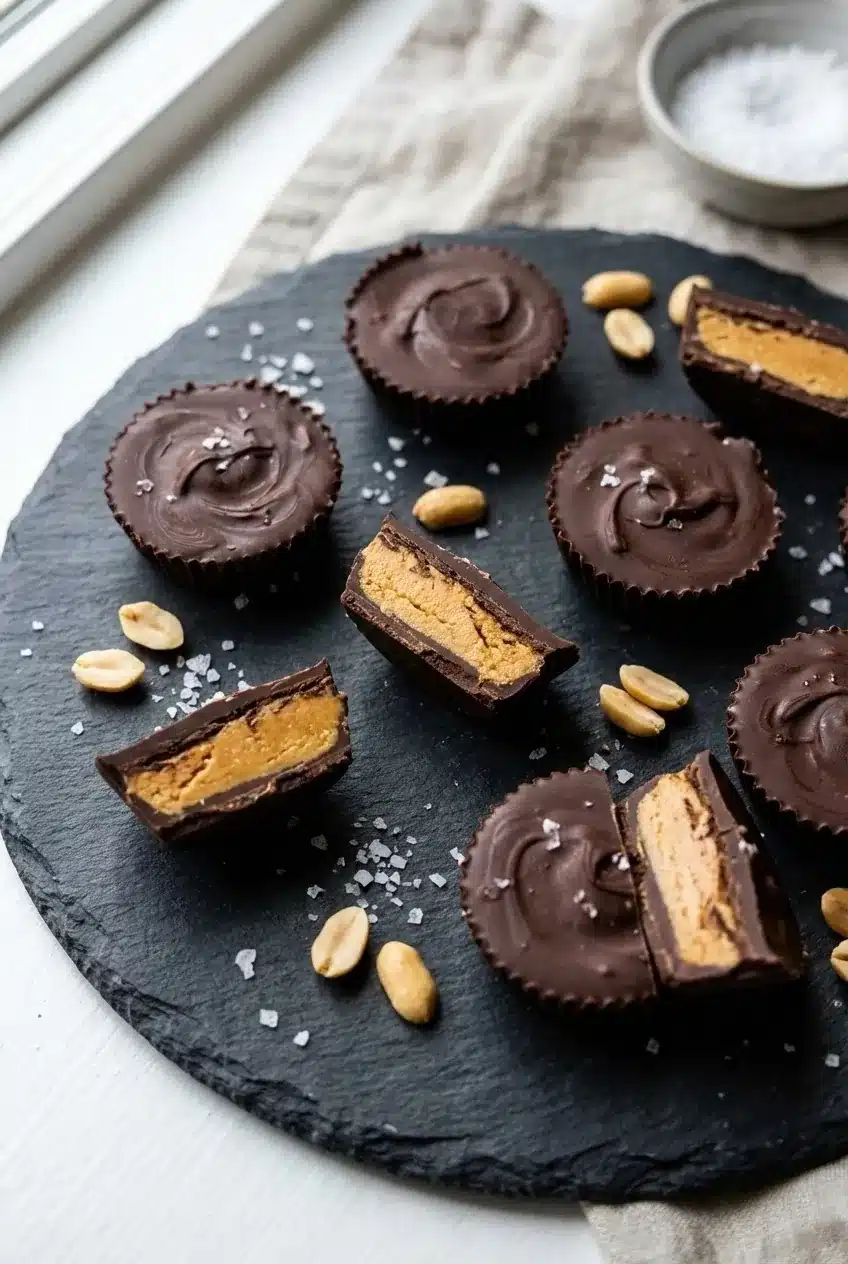
- Visual Appeal: With their rich chocolate exterior and creamy peanut butter filling, these cups are as beautiful as they are delicious!
The Secret to Perfect Peanut Butter Cups No-Bake
The secret to achieving the perfect Peanut Butter Cups No-Bake lies in the balance of creamy peanut butter and silky chocolate. Trust me, using high-quality chocolate makes all the difference! I recommend melting chocolate chips over a double boiler or in the microwave. Be sure to stop and stir frequently to avoid scorching. This technique ensures a smooth, luscious chocolate coating that will make your dessert pop!
A little tip from my kitchen: be patient while the cups chill in the fridge. The longer they sit, the firmer they’ll become, and the flavors will meld beautifully. You can do it; I believe in you!
Rave Reviews from Friends and Followers
“These no-bake peanut butter cups are the best dessert I’ve ever made! My family couldn’t get enough.” – Sarah M.
“I brought these to a potluck, and everyone was raving! They are so easy and oh-so-delicious!” – Jake R.
“As someone who never bakes, this recipe was a lifesaver. I can’t believe how good they are!” – Emma T.
Creative Variations to Try
- Chocolate Mint: Add a few drops of peppermint extract to the peanut butter mixture for a refreshing twist.
- Almond Joy: Mix in shredded coconut and chopped almonds for a tropical flair.
- White Chocolate Delight: Swap out regular chocolate for white chocolate for a sweeter treat.
- Nutty Crunch: Stir in some crushed pretzels or nuts into the peanut butter mixture for added texture.
- Dark Chocolate Indulgence: Use dark chocolate for a richer, more decadent flavor profile.
Bonus: Drizzle some caramel sauce on top for an extra layer of indulgence!
FAQs – All Your Questions Answered!
Can I use natural peanut butter? Yes! Just make sure it’s well-stirred and not too runny.
How should I store the peanut butter cups? Keep them in an airtight container in the refrigerator.
Can I make these vegan? Absolutely! Use dairy-free chocolate and swap the graham crackers for a vegan-friendly option.
What’s the shelf life of these cups? They’ll stay fresh in the fridge for about a week, but I doubt they’ll last that long!
What if I don’t have graham cracker crumbs? You can use crushed Oreos or any other cookies you love!
Storage/Serving Tips
- Store in an airtight container in the fridge for optimal freshness.
- For longer storage, you can freeze them; just ensure they are well-wrapped.
- Serve chilled for the best texture and flavor.
- Garnish with a sprinkle of sea salt or chopped nuts for a beautiful presentation.
Perfect Occasions for Peanut Butter Cups No-Bake
- Summer barbecues where no one wants to turn on the oven.
- Birthday parties that require a fun and easy dessert.
- Holiday gatherings for a festive treat.
- Movie nights with friends for a sweet indulgence.
- Picnics where you want to impress without the hassle.
- Any day you just want to treat yourself!
The Complete Recipe
Thanks for sticking with me! I can’t wait for you to try this delicious recipe. Here’s how to make your own Peanut Butter Cups No-Bake!
Peanut Butter Cups No-Bake
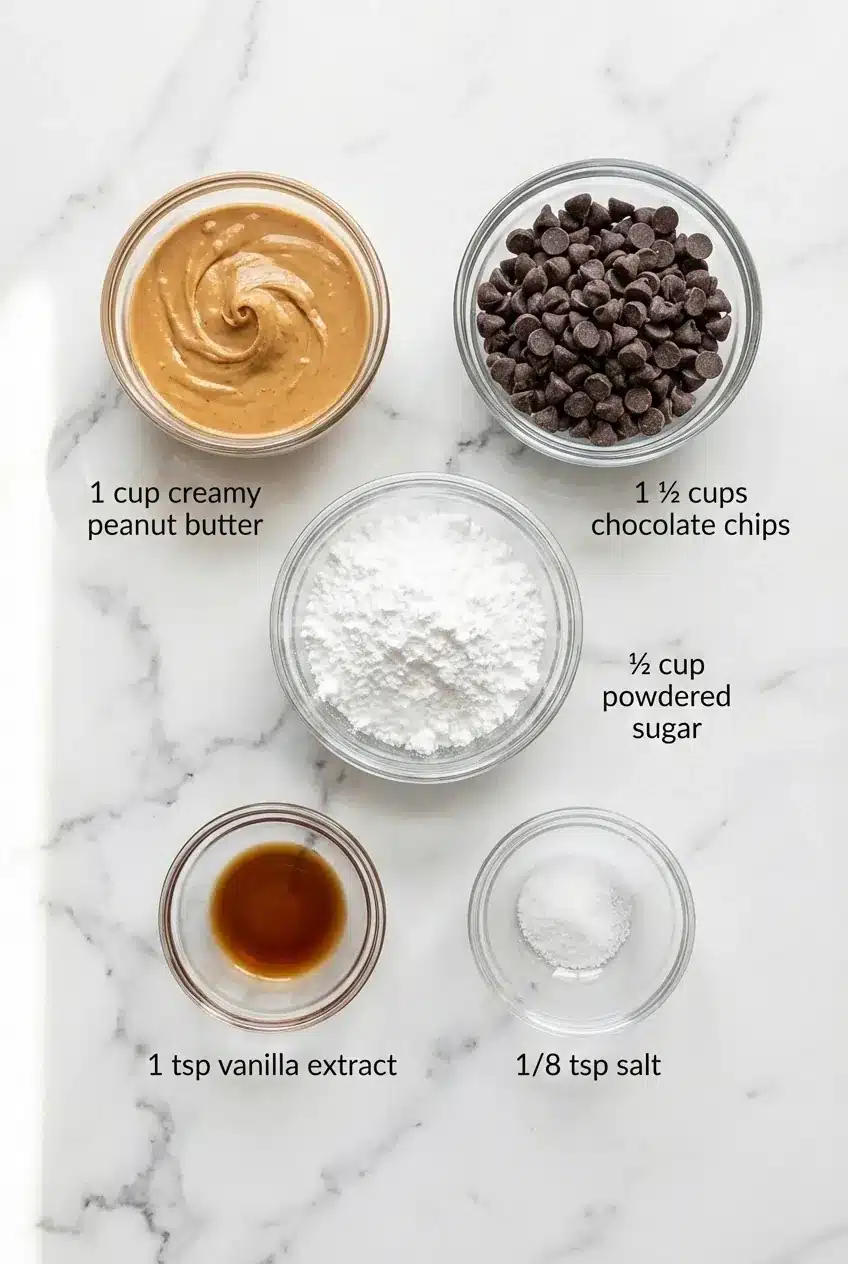
Ingredients
- 1 cup creamy peanut butter
- 1/2 cup graham cracker crumbs
- 1/4 cup coconut oil, melted
- 1 cup chocolate chips (milk or dark)
- 1/4 cup powdered sugar (optional, for sweetness)
Tip: If you like it sweeter, feel free to adjust the powdered sugar to your taste!
Extend ingredients section: You can also add a pinch of salt to enhance the flavors, or swap the graham cracker crumbs for cookie crumbs for a different texture. Each ingredient contributes to the rich, creamy filling and the perfectly smooth chocolate coating.
Step-by-Step Instructions
Step 1: Prepare Your Pan
Line a muffin tin with cupcake liners. This makes removing the cups so much easier later on, so don’t skip this part.
Step 2: Make the Peanut Butter Filling
In a mixing bowl, combine the peanut butter, melted coconut oil, and powdered sugar (if using). Stir until smooth and creamy. The texture should be thick but spreadable. If it’s too runny, add more graham cracker crumbs!
Step 3: Fill the Cups
Spoon a layer of the peanut butter mixture into each cupcake liner, filling them about halfway. Use a spoon to smooth the tops. This is where you can get creative with how much filling you want!
Step 4: Melt the Chocolate
In a microwave-safe bowl, melt the chocolate chips in 30-second intervals, stirring in between until smooth. Be careful not to overheat—burnt chocolate is a sad affair!
Step 5: Top with Chocolate
Pour the melted chocolate over the peanut butter layer, covering it completely. Use a spatula to smooth it out if needed. This chocolate layer is where the magic happens!
Step 6: Chill and Set
Place the muffin tin in the refrigerator for at least 1-2 hours, or until the chocolate is firm. Patience is key here, but trust me, it’s worth the wait!
Step 7: Enjoy!
Once set, carefully peel the liners away from the cups. Serve chilled and watch them disappear in seconds! Nutrition info: Approximately 150 calories per cup, depending on your ingredients.
Extend instructions: If you want to make them extra fancy, drizzle some melted chocolate on top or sprinkle with sea salt for that gourmet touch!
Final Thoughts
There you have it! These no-bake peanut butter cups are not just a dessert; they are a celebration of flavors that will leave everyone wanting more. So roll up your sleeves and give this recipe a try—you won’t be disappointed! Each bite is a creamy, chocolatey delight that makes life just a little sweeter. Trust me, once you make these, they will become a staple in your kitchen. Happy baking (well, no-baking)!
Peanut Butter Cups No-Bake
-
Total Time:
2 hr 15 mins -
Yield:
12 servings
Indulge in creamy no-bake peanut butter cups with a coconut twist, offering a perfect blend of rich flavors and smooth textures.
Ingredients
- • 1 cup creamy peanut butter
- • 1/2 cup graham cracker crumbs
- • 1/4 cup coconut oil, melted
- • 1 cup chocolate chips (milk or dark)
- • 1/4 cup powdered sugar (optional)
Instructions
- Prepare Your Pan: Line a muffin tin with cupcake liners.
- Make the Peanut Butter Filling: In a mixing bowl, combine the peanut butter, melted coconut oil, and powdered sugar (if using). Stir until smooth and creamy.
- Fill the Cups: Spoon a layer of the peanut butter mixture into each cupcake liner, filling them about halfway.
- Melt the Chocolate: In a microwave-safe bowl, melt the chocolate chips in 30-second intervals, stirring in between until smooth.
- Top with Chocolate: Pour the melted chocolate over the peanut butter layer, covering it completely.
- Chill and Set: Place the muffin tin in the refrigerator for at least 1-2 hours, or until the chocolate is firm.
- Enjoy: Once set, carefully peel the liners away from the cups. Serve chilled.
Notes
Storage: Store leftovers in an airtight container in the fridge for up to 3 days.
- Prep Time: 15 mins
- Cook Time: 0 mins
- Category: Dessert
- Cuisine: American
- Method: Oven