Oh my goodness, have I got a treat for you! I remember the first time I made an Ice Cream Sandwich Cake. It was during one of those hot summer days when all I wanted was something cool and sweet to share with friends. Trust me, it was an instant hit! I’ve made this delightful dessert countless times since then, and every single time, it disappears faster than I can say “Ice Cream Sandwich Cake!” Get ready to whip up a nostalgic treat that will have everyone begging for seconds. Let’s dive right in!
Why You’ll Love This Ice Cream Sandwich Cake
- Easy to Make: This cake requires no baking, making it a perfect last-minute treat!
- Versatile Flavors: You can customize it with your favorite ice cream flavors and toppings, so it’s always a new experience!
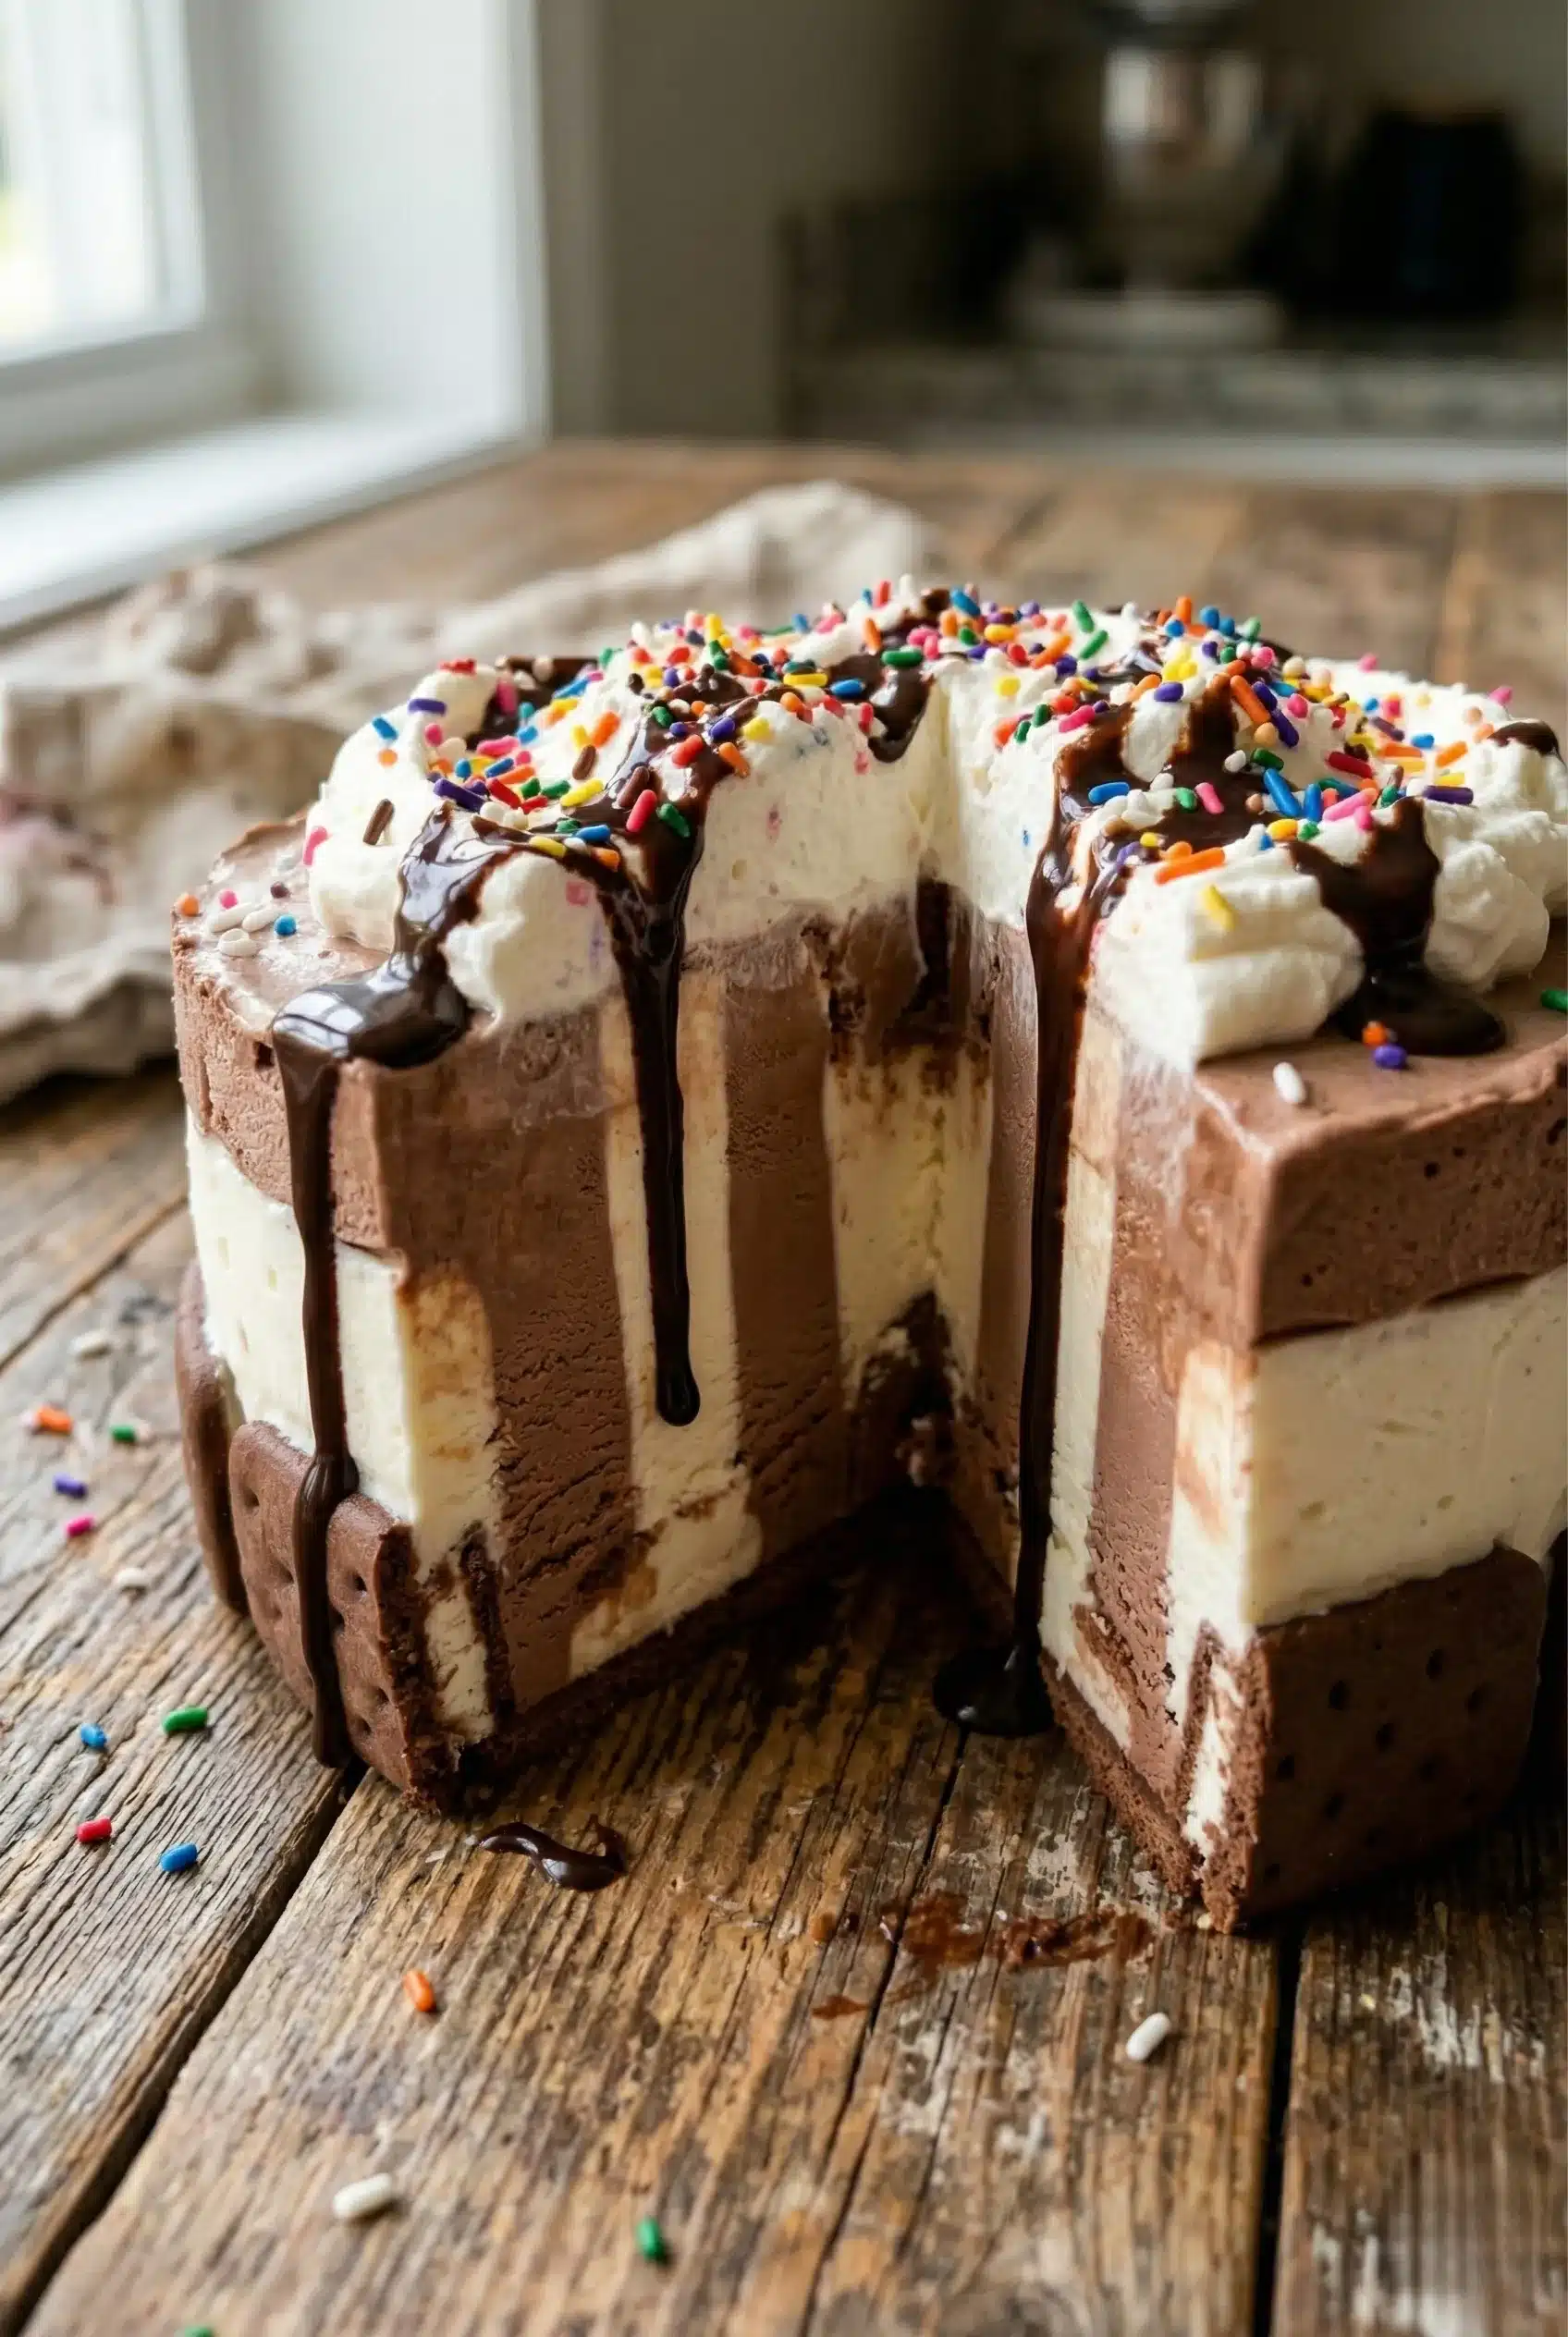
- Visually Stunning: Layers of colorful ice cream and toppings create a beautiful presentation that impresses everyone.
- Crowd-Pleaser: Trust me, this dessert is a guaranteed hit at any gathering!
- Make-Ahead Convenience: You can prepare it a day in advance, freeing you up to enjoy your event.
The Secret to Perfect Ice Cream Sandwich Cake
The secret to nailing this Ice Cream Sandwich Cake lies in the quality of your ingredients and the layering technique. Be sure to start with your favorite ice cream sandwiches—chocolate or vanilla, or even a combo! You want to create a solid base, so I recommend letting the ice cream sandwiches sit at room temperature for just a couple of minutes before assembling. This softens them enough to make layering easier without melting. Trust me, this little trick makes all the difference!
Rave Reviews from Friends and Followers
“I made this Ice Cream Sandwich Cake for my family BBQ, and it was the star of the show! Everyone kept asking for the recipe!” – Linda M.
“The layers of ice cream and whipped cream are a match made in heaven. I can’t believe how easy it was to make!” – Jason R.
“This dessert is now a staple at all our summer gatherings! It’s so refreshing and fun!” – Sarah T.
Creative Variations to Try
- Mint Chocolate Chip Delight: Use mint chocolate chip ice cream sandwiches for a refreshing twist!
- Berry Bliss: Swap in layers of fresh berries and strawberry ice cream sandwiches for a fruity explosion.
- Cookie Dough Crunch: Add chunks of cookie dough between layers for a chewy surprise!
- Peanut Butter Chocolate Dream: Incorporate peanut butter-flavored sandwiches and chocolate syrup for a decadent treat.
- Bonus: Try using different flavored whipped toppings for added flair!
FAQs – All Your Questions Answered!
Can I use homemade ice cream sandwiches? Absolutely! Just make sure they’re firm enough to hold their shape when layered.
How long can I store the cake? It can be stored in the freezer for up to a week, but I recommend enjoying it within three days for the best texture.
Can I substitute the whipped cream? Yes! You could use whipped topping or even Greek yogurt for a lighter version.
What if my ice cream sandwiches are too hard to cut? Let the cake sit at room temperature for about 5-10 minutes; this should make slicing easier.
Storage/Serving Tips
- Store any leftovers in an airtight container in the freezer.
- For best results, cut portions while the cake is still slightly frozen.
- Garnish with additional toppings just before serving for a fresh look!
Perfect Occasions for Ice Cream Sandwich Cake
- Summer BBQs
- Birthday parties
- Memorial Day celebrations
- Pool parties
- Picnics in the park
- Family reunions
The Complete Recipe
Thank you for sticking with me! Now let’s get to the good stuff—the recipe for this Ice Cream Sandwich Cake that’s sure to become your go-to summer treat!
Ice Cream Sandwich Cake
Ingredients
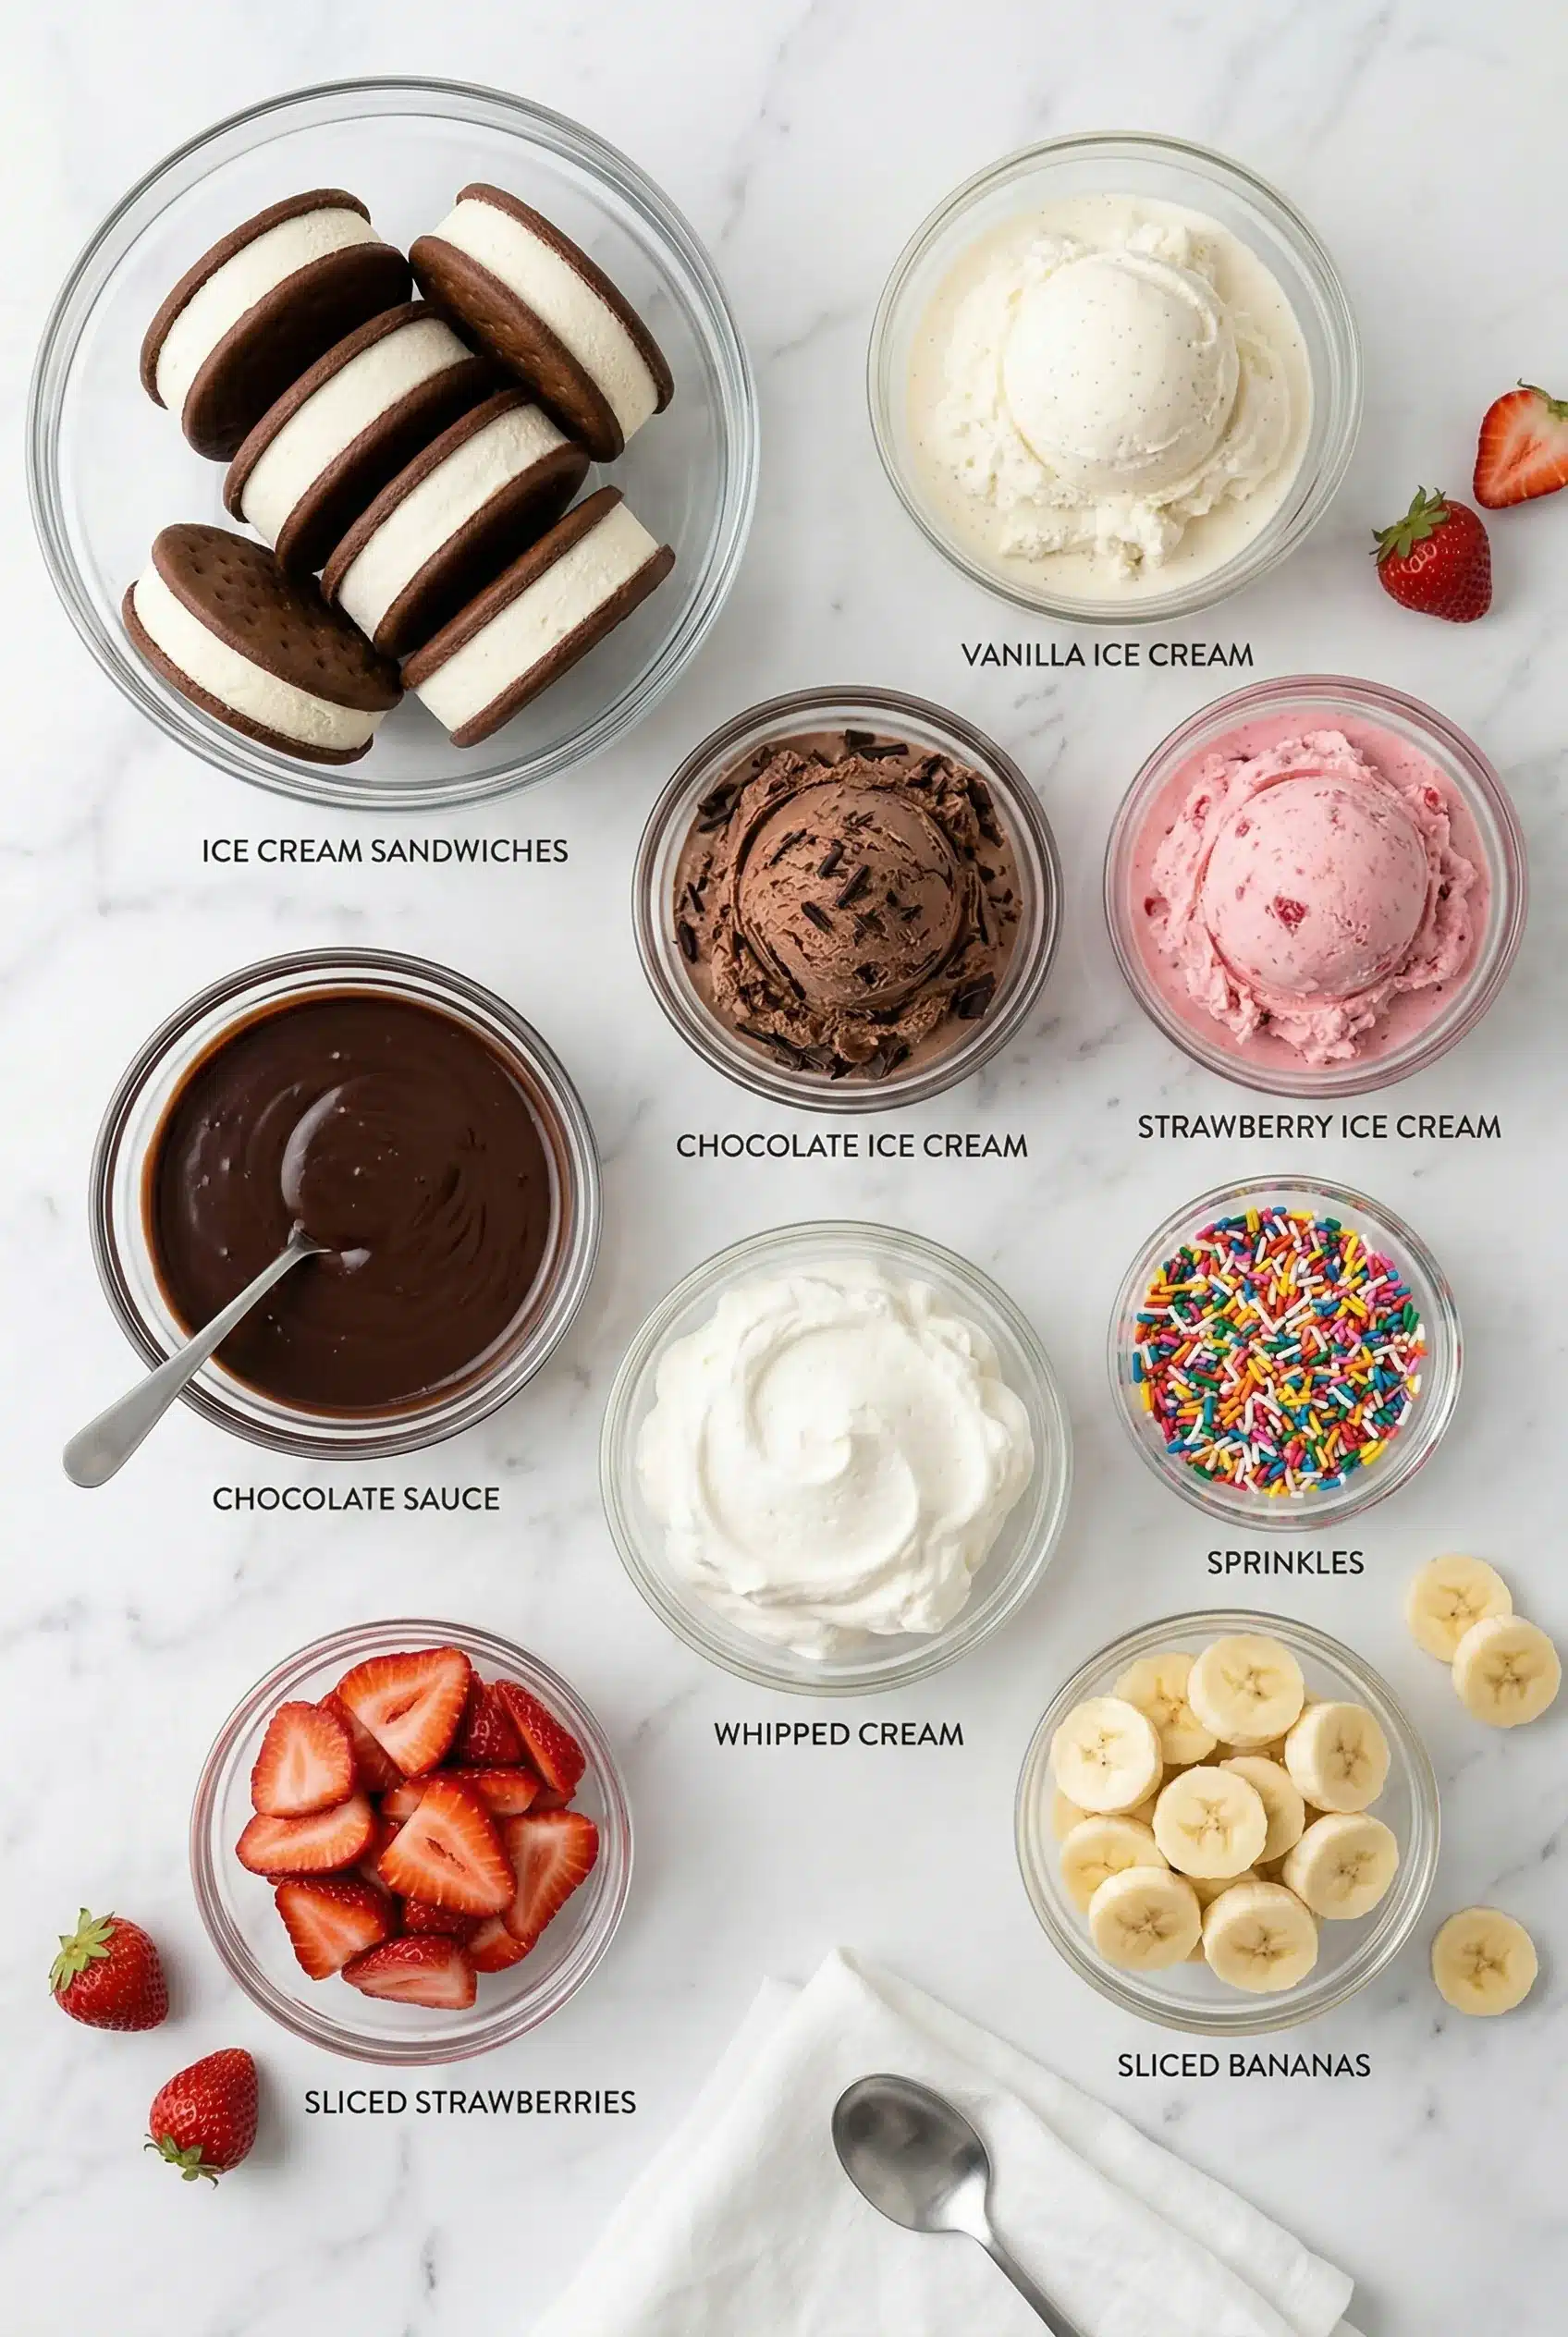
- 12 ice cream sandwiches (your choice of flavor)
- 2 cups whipped cream (or whipped topping)
- Your favorite toppings (e.g., sprinkles, crushed cookies, chocolate syrup)
- Optional: additional ice cream for filling layers
Tip: For a richer flavor, consider adding a layer of chocolate or caramel sauce between the layers of whipped cream.
Step-by-Step Instructions
Step 1: Prepare Your Base
Start by laying out 6 ice cream sandwiches side by side on a baking dish or serving platter. Make sure they’re tightly packed to create a solid base.
Step 2: Add the First Layer of Whipped Cream
Spread a generous layer of whipped cream over the ice cream sandwiches. Don’t be shy—this is where the magic happens! Use a spatula to smooth it out evenly.
Step 3: Layer More Ice Cream Sandwiches
Place another 6 ice cream sandwiches on top of the whipped cream layer, aligning them carefully. This will create your second layer. It’s starting to look like a cake now!
Step 4: Final Whipped Cream Layer
Add another layer of whipped cream on top of the second set of sandwiches. You can also sprinkle your favorite toppings over this layer for added texture and flavor.
Step 5: Freeze and Set
Cover the cake with plastic wrap and place it in the freezer for at least 4 hours, or overnight if you can wait! This step is crucial for the cake to hold its shape.
Step 6: Serve and Enjoy!
When you’re ready to serve, take the cake out of the freezer and let it sit for about 10 minutes to soften slightly. Cut into squares and watch as everyone dives in!
Nutrition Information: This cake serves around 12 people, and each serving has approximately 250 calories, depending on the toppings and ice cream used. Remember to enjoy in moderation!

Final Thoughts
So there you have it! This Ice Cream Sandwich Cake is not just a dessert; it’s a joyful experience that brings back memories of summer days and laughter with friends. I promise you, once you make this, it will become a beloved tradition in your home. So go ahead, gather your ingredients, and whip up this delightful treat. You won’t regret it!
Ice Cream Sandwich Cake
-
Total Time:
4 hr 20 mins -
Yield:
12 servings
Savor the nostalgia with our Ice Cream Sandwich Cake, featuring creamy ice cream, chocolate wafers, and a rich fudge layer for a delightful treat.
Ingredients
- • 12 ice cream sandwiches (your choice of flavor)
- • 2 cups whipped cream (or whipped topping)
- • Your favorite toppings (e.g., sprinkles, crushed cookies, chocolate syrup)
- • Optional: additional ice cream for filling layers
Instructions
- Prepare Your Base: Start by laying out 6 ice cream sandwiches side by side on a baking dish or serving platter. Make sure they’re tightly packed to create a solid base.
- Add the First Layer of Whipped Cream: Spread a generous layer of whipped cream over the ice cream sandwiches. Use a spatula to smooth it out evenly.
- Layer More Ice Cream Sandwiches: Place another 6 ice cream sandwiches on top of the whipped cream layer, aligning them carefully.
- Final Whipped Cream Layer: Add another layer of whipped cream on top of the second set of sandwiches. Sprinkle your favorite toppings over this layer.
- Freeze and Set: Cover the cake with plastic wrap and place it in the freezer for at least 4 hours, or overnight.
- Serve and Enjoy: When ready to serve, take the cake out of the freezer and let it sit for about 10 minutes to soften slightly. Cut into squares and serve.
Notes
Storage: Store leftovers in an airtight container in the fridge for up to 3 days.
- Prep Time: 20 mins
- Cook Time: 0 mins
- Category: Dessert
- Cuisine: American
- Method: Oven