
Discover the Perfect No-Bake Treat
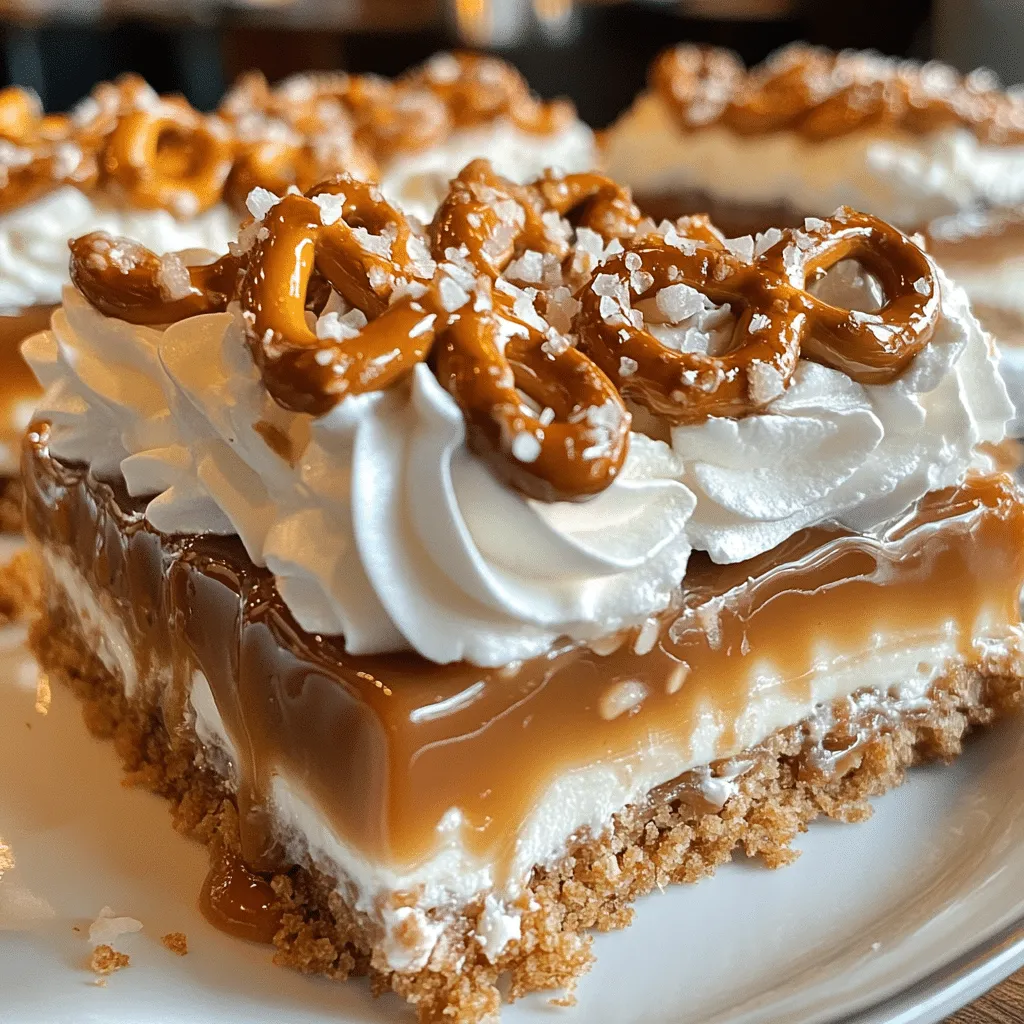
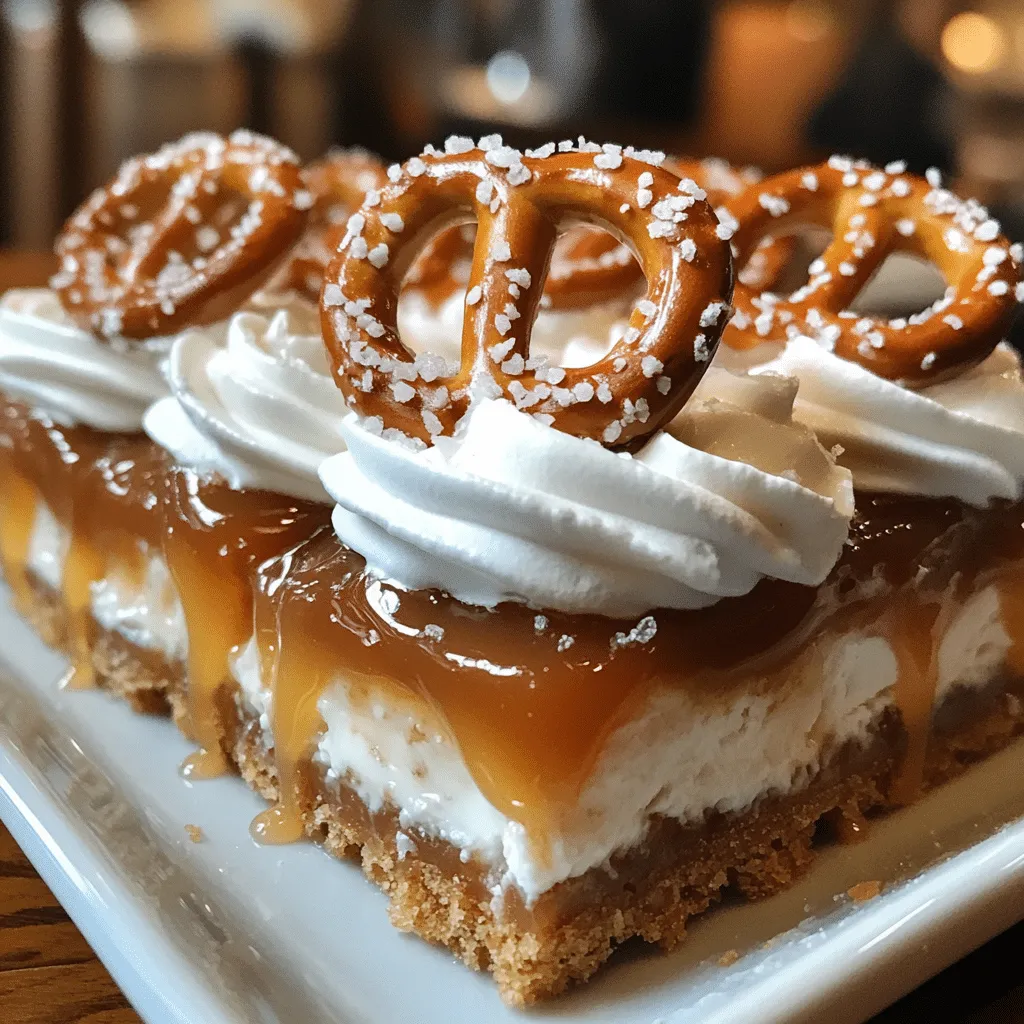
If you’re on the hunt for a dessert that combines the rich, buttery flavor of salted caramel with the satisfying crunch of pretzels, you’ve just found your new favorite recipe. These No-Bake Salted Caramel Pretzel Bars are not only quick to assemble but also deliver an explosion of sweet and salty goodness in every bite. Perfect for satisfying your sweet tooth without turning on the oven, these bars are sure to become a staple in your dessert repertoire. Whether you’re hosting a gathering or just need a treat to enjoy at home, these bars are a delightful solution that’s as easy to make as it is delicious.
Why You’ll Love This Recipe
This recipe is packed with reasons to love it! Here are just a few:
- No Baking Required: Save time and energy with this easy, no-bake recipe.
- Sweet and Salty Delight: The combination of pretzels and caramel creates a flavor profile that’s irresistible.
- Quick Assembly: You can whip these bars up in under an hour, making them perfect for last-minute cravings.
- Perfect for Any Occasion: Whether it’s a party, a potluck, or just a cozy night in, these bars fit the bill.
- Customizable: Easy to modify for dietary preferences or to add your personal touch.
- Kid-Friendly: A great recipe to get the kids involved in the kitchen!
Ingredients You’ll Need
For the Pretzel Crust
- 2 cups pretzel crumbs (crushed pretzels)
- 1/2 cup unsalted butter, melted
- 1/4 cup granulated sugar
For the Caramel Layer
- 1 cup caramel sauce (store-bought or homemade)
- 1/2 teaspoon sea salt
For the Creamy Topping
- 1 cup heavy cream
- 1/2 cup powdered sugar
- 1 teaspoon vanilla extract
Step-by-Step Instructions
Follow these simple steps to create your No-Bake Salted Caramel Pretzel Bars:
- Prepare the Pretzel Crust: In a medium bowl, combine pretzel crumbs, melted butter, and granulated sugar. Mix until well combined. Press the mixture firmly into the bottom of a greased 9×9-inch baking dish to form an even layer.
- Layer the Caramel: Drizzle the caramel sauce over the pretzel crust. Use a spatula to spread it evenly. Sprinkle the sea salt on top of the caramel layer.
- Make the Creamy Topping: In a large mixing bowl, whip the heavy cream until soft peaks form. Gradually add powdered sugar and vanilla extract, continuing to whip until stiff peaks form.
- Assemble the Bars: Spread the whipped cream mixture over the caramel layer in the baking dish, smoothing it out to create an even top layer.
- Chill: Cover the dish with plastic wrap and refrigerate for at least 2 hours or until the bars are firm and set.
- Slice and Serve: Once chilled, remove from the refrigerator. Cut into squares and serve. Enjoy your delightful creation!
Serving Suggestions
These No-Bake Salted Caramel Pretzel Bars are delicious on their own, but here are some fun serving ideas to elevate your dessert experience:
- Serve with a scoop of vanilla ice cream for a delightful contrast in temperature and texture.
- Pair with a cup of coffee or tea to balance the sweetness.
- Add a drizzle of chocolate sauce on top for an extra layer of indulgence.
- Top with chopped nuts or sprinkles for additional crunch and color.
Tips for Success
To ensure your No-Bake Salted Caramel Pretzel Bars turn out perfectly, here are some helpful tips:
- Make sure to press the pretzel crust firmly; this helps it hold together once set.
- Use high-quality caramel sauce for the best flavor; homemade caramel is a great option if you have the time.
- Let the bars chill for the full duration to achieve the right texture; they should be firm enough to cut easily.
- Store leftovers in an airtight container in the refrigerator for up to a week—if they last that long!
Final Thoughts
These No-Bake Salted Caramel Pretzel Bars are more than just a dessert; they’re a celebration of flavors and textures that you’ll want to revisit time and time again. With the perfect balance of sweet and salty, they’re a hit with both kids and adults alike. Whether you’re making them for a special occasion or just to treat yourself, these bars are sure to impress. So gather your ingredients, get your kids involved, and enjoy the sweet satisfaction of creating something delicious without ever turning on the oven!