
I still remember the first time I made Creamy Baked Mac & Cheese. The aroma wafted through my kitchen, and as I pulled that golden, bubbling dish from the oven, I knew I had created something truly special. Since then, I’ve whipped up this crowd-pleaser countless times, whether for cozy family dinners or potluck parties with friends. Trust me, once you try this recipe, it’s going to become your go-to comfort food too!
Why You’ll Love This Creamy Baked Mac & Cheese
- Easy to Make: This recipe is simple enough for even the most novice cooks, requiring minimal prep and cooking time.
- Versatile: Feel free to customize it with your favorite cheeses or add-ins for a personal touch.
- Amazing Flavor: The combination of gooey cheese and perfectly cooked pasta creates a flavor explosion in every bite.
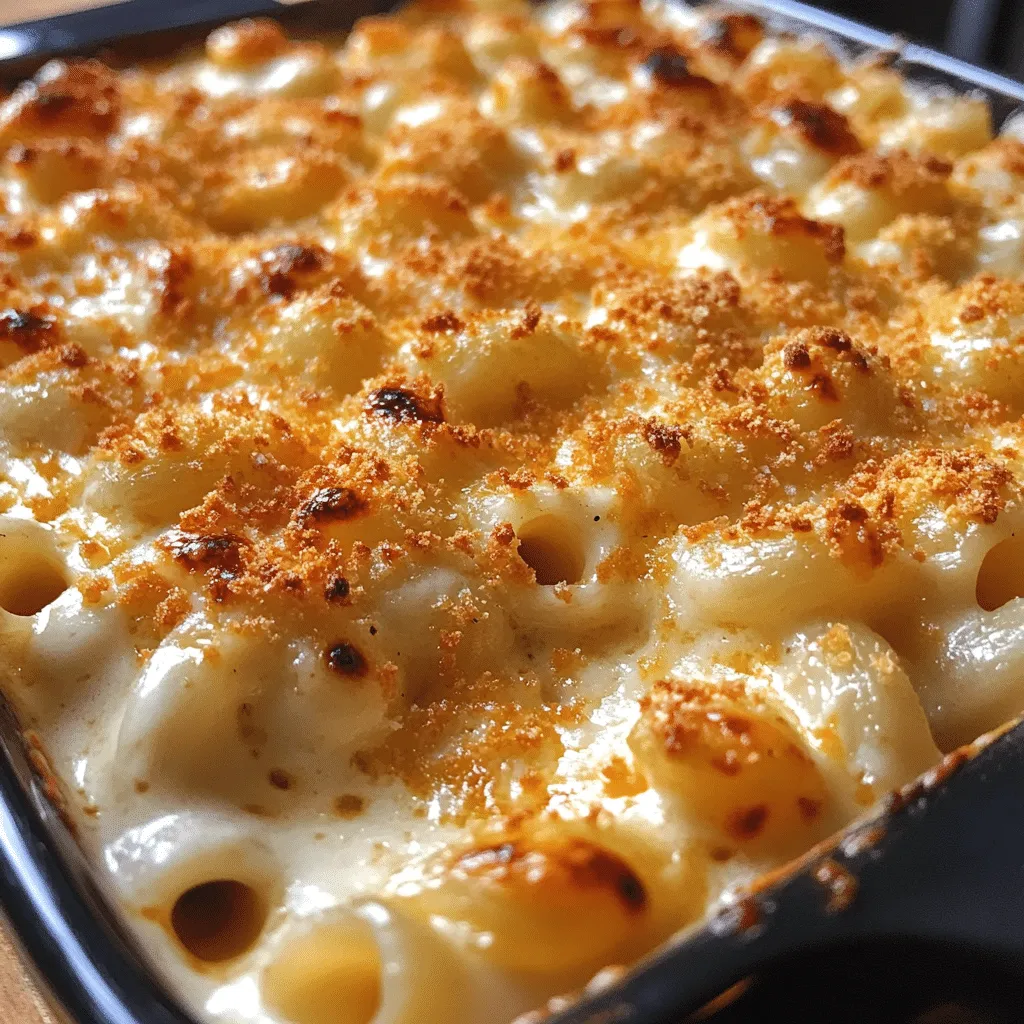
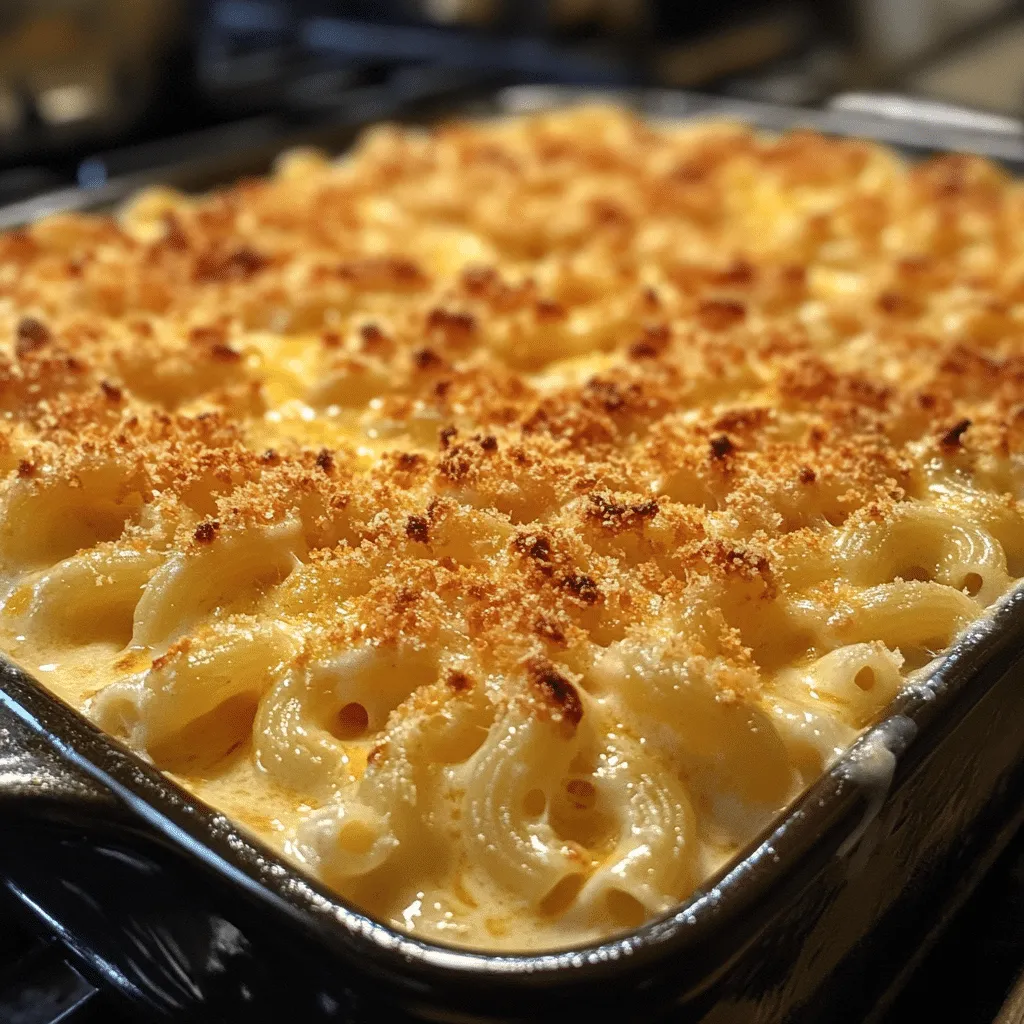
- Visually Appealing: That golden, crispy topping is not just for show; it adds a delightful texture to each serving.
- Make-Ahead Convenience: You can prepare this dish ahead of time, making it perfect for busy weeknights or gatherings.
The Secret to Perfect Creamy Baked Mac & Cheese
The secret to achieving that perfect creamy texture lies in the cheese sauce. By using a combination of sharp cheddar and creamy mozzarella, you create a rich, gooey sauce that clings perfectly to the pasta. My insider tip? Make sure to slowly whisk in the cheese over low heat. This ensures it melts evenly and prevents any clumps. Trust me, with this technique, anyone can make a restaurant-quality Creamy Baked Mac & Cheese right at home!
Rave Reviews from Friends and Followers
“Absolutely the best mac and cheese I have ever had! The crispy top was a game-changer!” – Sarah L.
“I brought this to a potluck, and it disappeared within minutes. Everyone was asking for the recipe!” – Mark T.
“This mac and cheese is my family’s new favorite! It’s so creamy and delicious!” – Emily R.
Creative Variations to Try
- Buffalo Chicken Mac & Cheese: Add shredded buffalo chicken for a spicy twist.
- Truffle Mac & Cheese: Drizzle with truffle oil before baking for an upscale touch.
- Vegetable Mac & Cheese: Toss in steamed broccoli or spinach for a healthier option.
- BBQ Pulled Pork Mac & Cheese: Layer in some BBQ pulled pork for a smoky flavor.
Bonus: For a fun crunch, consider adding crushed crackers or breadcrumbs on top before baking!
FAQs – All Your Questions Answered!
- Can I make this dish ahead of time? Yes! You can prepare it a day in advance, cover, and refrigerate. Just bake it before serving.
- What kind of cheese should I use? A mix of sharp cheddar and mozzarella works best for flavor and creaminess, but feel free to experiment!
- How do I store leftovers? Store in an airtight container in the fridge for up to 4 days. Reheat in the oven for best results.
- Can I freeze Creamy Baked Mac & Cheese? Yes! It freezes well. Just make sure to allow it to cool completely before freezing.
- How can I make it gluten-free? Use gluten-free pasta and make sure your cheese and other ingredients are certified gluten-free.
Storage/Serving Tips
- Store in an airtight container in the refrigerator for up to 4 days.
- For freezing, wrap tightly in plastic wrap and foil, and it can last up to 3 months.
- Reheat in the oven at 350°F until heated through for best texture.
- Serve with a sprinkle of fresh herbs or a side salad for a complete meal.
Perfect Occasions for Creamy Baked Mac & Cheese
- Family gatherings or holiday dinners.
- Casual get-togethers with friends.
- Potlucks or community events.
- Movie nights at home for a cozy vibe.
- After-school snacks for the kids.
- Game day celebrations with friends.
The Complete Recipe
Thank you for sticking with me through all the delicious details! Now, let’s dive into the recipe so you can create your own Creamy Baked Mac & Cheese.
Creamy Baked Mac & Cheese
Ingredients
- 8 ounces elbow macaroni
- 2 tablespoons butter
- 2 tablespoons all-purpose flour
- 2 cups milk
- 1 teaspoon garlic powder
- 1 teaspoon onion powder
- 1/2 teaspoon mustard powder
- 2 cups sharp cheddar cheese, shredded
- 1 cup mozzarella cheese, shredded
- Salt and pepper to taste
- 1/2 cup breadcrumbs (optional)
Tip: For the best flavor, use freshly shredded cheese instead of pre-shredded cheese, which often contains anti-caking agents that can affect melting.
Extend ingredients section: You can also add cooked bacon, ham, or vegetables like peas or spinach for added flavor and nutrients. Each ingredient plays a crucial role in creating that creamy, delightful texture that makes this dish unforgettable!
Step-by-Step Instructions
Step 1: Cook the Pasta
Start by boiling water in a large pot. Once it’s at a rolling boil, add a generous pinch of salt and the elbow macaroni. Cook according to package instructions until al dente, usually about 7-8 minutes. Drain and set aside, but don’t rinse – we want that starch to help the sauce stick!
Step 2: Make the Cheese Sauce
In a large saucepan, melt the butter over medium heat. Once melted, whisk in the flour and cook for about 1 minute until it’s bubbly and golden. Gradually whisk in the milk, ensuring there are no lumps. Keep whisking until the mixture thickens, about 5-7 minutes. This is the base of your creamy sauce!
Step 3: Add the Cheese
Reduce the heat to low and stir in the garlic powder, onion powder, mustard powder, salt, and pepper. Now, slowly add the shredded cheddar and mozzarella, stirring constantly until melted and smooth. This is where the magic happens—watch as it transforms into a luscious cheese sauce!
Step 4: Combine Pasta and Sauce
Stir the cooked pasta into the cheese sauce, ensuring every piece is coated in that gooey goodness. If it seems a bit thick, add a splash more milk to reach your desired consistency. It should be creamy but not runny!
Step 5: Bake It!
Preheat your oven to 350°F (175°C). Transfer the mac and cheese to a greased baking dish. If you’re using breadcrumbs, sprinkle them evenly over the top for that crispy finish. Bake for about 20-25 minutes, or until the top is golden and bubbly. The anticipation is real at this point!
Step 6: Serve and Enjoy!
Once baked, let it cool for a few minutes before serving. This will allow the cheese to set slightly, making it easier to serve. Dive in and savor every creamy bite!
Nutrition Info: This recipe serves about 6 and provides approximately