
Discover the Joy of Baking with Quick Chocolate Chip Cookies
If you’re someone who loves the warm, comforting aroma of freshly baked cookies wafting through your home, you’re in for a treat! This recipe for No-Chill Chocolate Chip Cookies is a game changer for cookie lovers. You won’t need to wait hours for dough to chill in the fridge; instead, you can mix, scoop, and bake your way to cookie bliss in no time. Perfect for satisfying those sweet cravings unexpectedly or whipping up a batch for guests, these cookies are sure to become your new go-to recipe!
Why You’ll Love This Recipe
These No-Chill Chocolate Chip Cookies are not just any ordinary cookies. Here’s why you’ll love them:
- Quick and Easy: No chilling time means you can bake and enjoy your cookies in under 30 minutes!
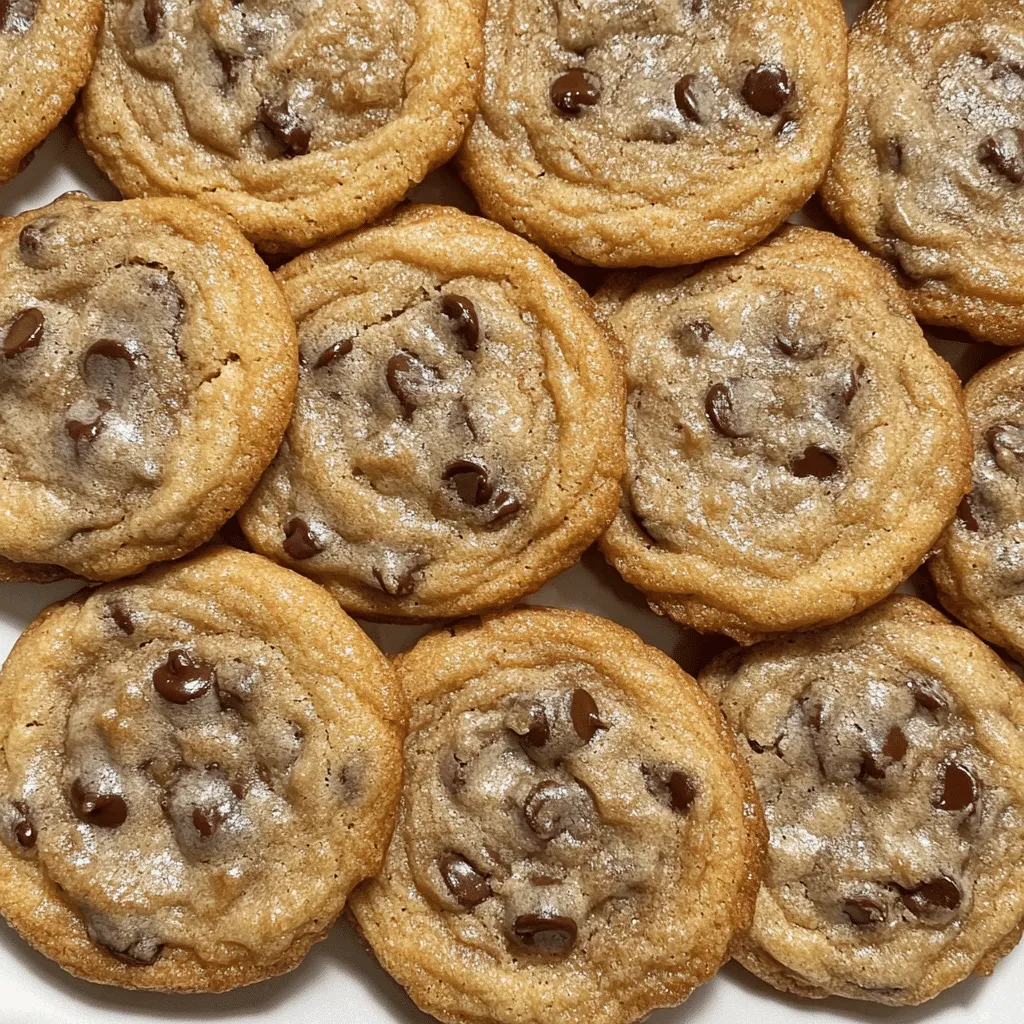
- Deliciously Gooey: The combination of melted chocolate and soft centers creates a heavenly texture.
- Crispy Edges: Achieve that perfect contrast of chewy interiors and crispy exteriors with minimal effort.
- Versatile: Ideal for any occasion, whether it’s a cozy night in or a fun gathering with friends.
- Customizable: Feel free to mix in your favorite nuts or other add-ins for a personalized touch!
Ingredients You’ll Need
For the Dough
- 2 1/4 cups all-purpose flour
- 1 teaspoon baking soda
- 1/2 teaspoon salt
- 1 cup unsalted butter, softened
- 3/4 cup granulated sugar
- 3/4 cup packed brown sugar
- 1 teaspoon vanilla extract
- 2 large eggs
- 2 cups semi-sweet chocolate chips
Optional Add-Ins
- 1 cup chopped nuts (walnuts, pecans, etc.)
- 1/2 cup shredded coconut
- 1/2 cup toffee bits
Step-by-Step Instructions
Follow these simple steps to create your No-Chill Chocolate Chip Cookies:
- Preheat the Oven: Start by preheating your oven to 375°F (190°C).
- Mix Dry Ingredients: In a medium bowl, whisk together the flour, baking soda, and salt. Set aside.
- Cream Butter and Sugars: In a large mixing bowl, use an electric mixer to cream the softened butter, granulated sugar, and brown sugar until light and fluffy.
- Add Eggs and Vanilla: Beat in the eggs one at a time, then mix in the vanilla extract until well combined.
- Combine Mixtures: Gradually add the flour mixture to the wet ingredients, mixing just until incorporated.
- Fold in Chocolate Chips: Gently fold in the chocolate chips (and any optional add-ins) until evenly distributed.
- Scoop the Dough: Use a cookie scoop or tablespoon to drop rounded balls of dough onto ungreased baking sheets, spacing them about 2 inches apart.
- Bake: Place the baking sheets in the preheated oven and bake for 9-11 minutes, or until the edges are golden brown but the centers are still soft.
- Cool: Allow the cookies to cool on the baking sheet for 5 minutes before transferring them to a wire rack to cool completely.
Serving Suggestions
These No-Chill Chocolate Chip Cookies are delicious on their own, but you can elevate your serving game with these ideas:
- Serve warm with a scoop of vanilla ice cream for an indulgent dessert.
- Pair with a glass of cold milk or a warm cup of coffee for the ultimate treat.
- Offer alongside fresh fruit or a selection of cheeses for a delightful dessert platter.
- Use as a filling for ice cream sandwiches for a fun twist!
Tips for Success
To ensure the best results with your No-Chill Chocolate Chip Cookies, keep these tips in mind:
- Butter Temperature: Make sure your butter is softened but not melted for the best texture.
- Don’t Overmix: Once you add the flour, mix just until combined to avoid tough cookies.
- Adjust Baking Time: Keep an eye on your cookies as baking times can vary based on your oven and the size of the cookies.
- Storage: Store leftover cookies in an airtight container at room temperature for up to a week, or freeze for longer storage.
Final Thoughts
These No-Chill Chocolate Chip Cookies are all about convenience without sacrificing flavor. Whether you’re baking for a gathering or simply treating yourself, this easy recipe is perfect for any occasion. With its rich chocolatey goodness and the delightful crunch of crispy edges, these cookies are bound to bring joy to your day. Don’t forget to save this recipe for your next baking adventure—your taste buds will thank you!