

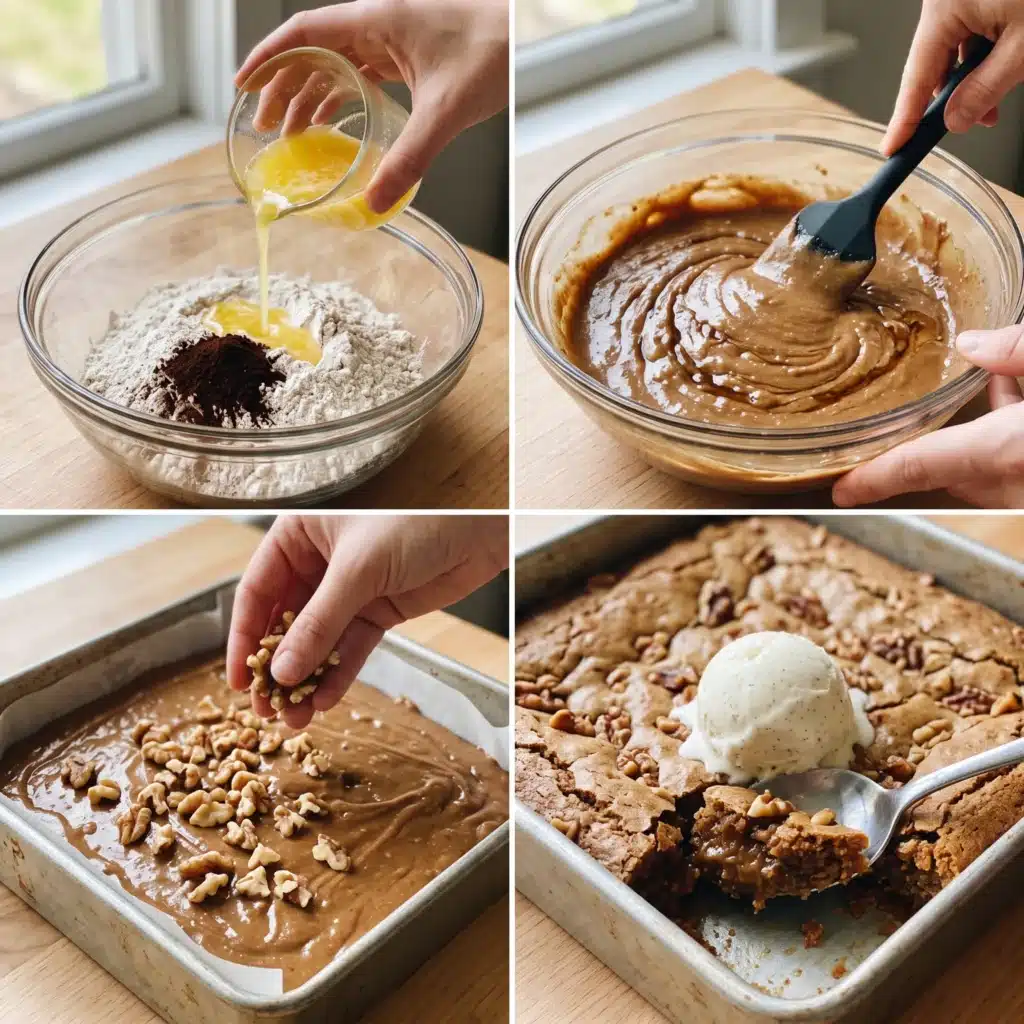
Creating a rich, velvety dessert does not have to involve candy thermometers, complicated boiling stages, or hours of constant stirring. This 3-ingredient chocolate fudge delivers an ultra-glossy, intensely chocolatey treat with a fraction of the effort required for traditional recipes. By utilizing the microwave and relying on a few pantry staples, you can produce a firm yet meltingly smooth confection that looks and tastes like it came directly from a professional candy shop.
The beauty of this recipe lies in its incredibly smooth texture and deep flavor profile. The melted chocolate provides a robust, satisfying foundation, while the sweetened condensed milk binds the mixture together into a dense, creamy block that cuts cleanly into squares. A touch of vanilla extract rounds out the sweetness and enhances the cocoa notes. Whether you need a quick addition to a holiday dessert tray, a simple homemade gift, or an effortless weeknight indulgence, this 3-ingredient chocolate fudge is a reliable, stress-free solution that consistently yields exceptional results.
Why You Will Love This Recipe
There are plenty of reasons this streamlined method will quickly become your go-to technique for making candy at home.
- Simple Preparation: There is no need for a stovetop, double boiler, or candy thermometer. The entire melting and mixing process happens in a single bowl in the microwave.
- Accessible Ingredients: You only need three basic items that are likely already sitting in your baking pantry, saving you a trip to the grocery store.
- Quick Cooking Time: The active preparation takes fewer than five minutes. Once the ingredients are melted and combined, the refrigerator does the rest of the work.
- Appealing Flavor and Texture: The final result is incredibly rich, ultra-glossy, and exceptionally smooth. It has a satisfyingly firm bite that slowly melts in your mouth without any of the graininess sometimes found in traditional boiled fudge.
- Make-Ahead Convenience: This dessert keeps beautifully for weeks, making it an excellent option to prepare well in advance of parties, holidays, or events.
- Customizable Base: While excellent on its own, this foundational recipe easily accepts a wide variety of mix-ins and toppings to suit your specific cravings.
Ingredients You Will Need
For the best texture and flavor, gather the following precise measurements before you begin.
For the Fudge Base
- 3 cups semi-sweet chocolate chips (approximately 18 ounces)
- 1 can (14 ounces) sweetened condensed milk
- 1 teaspoon pure vanilla extract
Understanding the Ingredients
The semi-sweet chocolate chips serve as the primary flavor and structural component. They contain just the right ratio of cocoa solids and sugar to set firmly once cooled. Sweetened condensed milk is the secret to the creamy, velvety texture. Because the milk has been cooked down and combined with sugar, it provides the necessary moisture and sweetness without adding excess liquid that would prevent the chocolate from setting. Finally, the pure vanilla extract elevates the overall flavor, adding depth and warmth that balances the intense chocolate profile.
Ingredient Notes and Substitutions
Adapting this recipe is simple, but it is important to understand how changes will affect the final outcome.
- Chocolate Variations: You can substitute dark chocolate chips for a more intense, less sweet flavor, though the final block may be slightly firmer. Milk chocolate chips can also be used, but because they contain more dairy and sugar, the fudge will be much softer and significantly sweeter. For the best structural results, stick to a high-quality semi-sweet variety.
- Sweetened Condensed Milk: There is no direct substitute for this ingredient in this specific recipe. Do not mistake it for evaporated milk, which is unsweetened and much thinner. Using evaporated milk or standard whole milk will result in a watery chocolate syrup rather than a sliceable confection.
- Extracts: If you want to alter the flavor profile, you can swap the vanilla extract for half a teaspoon of peppermint extract, orange extract, or almond extract.
- Add-Ins: If you wish to incorporate texture, fold in up to one cup of chopped walnuts, pecans, mini marshmallows, or crushed cookies immediately after removing the bowl from the microwave, right before pouring the mixture into the pan.
Equipment Needed
You do not need specialized candy-making tools, but having the right basic equipment ensures a smooth process.
- 8×8-inch Square Baking Pan: This size creates the ideal thickness for the squares.
- Aluminum Foil or Parchment Paper: Essential for lining the pan so you can easily lift the chilled block out for slicing.
- Large Microwave-Safe Glass Bowl: Glass retains heat evenly, which helps keep the chocolate melted while you stir.
- Silicone Spatula: A flexible spatula makes it easy to scrape down the sides of the bowl and spread the thick mixture smoothly into the pan.
- Sharp Chef’s Knife: Required for cutting the set block into clean, even squares.
How to Make 3-Ingredient Chocolate Fudge
Follow these straightforward steps for a glossy, perfectly set dessert every single time.
- Prepare the Baking Pan: Line an 8×8-inch square baking pan with a single sheet of aluminum foil or parchment paper. Leave enough overhang on the sides to act as handles for later. Lightly grease the lining with a small amount of butter or non-stick cooking spray to ensure easy removal.
- Combine the Main Ingredients: Pour the three cups of semi-sweet chocolate chips into your large, microwave-safe glass bowl. Pour the entire 14-ounce can of sweetened condensed milk directly over the chocolate chips. Do not stir them together yet.
- Microwave the Mixture: Place the bowl in the microwave and heat on high power for exactly 30 seconds.
- Stir and Repeat: Remove the bowl and gently stir the mixture with your silicone spatula. The chocolate will only be slightly melted at this point. Return the bowl to the microwave for another 30 seconds, then stir again. Repeat this process until the chocolate is completely melted, heavily combined with the milk, and ultra-glossy. This usually takes about 1 to 2 minutes total, depending on your microwave wattage.
- Incorporate the Vanilla: Once the mixture is completely smooth and velvety with no visible lumps of chocolate, stir in the teaspoon of pure vanilla extract. Mix vigorously until the vanilla is fully incorporated and the sheen returns to the surface.
- Transfer to the Pan: Immediately scrape the hot, thick mixture into the prepared baking pan. Use the silicone spatula to push the mixture into the corners and smooth the top into an even, flat layer.
- Chill to Set: Place the pan uncovered in the refrigerator. Let it chill for at least 2 hours, or until the center feels completely firm to the touch.
- Slice and Serve: Once firm, use the foil or parchment paper overhang to lift the entire block out of the pan and onto a cutting board. Peel away the lining. Using a large, sharp knife, cut the block into even squares.
Tips for the Best Results
Achieving the perfect texture requires just a little bit of attention to detail during the melting phase.
- Use High-Quality Chocolate: Since chocolate makes up the bulk of the flavor, use a brand of chocolate chips that you enjoy eating right out of the bag. Higher quality chips will melt more smoothly and yield a richer taste.
- Work Quickly: Once the chocolate and condensed milk are fully melted and combined, the mixture will begin to set very rapidly as it cools. Have your prepared pan ready before you start microwaving so you can pour the mixture immediately.
- Heat in Short Intervals: Never microwave the chocolate for more than 30 seconds at a time without stirring. Microwaves heat unevenly, and leaving the bowl in for too long will scorch the chocolate, turning it bitter and crumbly.
- Warm Your Knife: For the cleanest, most professional-looking squares, run your knife under hot tap water and wipe it completely dry before making each cut. The residual heat from the blade will glide through the dense chocolate effortlessly.
- Tap the Pan: After spreading the mixture into the baking pan, gently tap the pan against your kitchen counter a few times. This forces any trapped air bubbles to the surface, resulting in a denser, smoother texture.
Common Mistakes to Avoid
Even simple recipes can experience hiccups. Keep an eye out for these frequent pitfalls.
- Introducing Water to the Bowl: Chocolate is notoriously sensitive to water. Even a single drop of water left in your mixing bowl or on your spatula can cause the melting chocolate to seize, turning it into a stiff, grainy paste instead of a smooth liquid. Ensure all equipment is bone dry.
- Overcooking the Mixture: If you heat the chocolate until it bubbles or becomes excessively hot, the cocoa butter will separate from the solids. This leaves you with an oily slick on top of a dry, unappealing mass. Stop microwaving the moment the chips can be stirred smooth.
- Skipping the Pan Lining: Pouring the sticky mixture directly into an unlined pan guarantees it will stick. You will be forced to dig it out with a spoon, ruining the appearance. Always use foil or parchment with an overhang.
- Slicing Too Early: It is tempting to cut into the pan after only an hour, but if the center has not fully chilled, the squares will sag and lose their sharp edges. Exercise patience and wait the full two hours.
Serving Suggestions
This rich treat is highly versatile and fits into nearly any dessert spread or casual snacking occasion.
Because the flavor is quite intense, serve small, bite-sized pieces. It pairs wonderfully with a hot cup of black coffee, espresso, or unsweetened tea, as the bitterness of the beverage cuts through the dense sweetness of the chocolate.
If you are building a holiday dessert board, arrange the squares alongside buttery shortbread cookies, fresh strawberries, and salted pretzels for a balance of flavors and textures. For an elevated presentation, you can gently press a small pinch of flaky sea salt into the top of the wet mixture right after spreading it into the pan, before it goes into the refrigerator to chill.
Storage and Reheating
Proper storage ensures the texture remains smooth and prevents the chocolate from absorbing other odors from your kitchen.
- Room Temperature: If your home is cool (below 70 degrees Fahrenheit), you can store the cut squares in an airtight container on the counter for up to one week. Place a sheet of parchment or wax paper between layers to prevent the pieces from sticking together.
- Refrigeration: For a longer shelf life or if your kitchen is warm, store the airtight container in the refrigerator. The squares will keep well for up to three weeks. They will be quite firm straight from the fridge, so you may want to let them sit at room temperature for 10 minutes before eating for a softer bite.
- Freezing: This recipe freezes exceptionally well. Wrap the entire uncut block, or individual squares, tightly in plastic wrap, then place them in a heavy-duty freezer bag. Squeeze out as much air as possible. Freeze for up to three months.
- Thawing: To thaw frozen fudge, leave it wrapped and place it in the refrigerator overnight. Keeping it wrapped while it thaws prevents condensation from forming on the surface of the chocolate, which can cause unappealing white streaks known as sugar bloom.
Frequently Asked Questions
Can I make this recipe on the stovetop instead of the microwave? Yes. If you prefer or do not have a microwave, create a double boiler by placing your heat-proof bowl over a saucepan of barely simmering water. Ensure the bottom of the bowl does not touch the water. Add the chocolate chips and condensed milk to the bowl, stirring constantly until smoothly melted. Remove from the heat, stir in the vanilla, and proceed with the recipe as directed.
Why did my mixture turn out crumbly and dry? A crumbly, dry texture usually means the chocolate seized. This happens either because the chocolate was overheated, or because a small amount of liquid (like a splash of water or adding cold vanilla extract too early) came into contact with the melting chocolate. Always heat in short bursts and ensure all tools are completely dry.
Can I double this recipe? Yes, you can double the ingredients. However, you will need a larger microwave-safe bowl, and the melting time will increase. You will also need to use a 9×13-inch baking pan instead of an 8×8-inch pan to maintain a similar thickness for the squares.
How do I know when the fudge is completely set? The surface should look matte rather than wet, and when you lightly press the center of the block with your fingertip, it should feel entirely firm and leave no indentation. If it gives way easily, it needs more time in the refrigerator.
Can I use a different type of chip, like peanut butter or butterscotch? Absolutely. The sweetened condensed milk provides the structure, so you can swap the three cups of semi-sweet chocolate chips for an equal amount of peanut butter chips, white chocolate chips, or butterscotch chips to create completely different flavor profiles using the exact same method.
Final Thoughts
Making homemade candy does not have to be an intimidating process reserved for seasoned pastry chefs. By using the microwave and just a few reliable ingredients, you can bypass the tedious boiling and stirring of traditional methods without sacrificing any of the rich, comforting texture you expect. Whether you are prepping for a bake sale, putting together edible holiday gifts, or simply satisfying a sudden craving, this 3-ingredient chocolate fudge is incredibly dependable and always satisfying. Give this straightforward method a try, and enjoy the reward of ultra-glossy, perfectly sliceable chocolate squares with minimal effort.