
Hey there! Let me tell you about a game-changer in my kitchen: Fluffy Buttermilk Waffles. I can’t even count how many times I’ve whipped up these delightful creations for brunch with friends and family. Each time I’ve made this recipe, it has won hearts and taste buds alike. The combination of tangy buttermilk and a light, airy texture makes these waffles not just delicious, but utterly irresistible. Trust me, once you try them, you’ll be hooked!
Why You’ll Love This Fluffy Buttermilk Waffle Recipe
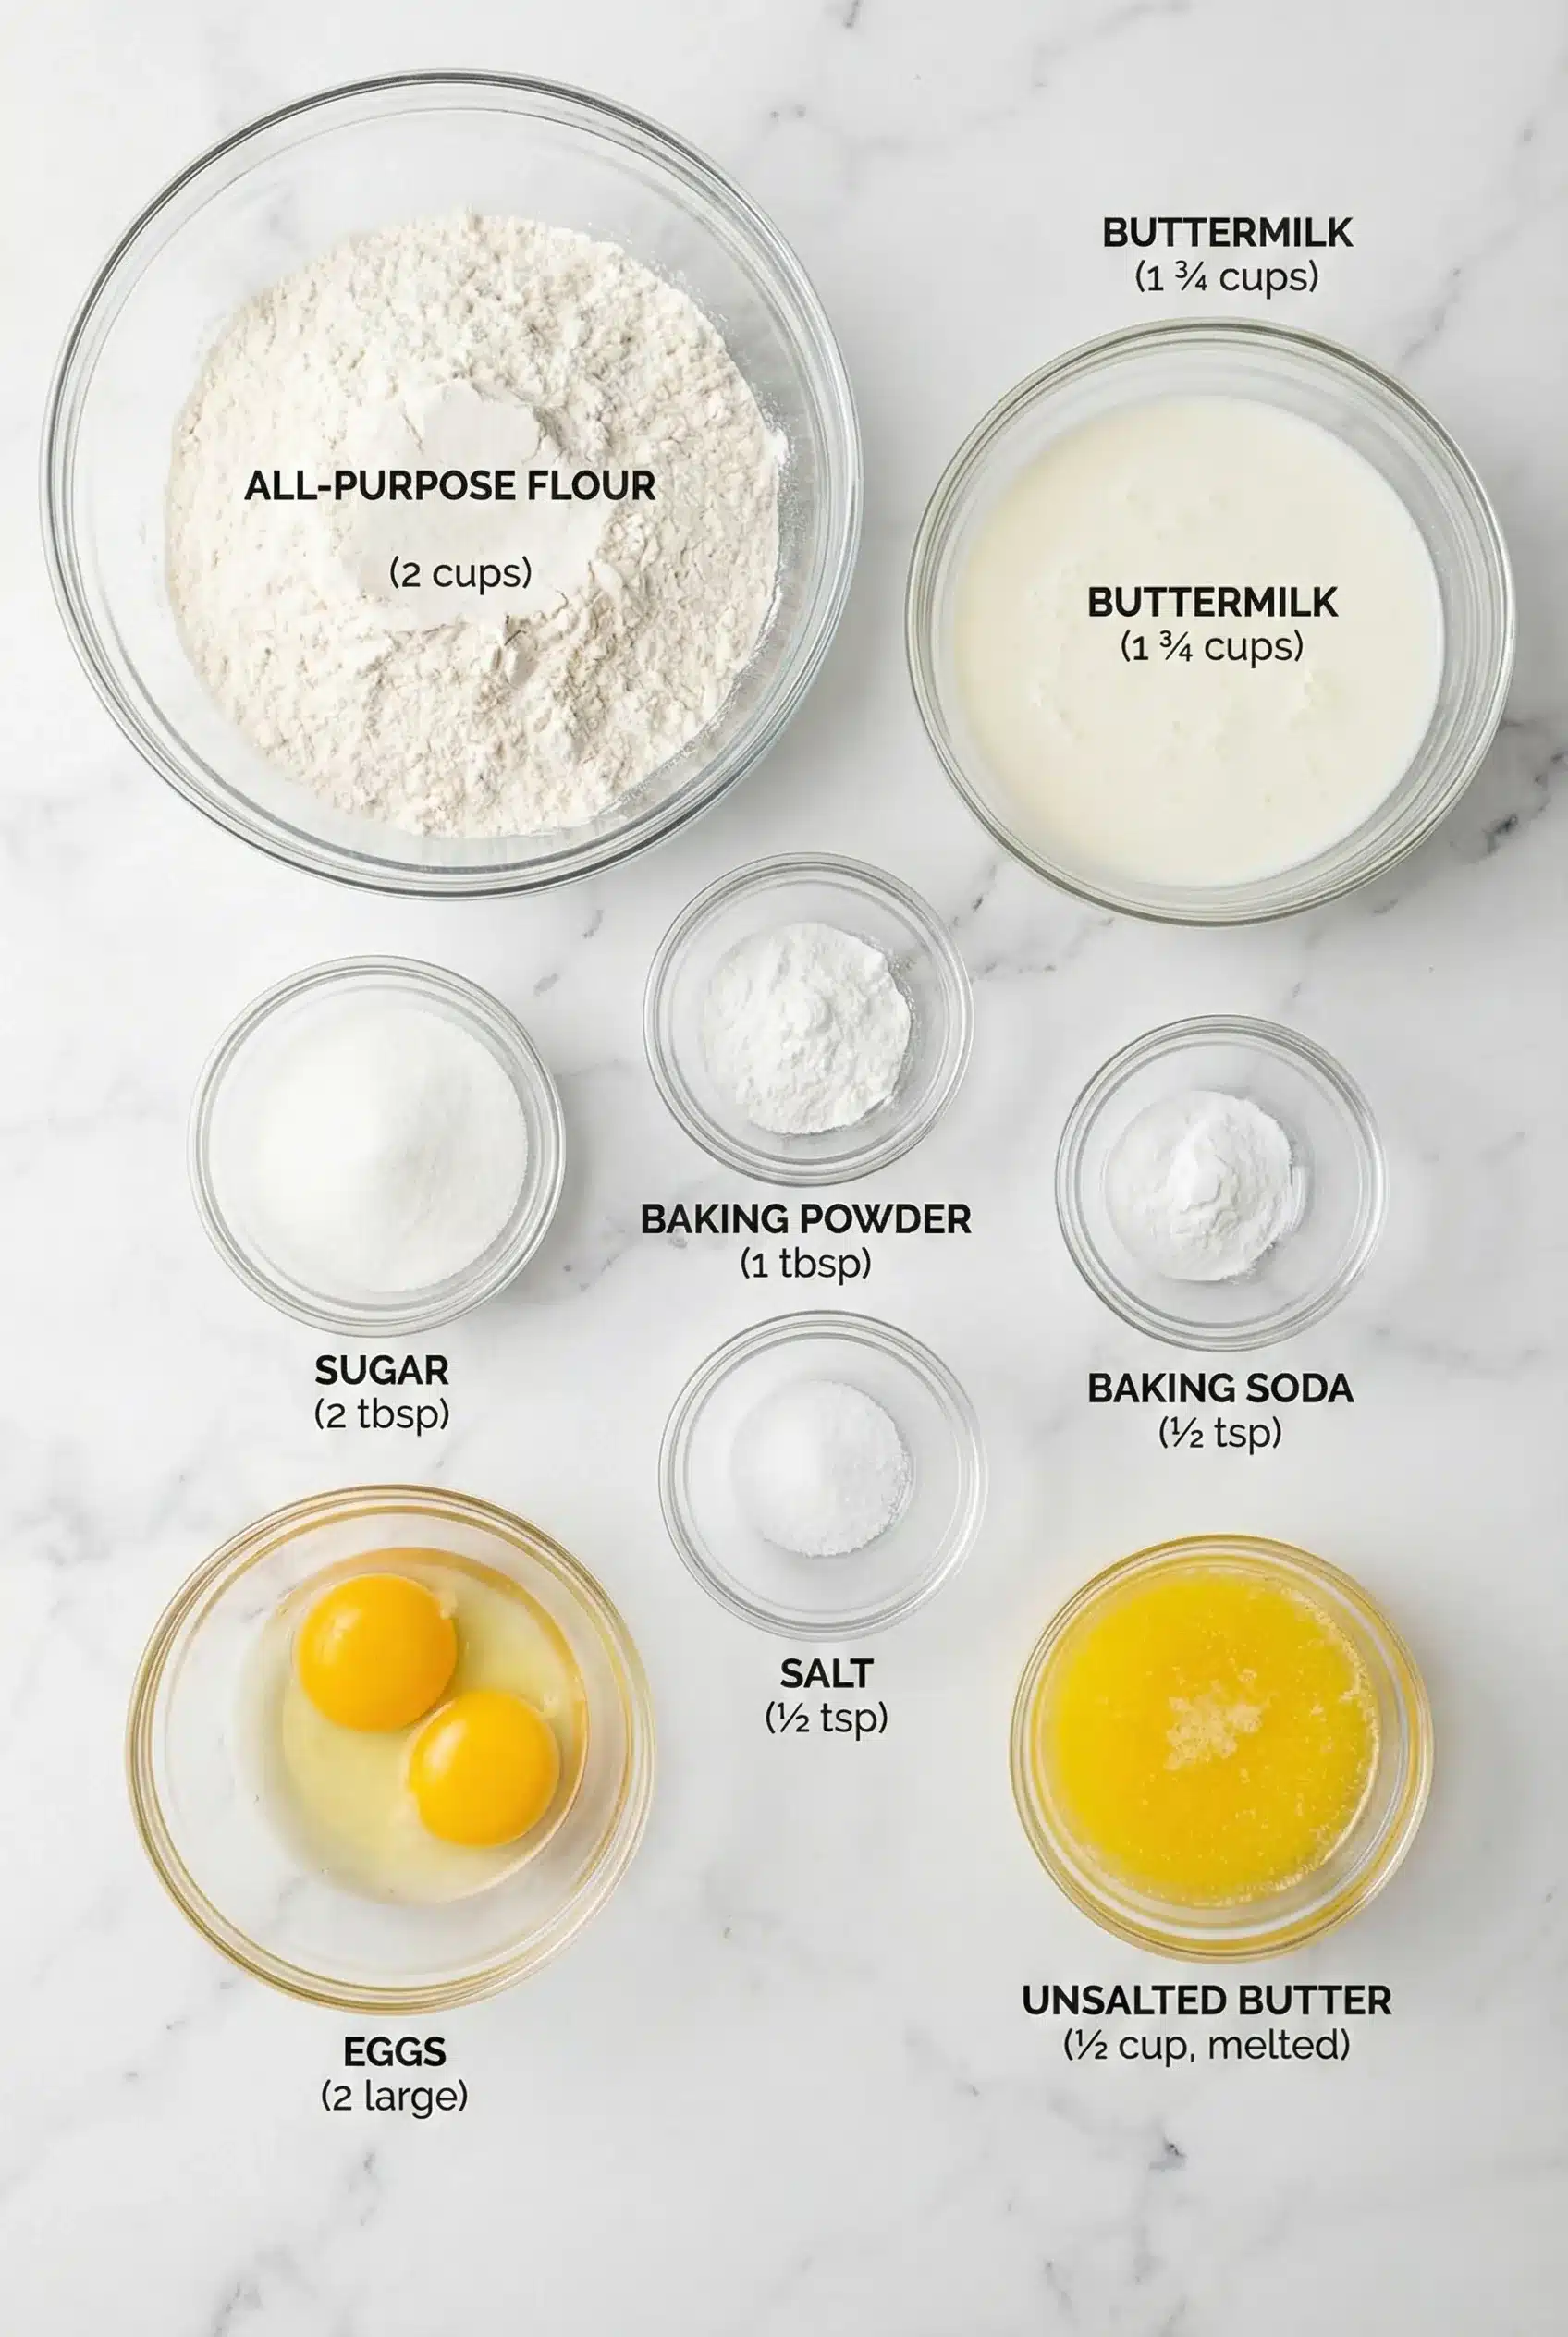
- Simple Ingredients: You probably already have everything you need in your pantry!
- Versatile: Perfect for brunch, breakfast-for-dinner, or even a special occasion.
- Makes You Look Like a Pro: Impress your guests with restaurant-quality waffles made right at home.
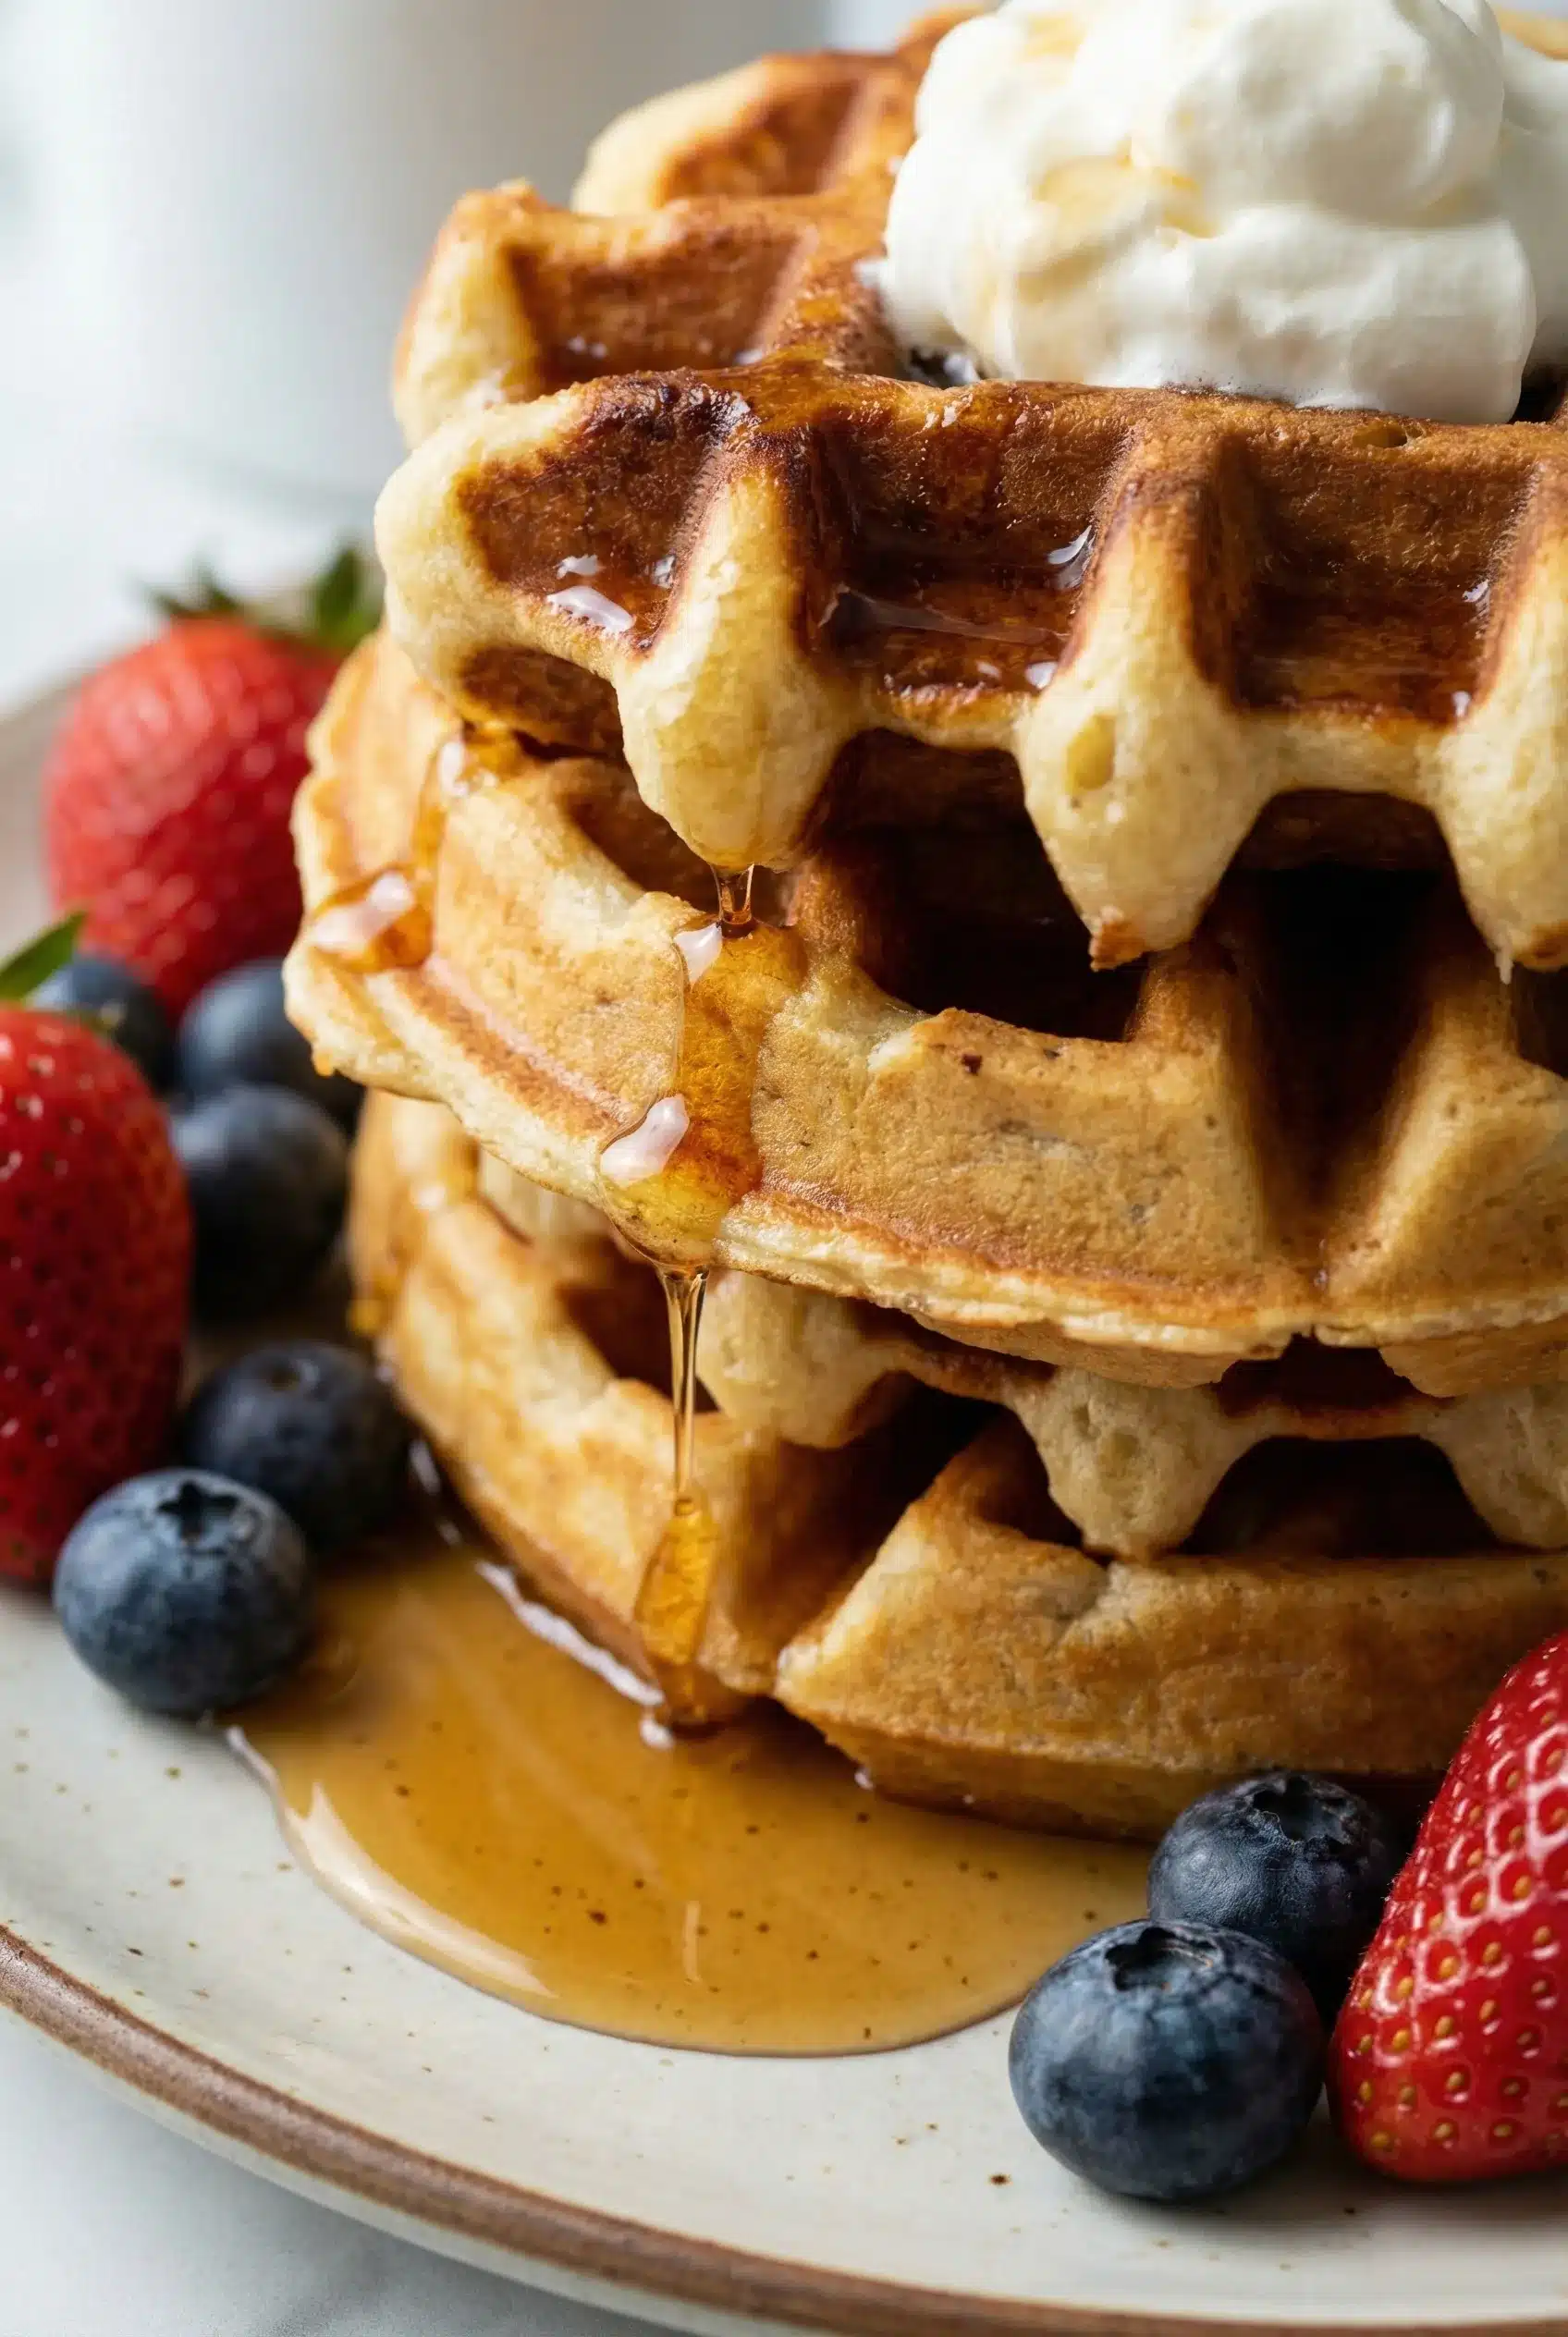
- Visual Appeal: Golden, crisp outsides with a fluffy, soft inside that looks as good as it tastes.
- Make-Ahead Convenience: Prepare the batter the night before for an easy, stress-free morning.
The Secret to Perfect Fluffy Buttermilk Waffles
The magic lies in the buttermilk and a little trick I learned along the way. You see, the acidity in buttermilk reacts with baking soda, creating little pockets of air that make the waffles super fluffy. But here’s the insider tip: let your batter rest for about 10 minutes before cooking. This allows the flour to hydrate and the bubbles to develop, giving you those light and airy waffles you crave. Trust me, you’ll feel like a baking wizard!
Rave Reviews from Friends and Followers
“These are the best waffles I’ve ever had! The buttermilk adds such a unique flavor. I can’t wait to make them for my family!” – Sarah K.
“I never liked waffles until I tried this recipe. They’re so fluffy and delicious—I’m officially a fan!” – Tom J.
“Wow, these Fluffy Buttermilk Waffles are a brunch game-changer! I love how easy they are to make!” – Lisa M.
Creative Variations to Try
- Chocolate Chip Waffles: Fold in some mini chocolate chips for a sweet twist!
- Blueberry Buttermilk Waffles: Toss in fresh blueberries for a burst of flavor.
- Lemon Zest Waffles: Add a hint of lemon zest for a refreshing citrus kick.
- Cinnamon Roll Waffles: Swirl some cinnamon and sugar into the batter for a delightful surprise.
Bonus: Drizzle a little vanilla extract into the batter for an extra layer of flavor!
FAQs – All Your Questions Answered!
Can I use regular milk instead of buttermilk? Yes, but for the best results, add a tablespoon of vinegar or lemon juice to regular milk and let it sit for about 5 minutes to mimic buttermilk’s acidity.
How do I store leftover waffles? Allow them to cool completely, then place them in an airtight container in the fridge for up to 3 days. You can also freeze them for up to 2 months!
Can I make the batter ahead of time? Absolutely! You can mix the batter the night before and keep it in the refrigerator. Just give it a good stir before cooking.
What if my waffles are too dense? Make sure you’re not overmixing the batter. A few lumps are okay; overmixing can develop gluten and make them tough!
Storage/Serving Tips
- Store leftover waffles in an airtight container in the refrigerator for up to 3 days.
- For longer storage, freeze them in a single layer, then transfer to a freezer bag for up to 2 months.
- Reheat in a toaster or oven for that fresh-out-of-the-iron taste!
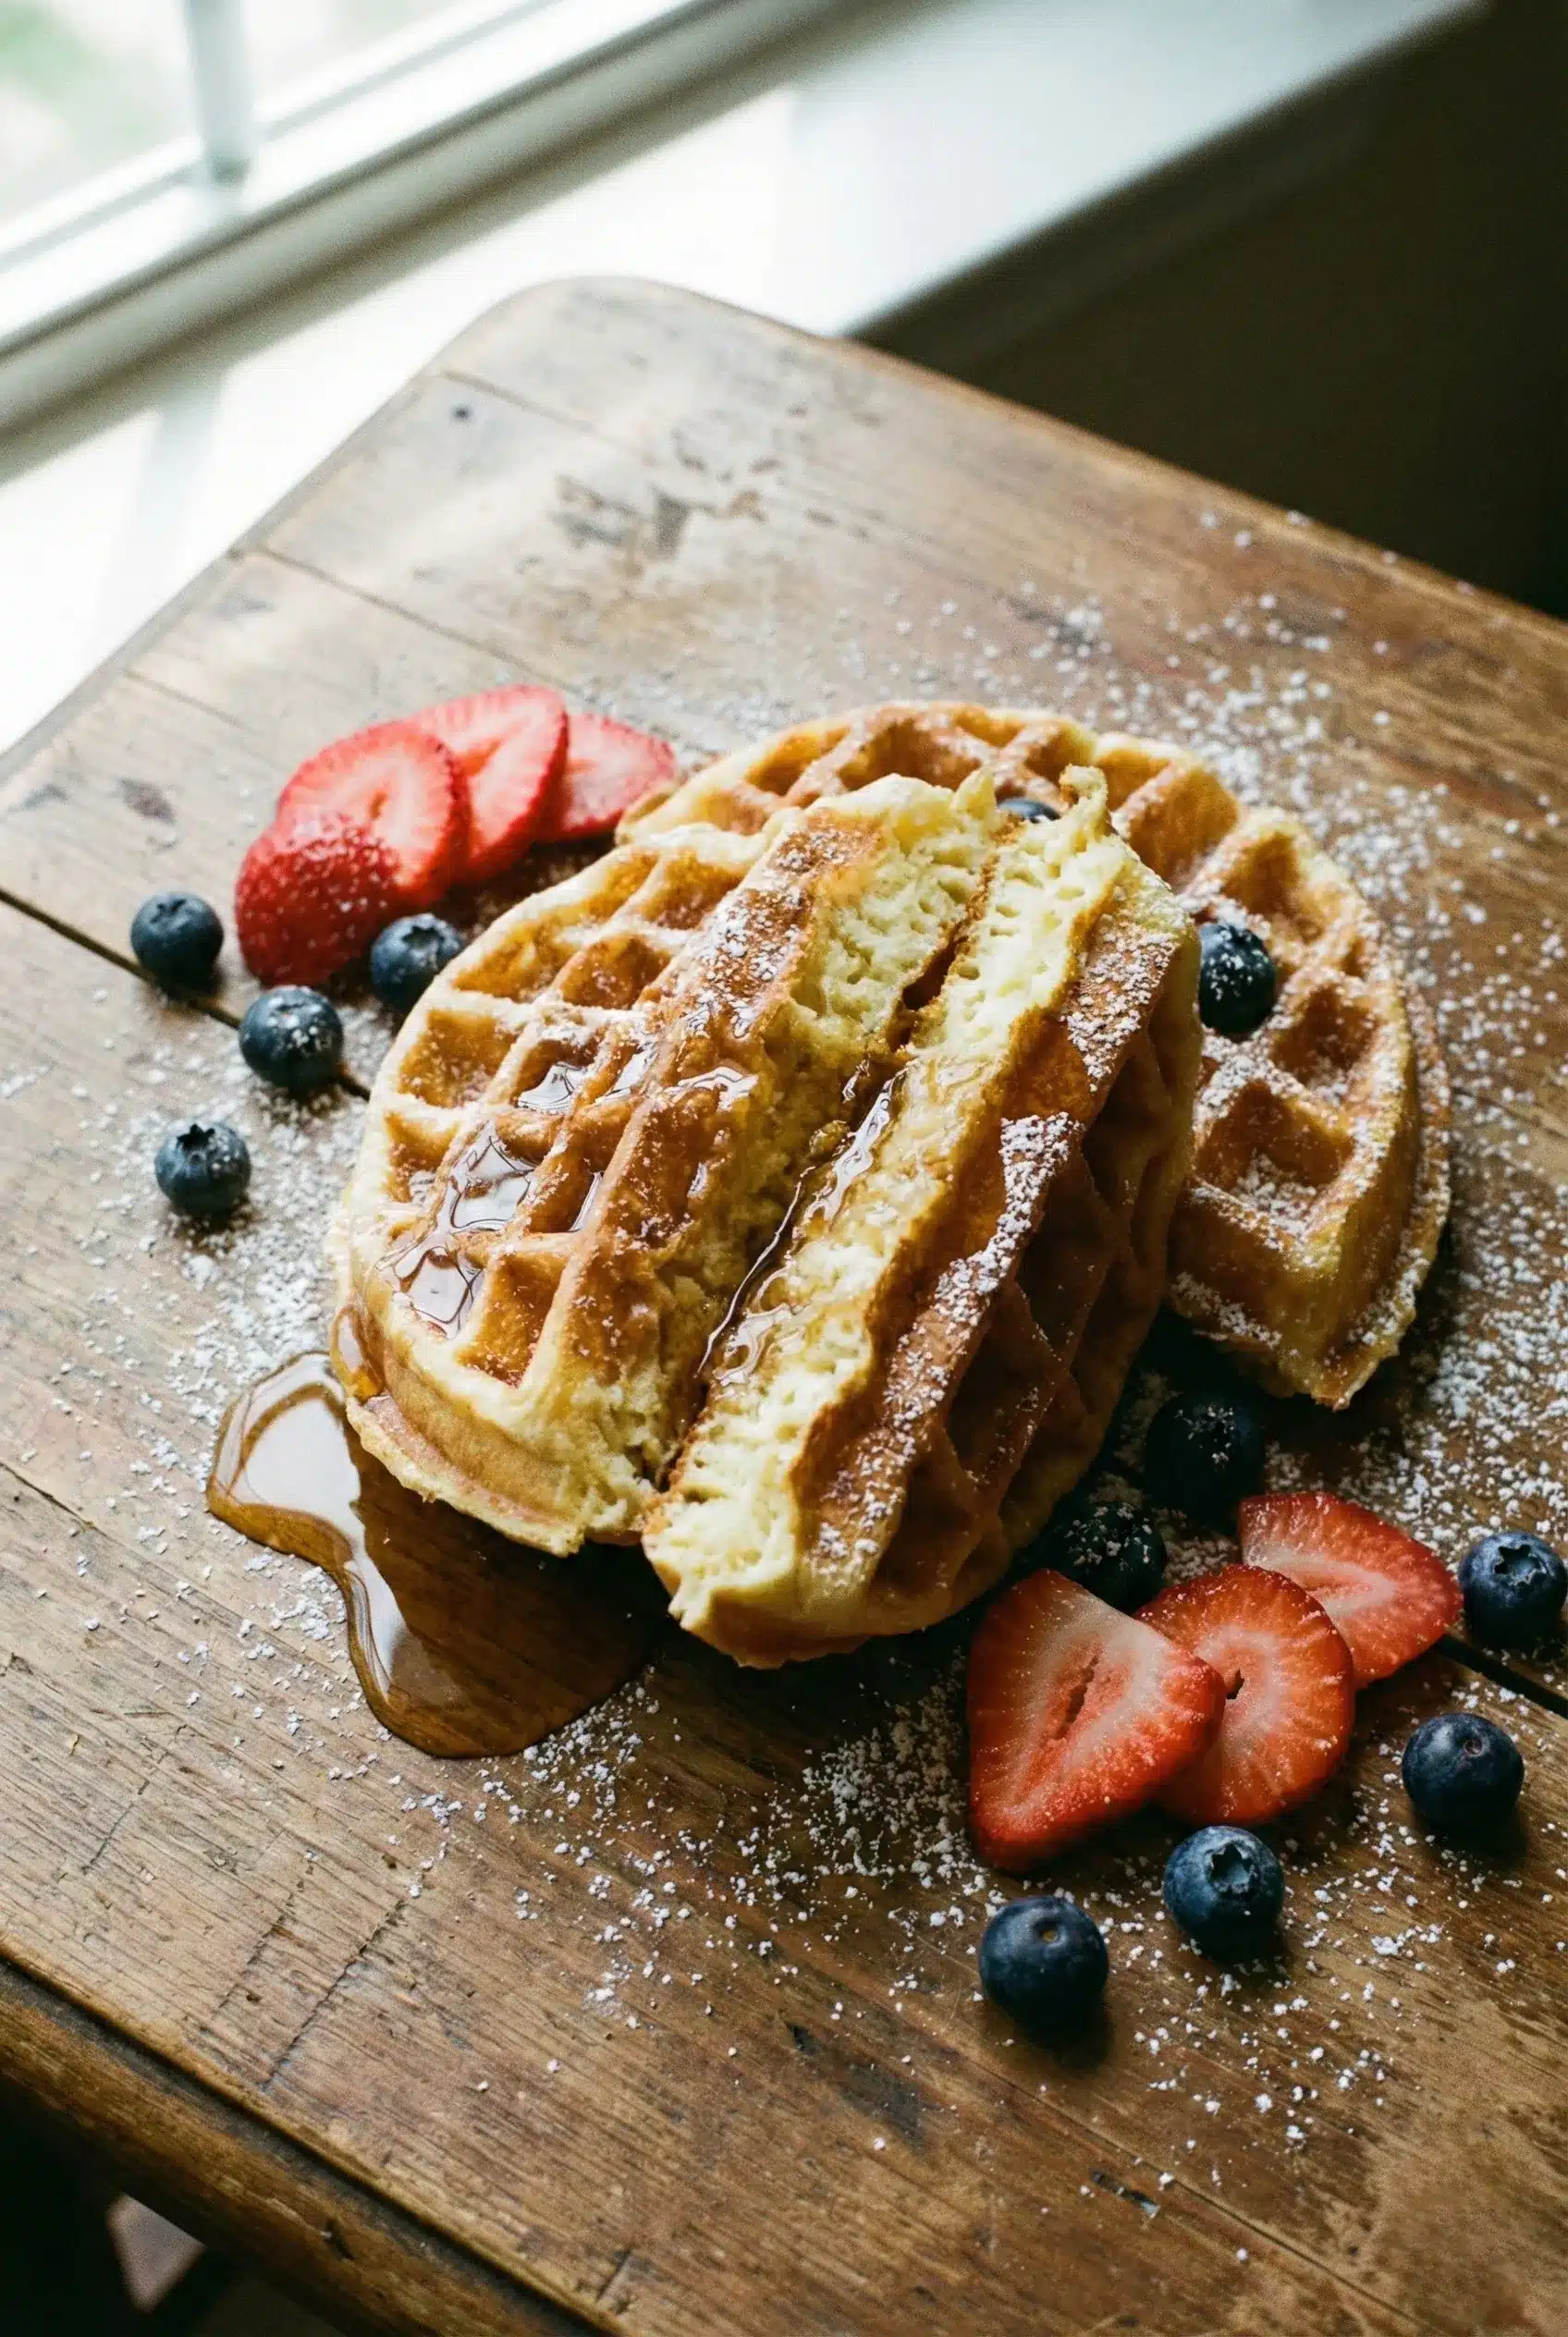
- Serve warm with maple syrup, fresh berries, or whipped cream for an indulgent treat.
Perfect Occasions for Fluffy Buttermilk Waffles
- Weekend brunch with friends or family.
- Holiday gatherings or special occasions.
- Breakfast-for-dinner nights.
- Celebrating a birthday or anniversary.
- Impromptu gatherings or cozy nights in.
The Complete Recipe
Thanks for sticking with me! Now, let’s dive into making these Fluffy Buttermilk Waffles!
Fluffy Buttermilk Waffles
Ingredients
- 2 cups all-purpose flour
- 2 tablespoons sugar
- 1 tablespoon baking powder
- 1/2 teaspoon baking soda
- 1/2 teaspoon salt
- 2 large eggs
- 2 cups buttermilk
- 1/2 cup unsalted butter, melted
Tip: For a fluffier texture, separate the egg whites and yolks. Beat the egg whites until stiff peaks form and gently fold them into the batter at the end!
Extend ingredients section: You can add optional ingredients such as chocolate chips, fresh fruit, or nuts. Each adds a unique flavor and texture, making your waffles even more delightful. For example, blueberries add a juicy burst, while chocolate chips bring a sweet richness.
Step-by-Step Instructions
Step 1: Preheat the Waffle Iron
Preheat your waffle iron according to the manufacturer’s instructions. A hot waffle iron is essential for getting that golden, crispy exterior.
Step 2: Mix the Dry Ingredients
In a large bowl, whisk together the flour, sugar, baking powder, baking soda, and salt. This ensures even distribution of all the leavening agents that will give your waffles that fluffy lift.
Step 3: Combine Wet Ingredients
In another bowl, beat the eggs, then whisk in the buttermilk and melted butter until well combined. The mixture should be creamy and smooth.
Step 4: Combine Wet and Dry Ingredients
Pour the wet ingredients into the dry ingredients. Stir gently until just combined. It’s okay if there are a few lumps—overmixing can lead to dense waffles, and we want fluffy ones!
Step 5: Let the Batter Rest
Allow the batter to rest for about 10 minutes. This is the crucial step that helps the waffles rise beautifully.
Step 6: Cook the Waffles
Lightly grease the waffle iron with non-stick spray or melted butter. Pour the recommended amount of batter onto the center of the waffle iron, close the lid, and cook according to the manufacturer’s instructions until golden brown.
Step 7: Serve and Enjoy!
Serve your Fluffy Buttermilk Waffles warm with your favorite toppings like maple syrup, fresh berries, or whipped cream. Get ready for the compliments to roll in!
Nutrition info (per waffle): approximately 230 calories, 9g fat, 33g carbohydrates, 4g protein.
Extend instructions: For a crispy exterior, you can cook the waffles a little longer than recommended. Also, try to serve them immediately for the best texture, but if you’re making a batch, keep them warm in an oven set to low heat until you’re ready to serve.
Final Thoughts
I hope you’re as excited to try these Fluffy Buttermilk Waffles as I am to share them with you! They are not just a recipe; they are a delightful experience that brings joy to any breakfast table. Whether it’s a casual Sunday brunch or a festive gathering, these waffles will make you the star of the kitchen. So grab your ingredients and get ready to whip up a batch of happiness. You won’t regret it!
Fluffy Buttermilk Waffles
-
Total Time:
35 mins -
Yield:
4 servings
Start your weekend right with irresistibly fluffy buttermilk waffles, featuring a secret ingredient that elevates breakfast to a new level.
Ingredients
- • 2 cups all-purpose flour
- • 2 tablespoons sugar
- • 1 tablespoon baking powder
- • 1/2 teaspoon baking soda
- • 1/2 teaspoon salt
- • 2 large eggs
- • 2 cups buttermilk
- • 1/2 cup unsalted butter, melted
Instructions
- Preheat your waffle iron according to the manufacturer’s instructions.
- In a large bowl, whisk together the flour, sugar, baking powder, baking soda, and salt.
- In another bowl, beat the eggs, then whisk in the buttermilk and melted butter until well combined.
- Pour the wet ingredients into the dry ingredients. Stir gently until just combined.
- Allow the batter to rest for about 10 minutes.
- Lightly grease the waffle iron and pour the recommended amount of batter onto the center.
- Cook according to the manufacturer’s instructions until golden brown.
- Serve warm with your favorite toppings like maple syrup, fresh berries, or whipped cream.
Notes
Storage: Store leftovers in an airtight container in the fridge for up to 3 days.
- Prep Time: 15 mins
- Cook Time: 20 mins
- Category: Breakfast
- Cuisine: American
- Method: Oven