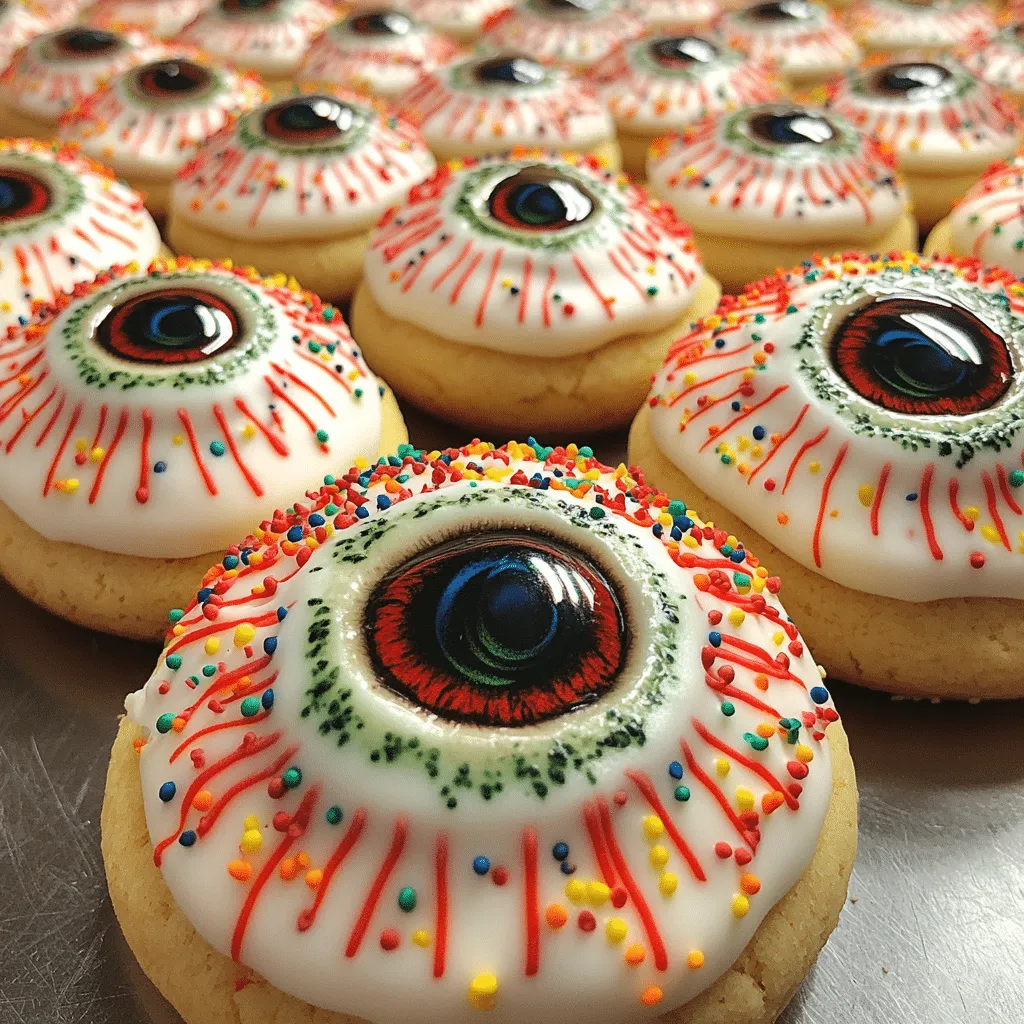
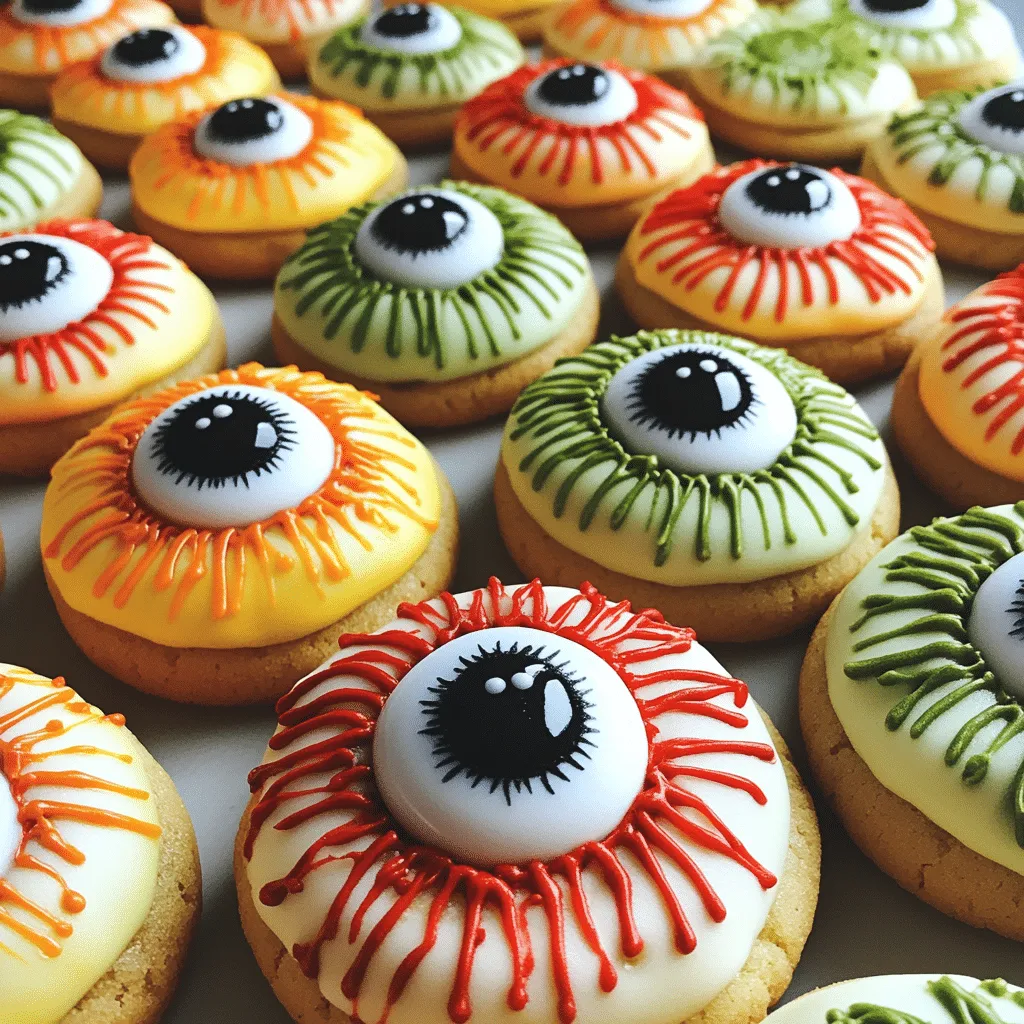
Let me tell you, I have made these Monster Eyeball Cookies so many times that I’ve lost count! Every Halloween, they become the star of the show at my gatherings. Friends and family can’t get enough of their spooky charm and delicious flavor. Trust me, there’s something magical about baking these ghoulish treats that brings everyone together for a fun time in the kitchen. If you’re looking to impress at your next Halloween party, you’re in the right place. Let’s dive into the world of Monster Eyeball Cookies!
Why You’ll Love This Monster Eyeball Cookies
- Easy to Make: This recipe is straightforward, making it perfect for bakers of all skill levels!
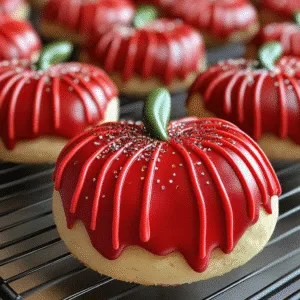
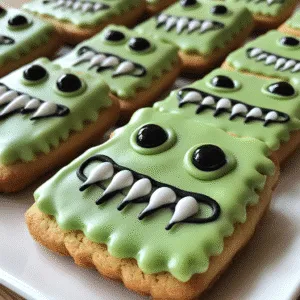
- Visually Striking: The vibrant colors and creepy design will wow your guests, making them the perfect spooky treat.
- Customizable: You can easily switch up colors and flavors to match your party theme or personal preferences.
- Fun to Decorate: Kids and adults alike will love getting creative with the decorating process!
- Make Ahead: These cookies can be made in advance, saving you time when the festivities begin.
The Secret to Perfect Monster Eyeball Cookies
The key to these cookies lies in the balance of sweetness and the fun decoration that truly brings them to life. The dough is rich and buttery, which provides a perfect backdrop for the playful toppings. A tip from my experience: use gel food coloring instead of liquid for the brightest, most vibrant colors. This little change will elevate your cookies to a whole new level! When you mix in the colors and decorate, don’t be afraid to get creative – the more imaginative, the better!
Rave Reviews from Friends and Followers
“These Monster Eyeball Cookies were the hit of our Halloween party! Everyone was snapping photos before they even took a bite!” – Sarah M.
“I never knew baking could be this much fun! My kids loved helping me decorate these spooky treats.” – Jake R.
“I’ve made these cookies three times already this season. They’re just too good to resist!” – Emily T.
Creative Variations to Try
- Pumpkin Spice Monster Eyeballs: Add pumpkin spice to the dough for a fall twist!
- Chocolate Chip Delight: Mix in chocolate chips for a rich, decadent flavor.
- Minty Monsters: Use mint extract instead of vanilla for a refreshing twist.
- Peanut Butter Surprise: Incorporate peanut butter into the dough for a nutty flavor.
Bonus: Try using colored sugar or edible glitter to add an extra sparkle to your Monster Eyeball Cookies!
FAQs – All Your Questions Answered!
Can I use a different type of flour? Yes! All-purpose flour works best, but you can substitute with gluten-free flour if needed.
How should I store my cookies? Keep them in an airtight container at room temperature for up to one week.
Can I freeze Monster Eyeball Cookies? Absolutely! Freeze them in a single layer, then transfer to a freezer bag for up to three months.
What if I don’t have gel food coloring? Liquid food coloring works, but the colors won’t be as vibrant. Just use a bit more for desired brightness.
Storage/Serving Tips
- Store in an airtight container to maintain freshness and prevent them from getting stale.
- These cookies will stay fresh for about a week at room temperature.
- For a spooky presentation, serve them on a black platter with cobweb decorations for that full Halloween vibe!
Perfect Occasions for Monster Eyeball Cookies
- Halloween parties
- School bake sales
- Spooky movie nights
- Fall festivals
- Trick-or-treat gatherings
- Kids’ birthday parties with a Halloween theme
The Complete Recipe
Thank you for joining me on this spooky baking journey! Now, let’s get to the recipe that will have everyone raving about your baking skills.
Monster Eyeball Cookies
Ingredients
- 2 ½ cups all-purpose flour
- 1 tsp baking soda
- ½ tsp salt
- 1 cup unsalted butter, softened
- 1 cup granulated sugar
- 1 cup brown sugar, packed
- 2 large eggs
- 2 tsp vanilla extract
- Food coloring (gel preferred)
- 1 cup chocolate chips
- 1 cup frosting (store-bought or homemade)
- Candy eyeballs for decoration
Tip: Make sure your butter is softened to room temperature for easy mixing and a smooth texture.
Extend ingredients section: You can customize with optional add-ins like nuts or dried fruit for added texture. Each ingredient contributes to the cookie’s flavor and structure, making them deliciously chewy.
Step-by-Step Instructions
Step 1: Preheat Your Oven
Start by preheating your oven to 350°F (175°C). This step is crucial for ensuring your cookies bake evenly and come out perfectly golden.
Step 2: Mix the Dry Ingredients
In a bowl, whisk together the flour, baking soda, and salt until well combined. This helps distribute the leavening agent evenly, ensuring your cookies rise beautifully.
Step 3: Cream the Butter and Sugars
In a large mixing bowl, cream the softened butter, granulated sugar, and brown sugar until the mixture is light and fluffy, about 2-3 minutes. This step incorporates air into the batter, making your cookies light and tender!
Step 4: Add the Eggs and Vanilla
Add in the eggs, one at a time, mixing well after each addition. Then, stir in the vanilla extract. The eggs will help bind everything together, creating a delightful cookie structure.
Step 5: Combine Wet and Dry Ingredients
Gradually add the dry ingredient mixture to the wet ingredients, mixing until just combined. Be careful not to overmix, as this can lead to tough cookies!
Step 6: Color the Dough
Divide the dough into smaller sections and add different colors of gel food coloring to each section, mixing until the colors are vibrant and even. This is where your creativity can shine!
Step 7: Shape the Cookies
Using your hands or a cookie scoop, form the dough into balls and place them on a baking sheet lined with parchment paper. Leave some space between each cookie to allow for spreading.
Step 8: Bake
Bake in the preheated oven for 10-12 minutes, or until the edges are lightly golden. Keep an eye on them, as every oven is a little different!
Step 9: Cool and Decorate
Allow the cookies to cool on the baking sheet for a few minutes before transferring them to a wire rack. Once cool, spread frosting on top and place a candy eyeball in the center for the perfect Monster Eyeball look!
Nutrition info: Each cookie contains approximately 150 calories, depending on size and frosting used. Enjoy responsibly!
Final Thoughts
These Monster Eyeball Cookies are more than just a recipe; they’re an experience that brings joy, laughter, and creativity to your Halloween festivities. You’ll love how they look and taste, and they’re sure to become a treasured part of your holiday traditions. So gather your ingredients, invite some friends over, and let’s get baking! I can’t wait to hear about your spooky creations!