
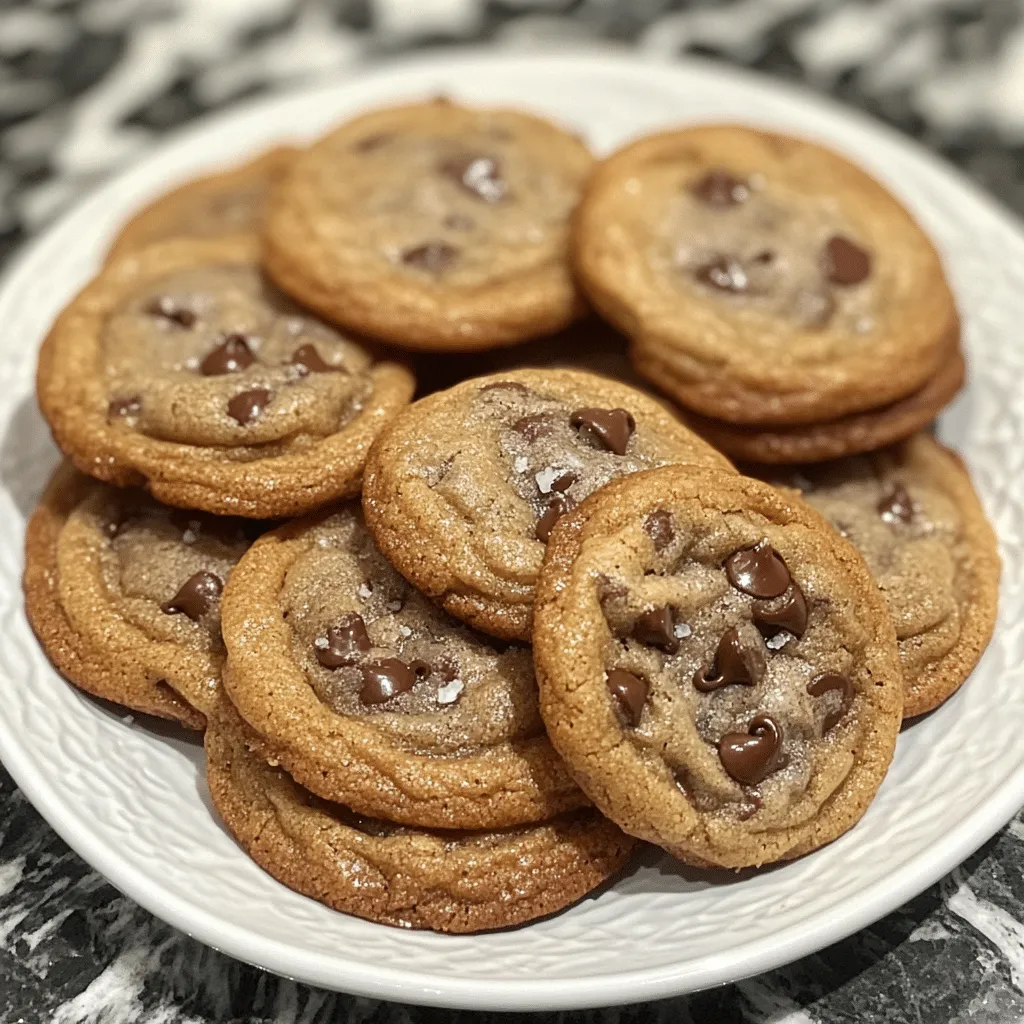
Indulge in the Perfect Chocolate Chip Cookies
There’s something truly magical about the aroma of freshly baked chocolate chip cookies wafting through your home. This classic treat is not only a staple in many households but also a beloved dessert that brings joy to anyone who takes a bite. Whether you’re celebrating a special occasion or just need a sweet treat to brighten your day, these homemade chocolate chip cookies are sure to satisfy your cravings and impress your family and friends.
Why You’ll Love This Recipe
This chocolate chip cookie recipe is a treasured favorite for several reasons:
- Easy to Follow: Designed for bakers of all levels, this straightforward recipe guides you through each step.
- Perfect Texture: Enjoy the ideal balance of chewy and crispy in every bite.
- Customizable: Feel free to add your favorite nuts, chocolate types, or even a sprinkle of sea salt.
- Family Favorite: This recipe has been passed down through generations, making it a heartwarming tradition.
- Deliciously Versatile: These cookies are perfect on their own or as a delightful addition to ice cream sundaes.
Ingredients You’ll Need
For the Cookie Dough
- 2 1/4 cups all-purpose flour
- 1/2 teaspoon baking soda
- 1 cup unsalted butter, softened
- 3/4 cup granulated sugar
- 3/4 cup packed brown sugar
- 1 teaspoon salt
- 2 teaspoons pure vanilla extract
- 2 large eggs
- 2 cups semisweet chocolate chips
Optional Add-Ins
- 1 cup chopped nuts (walnuts or pecans)
- 1/2 cup of oatmeal for a chewy twist
- Sprinkle of sea salt for a gourmet touch
Step-by-Step Instructions
Ready to bake the best chocolate chip cookies? Let’s get started!
- Preheat the Oven: Preheat your oven to 350°F (175°C). This ensures that your cookies bake evenly and come out perfectly golden brown.
- Mix Dry Ingredients: In a small bowl, whisk together the flour and baking soda. Set aside.
- Cream Butter and Sugars: In a large mixing bowl, beat the softened butter, granulated sugar, brown sugar, and salt until creamy and well combined.
- Add Eggs and Vanilla: Add the eggs one at a time, mixing well after each addition. Stir in the vanilla extract.
- Combine Wet and Dry Ingredients: Gradually add the flour mixture to the wet ingredients, mixing just until combined. Avoid overmixing!
- Fold in Chocolate Chips: Gently fold in the chocolate chips (and nuts, if using) until evenly distributed throughout the dough.
- Drop Cookie Dough: Scoop tablespoon-sized portions of dough onto ungreased baking sheets, spacing them about 2 inches apart.
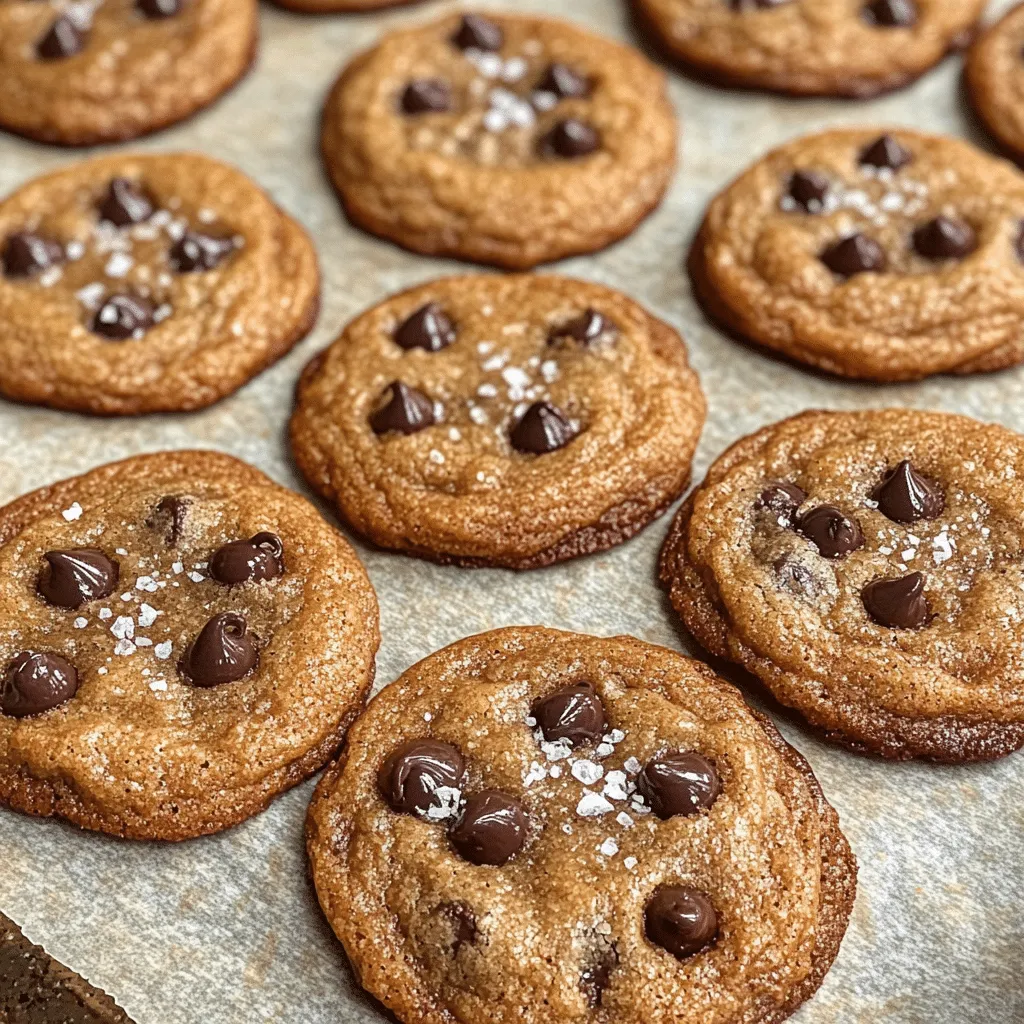
- Bake: Bake in the preheated oven for 9-11 minutes or until the edges are lightly golden. The centers may look slightly underbaked, but they’ll continue to cook on the baking sheet.
- Cool: Allow cookies to cool on the baking sheet for about 5 minutes before transferring them to a wire rack to cool completely.
Serving Suggestions
These chocolate chip cookies are delicious on their own, but here are some delightful ways to serve them:
- A La Mode: Serve warm cookies with a scoop of vanilla ice cream on top for a delightful dessert.
- With Milk: Pair your cookies with a cold glass of milk for a classic combination.
- Cookie Sandwiches: Spread a layer of frosting or even peanut butter between two cookies for a fun twist.
- Gift Them: Package cookies in a decorative box and share with friends or family as a sweet gesture.
Tips for Success
To ensure your chocolate chip cookies turn out perfectly every time, keep these tips in mind:
- Use Room Temperature Ingredients: Allow your butter and eggs to come to room temperature for optimal mixing.
- Don’t Overbake: It’s better to slightly underbake your cookies, as they will continue to set on the baking sheet.
- Chill the Dough: If you have time, chill the dough for at least 30 minutes before baking. This helps enhance the flavors and improves texture.
- Storage: Store cookies in an airtight container at room temperature for up to a week, or freeze for longer storage.
Final Thoughts
Now that you have the ultimate chocolate chip cookie recipe at your fingertips, it’s time to gather your ingredients and start baking! Whether you’re making them for a special occasion or just to enjoy with your family, these cookies are sure to bring smiles all around. Don’t forget to save this recipe for your next baking adventure, and share the joy of homemade treats with those you love. Happy baking!