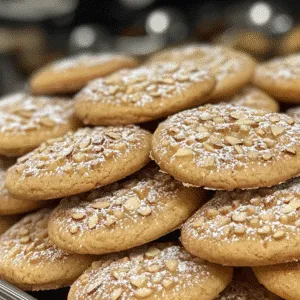
There’s something truly magical about the holiday season, isn’t there? The twinkling lights, the sweet aroma of baked goods wafting through the kitchen, and the joyous gatherings with loved ones make it a time to cherish. One of my absolute favorite traditions during this festive time is whipping up a batch of delightful puff pastry Christmas desserts. Trust me, I’ve made these so many times, and every single time they disappear faster than I can say “Merry Christmas!” Whether it’s a cozy family gathering or a lively holiday party, these treats are always the star of the show. So, let’s dive into the world of puff pastry and create some unforgettable memories this Christmas!
Why You’ll Love This Puff Pastry Christmas Dessert
- Easy to Make: Even if you’re not a baking pro, these recipes are simple and straightforward!
- Versatile Flavors: You can fill these pastries with anything from fruity jams to rich chocolates, so there’s something for everyone!
- Visually Stunning: The golden, flaky pastry looks incredible on any holiday table—your guests won’t be able to resist!
- Make-Ahead Convenience: Prepare your pastries in advance and bake them fresh just before serving to wow your guests!
- Perfect for Sharing: These desserts are ideal for holiday parties, and they make fantastic gifts for friends and family!
The Secret to Perfect Puff Pastry Christmas Desserts
The key to achieving that perfectly flaky and airy texture lies in the quality of your puff pastry and how you handle it. I always recommend using high-quality, store-bought puff pastry, as it saves time without sacrificing flavor. The magic happens when you work quickly and keep everything cold—this ensures that the layers of butter in the pastry create those delightful flakiness we all love. Trust me, the first time I mastered the art of puff pastry, it was a total game-changer in my baking adventures. Just remember to keep your workspace cool, and you’ll be on your way to puff pastry perfection!
Rave Reviews from Friends and Followers
“These puff pastry Christmas desserts are a holiday staple in my home now! They are so easy to make, and my family can’t get enough of them!”
“I brought these to my office holiday party, and everyone was raving about them! The flavors are incredible and they look so fancy!”
“I never thought I could make puff pastry desserts at home, but this recipe made it so doable. My guests were so impressed!”
Creative Variations to Try
- Apple Cinnamon Delight: Fill your pastry with spiced apples and a sprinkle of cinnamon for a classic flavor.
- Chocolate Hazelnut Cream: A rich filling of chocolate hazelnut spread takes these pastries to a whole new level!
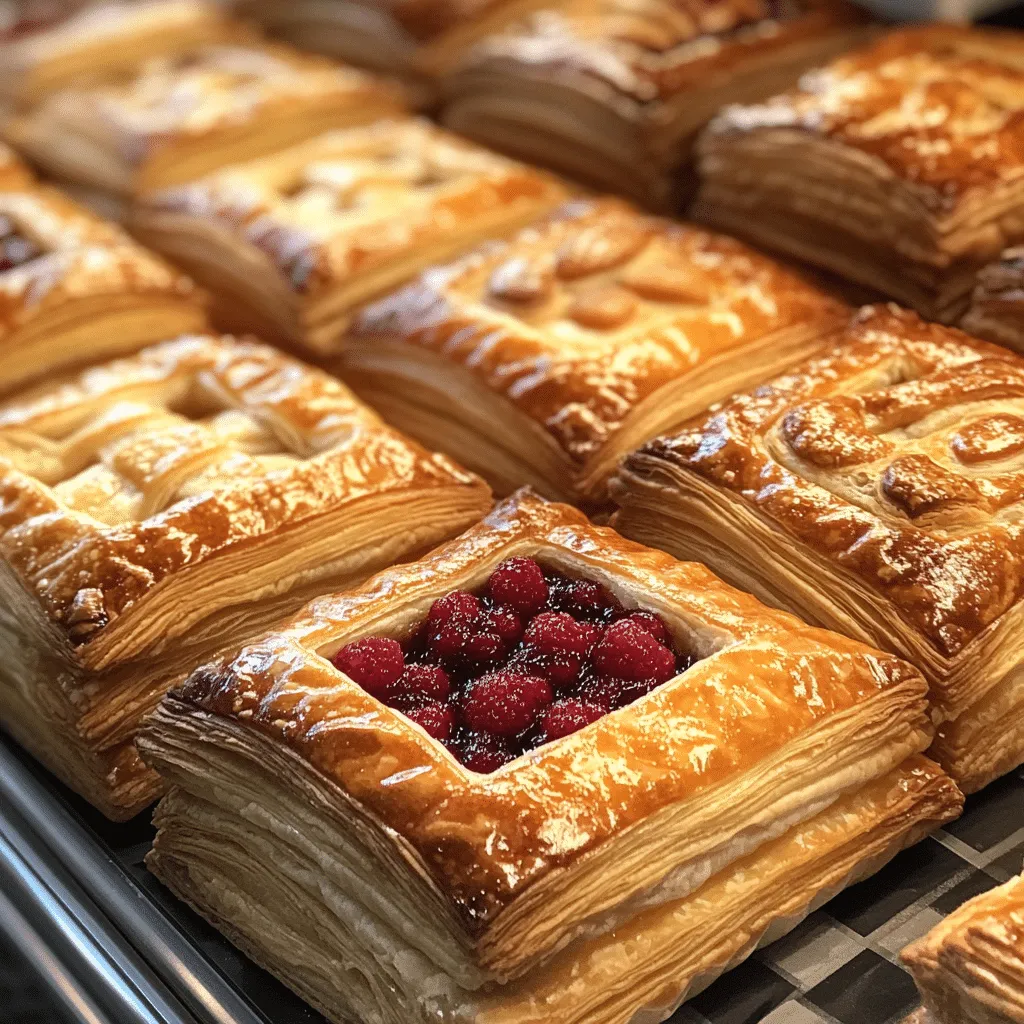
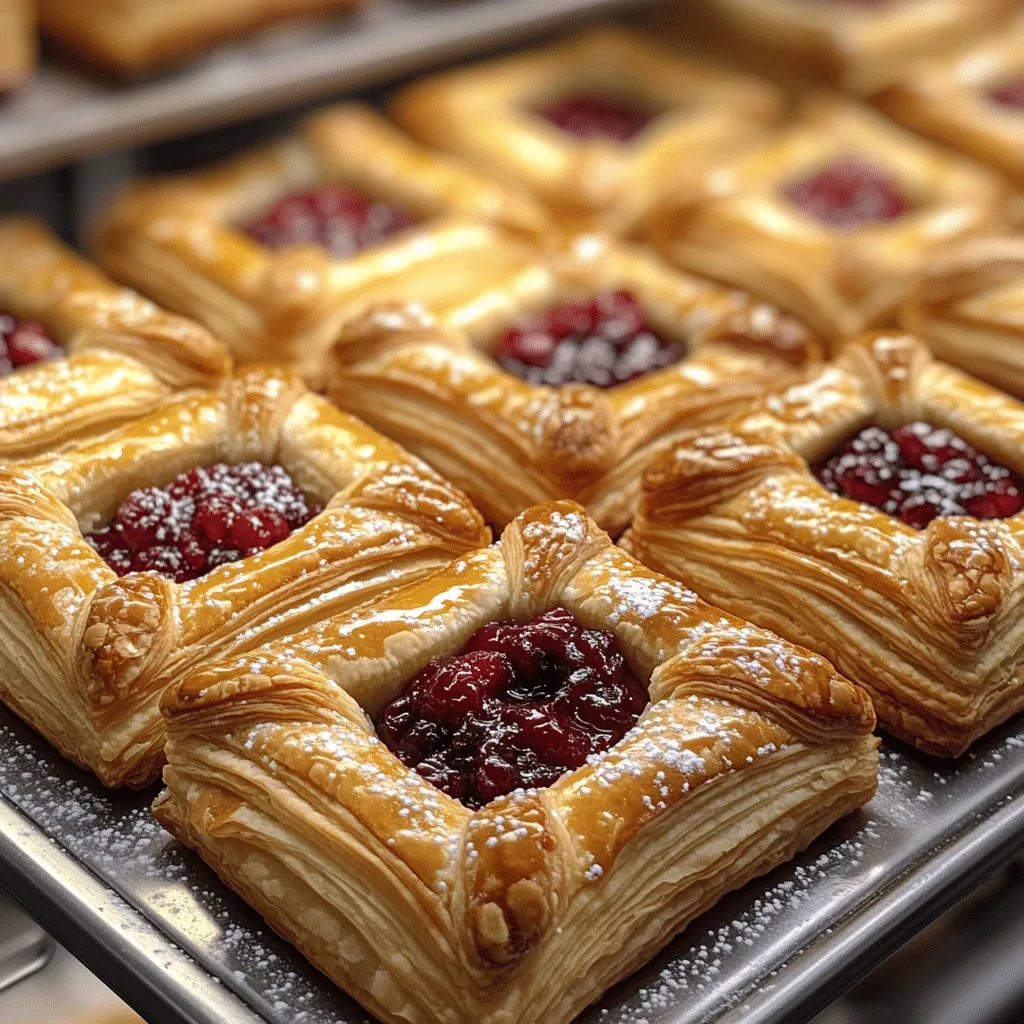
- Berry Medley: Use a mix of fresh berries for a tart and sweet surprise that screams holiday cheer.
- Vanilla Almond Cream: Whip up a quick almond cream for a nutty, aromatic filling that’s simply divine.
- Bonus Tip: Add a sprinkle of powdered sugar on top just before serving for that extra touch of elegance!
FAQs – All Your Questions Answered!
Can I use homemade puff pastry instead of store-bought?
Absolutely! Homemade puff pastry can yield amazing results, but it requires some time and technique. If you’re up for the challenge, go for it!
How do I store leftover puff pastry desserts?
Store any leftovers in an airtight container in the refrigerator for up to 3 days. Reheat them briefly in the oven to regain that lovely flakiness!
Can I freeze these desserts?
Yes! You can freeze unbaked pastries. Just assemble them, freeze them on a baking sheet, and once frozen, transfer to a zip-top bag. Bake from frozen, adding a few extra minutes to the bake time.
What can I substitute for the filling?
Feel free to get creative! Nut butters, custards, or even savory fillings like cheese and spinach work wonderfully. The possibilities are endless!
How long do these pastries take to bake?
They typically bake for 15-20 minutes at 400°F (200°C) until golden brown. Keep an eye on them; you want that perfect golden color!
Storage/Serving Tips
- Store in an airtight container for up to 3 days.
- For best results, reheat in the oven to keep them crispy.
- Serve warm for the best texture and flavor.
- Pair with a scoop of vanilla ice cream or a dollop of whipped cream for an extra indulgent treat!
Perfect Occasions for Puff Pastry Christmas Desserts
- Holiday parties with family and friends
- Office Christmas celebrations
- Festive brunches or breakfast gatherings
- Gift exchanges and potlucks
- New Year’s Eve parties
- Neighborhood cookie swaps
- Cozy nights in with hot cocoa
The Complete Recipe
Thank you for joining me on this delicious journey into the world of puff pastry Christmas desserts! Now, let’s get into the specifics of making these delightful treats.
Puff Pastry Christmas Desserts
Ingredients
- 1 package of puff pastry (2 sheets), thawed
- 1 cup of your choice of filling (fruit preserve, chocolate, almond cream, etc.)
- 1 egg (for egg wash)
- Powdered sugar (for dusting, optional)
Tip: Always keep your puff pastry cold until you’re ready to use it. This helps maintain its flaky texture!
Extend ingredients section:
- Filling Options: You can use jams, chocolate spreads, or even pastry cream. Each option brings its own unique flavor!
- Egg Wash: This gives your pastries that beautiful golden brown finish. A mixture of milk or cream can also work if you want a non-egg option.
- Optional Add-Ins: Consider adding spices like cinnamon or nutmeg to your filling for an extra flavor punch.
Step-by-Step Instructions
Step 1: Preheat Your Oven
Preheat your oven to 400°F (200°C). This is crucial for getting that perfect puffiness when baking!
Step 2: Prepare the Puff Pastry
Roll out your thawed puff pastry sheets on a lightly floured surface. Cut them into squares or rectangles, depending on your desired shape.
Step 3: Add the Filling
Place a spoonful of your chosen filling in the center of each pastry square. Be careful not to overfill—nobody wants a messy explosion in the oven!
Step 4: Seal the Pastry
Fold the pastry over the filling to create a triangle or rectangle shape. Press the edges to seal, and use a fork to crimp the edges for extra security and a cute design!
Step 5: Egg Wash Time
Beat the egg in a small bowl and brush the mixture over the top of each pastry. This will give your treats that gorgeous golden color!
Step 6: Bake to Perfection
Place the pastries on a lined baking sheet and bake for 15-20 minutes or until they are puffed up and golden brown. The aroma will be heavenly!
Step 7: Cool and Serve
Once baked, let them cool slightly before dusting with