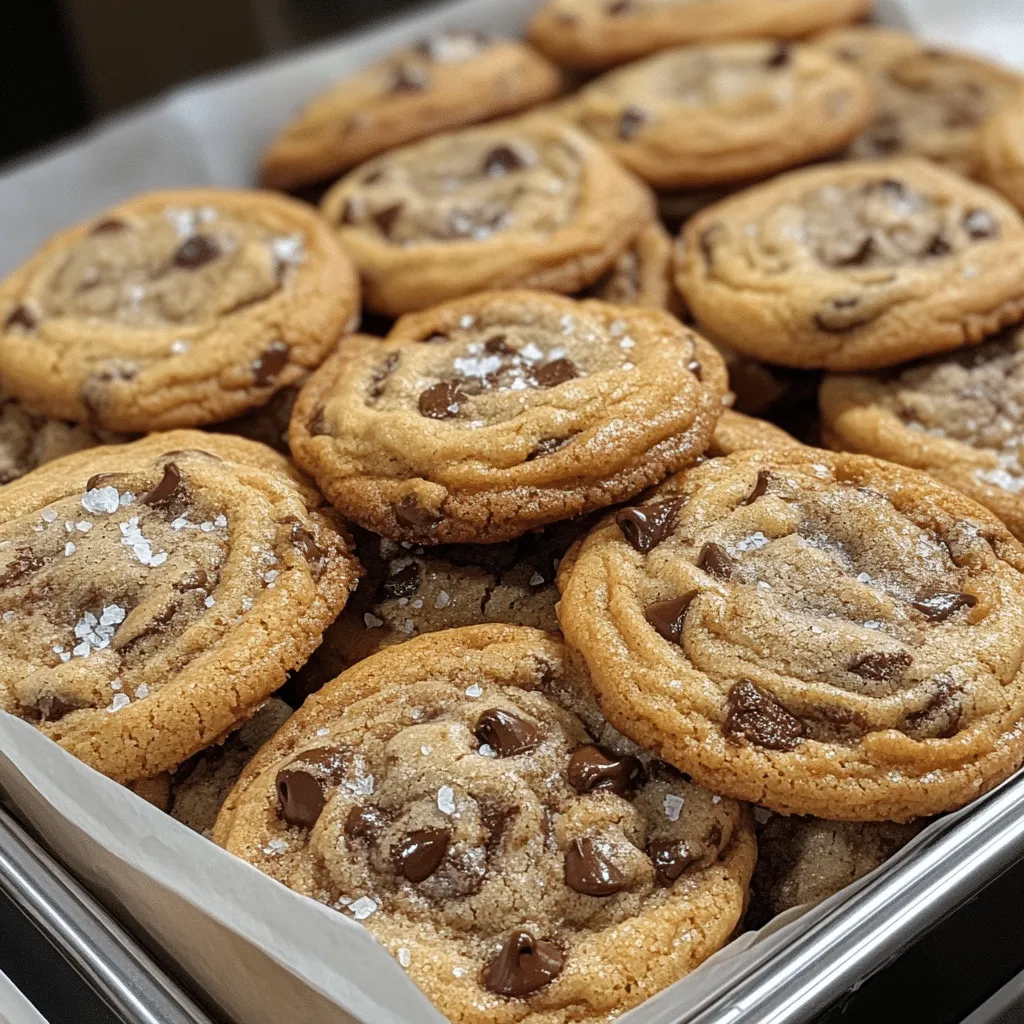
Let me tell you, there’s nothing quite like the smell of freshly baked thick and chewy cookies wafting through your home! I can’t even count how many times I’ve made this recipe, but every single time, it brings smiles and happy bellies. These cookies are not just a treat; they’re an experience, and trust me, once you bake a batch, you’ll be hooked! Imagine pulling a tray of warm, gooey cookies from the oven, their delicious aroma filling every corner of your kitchen. It’s pure magic!
Why You’ll Love This Thick and Chewy Cookies Recipe
- Irresistible Flavor: With a perfect balance of sweetness and a hint of vanilla, each bite is a flavor explosion.
- Easy to Make: You don’t need to be a baking expert; this recipe is straightforward and beginner-friendly.
- Versatile Treat: Customize with your favorite mix-ins like chocolate chips, nuts, or dried fruits!
- Visually Appealing: Thick and chewy cookies are not just tasty; they look fantastic on any dessert table.
- Make-Ahead Convenience: Dough can be refrigerated or frozen, making cookie cravings easy to satisfy!
The Secret to Perfect Thick and Chewy Cookies
The secret to achieving that perfect thick and chewy texture lies in the ingredients and technique. Trust me, using cold butter instead of softened will give you that delightful chewiness. It helps create a thicker cookie that holds its shape while baking. I also recommend chilling the dough for at least an hour before baking. This step allows the flavors to meld beautifully and prevents the cookies from spreading too much in the oven. You’ll be amazed at how a little patience transforms your cookies into little bites of heaven!
Rave Reviews from Friends and Followers
“These cookies are the best I’ve ever made! The thick, chewy texture is out of this world. I can’t wait to bake them again!” — Sarah K.
“I brought these to a potluck, and they were gone in minutes! Everyone kept asking for the recipe. Thank you!” — Mike T.
“I’m a cookie lover, and this recipe is a game-changer! They’re so delicious and easy to make. I’m obsessed!” — Emily R.
Creative Variations to Try
- Chocolate Chip Walnut: Add chopped walnuts for a crunchy texture that complements the chocolate.
- Peanut Butter Swirl: Mix in peanut butter for a nutty flavor that pairs perfectly with chocolate.
- Oatmeal Raisin: Substitute oats and raisins for a chewy, hearty twist on the classic.
- Double Chocolate: Use cocoa powder in the dough and add chocolate chips for a chocolate lover’s dream.
- Bonus: Try adding a sprinkle of sea salt on top before baking for a sweet and salty flavor contrast!
FAQs – All Your Questions Answered!
Can I use brown sugar instead of white sugar?
Absolutely! Brown sugar adds moisture and depth of flavor, making your cookies even chewier.
How do I store leftover cookies?
Store them in an airtight container at room temperature for up to a week for optimal freshness.
Can I freeze the cookie dough?
Yes! You can scoop the dough into balls and freeze them. Just bake them straight from the freezer, adding a couple of extra minutes to the baking time.
What if my cookies spread too much?
If your cookies spread too much, try chilling the dough longer or ensuring your butter is cold! These small tweaks make a big difference.
Storage/Serving Tips
- Store cookies in an airtight container to keep them chewy.
- For longer storage, place in the fridge for up to two weeks.
- Serve warm with a glass of milk or coffee for the ultimate treat!
Perfect Occasions for Thick and Chewy Cookies
- Cozy family movie nights
- Classroom treats for students
- Holiday gatherings and parties
- After-school snacks for kids
- Gift-giving to friends and neighbors
- Weekend baking sessions with loved ones
The Complete Recipe
Thanks for sticking with me! Now, let’s get to the fun part – the recipe!
Thick and Chewy Cookies
Ingredients
- 2 1/4 cups all-purpose flour
- 1 teaspoon baking soda
- 1/2 teaspoon salt
- 3/4 cup cold unsalted butter, cubed
- 1 cup white sugar
- 1 cup packed brown sugar
- 2 large eggs
- 2 teaspoons vanilla extract
- 2 cups chocolate chips (or your choice of mix-ins)
Tip: Make sure your butter is really cold for that thick, chewy texture!
Extend ingredients section: You can customize your cookies with optional add-ins like nuts, dried fruit, or even a splash of espresso powder to enhance the chocolate flavor. Each ingredient plays a key role, from the flour that provides structure to the sugars that create that delightful chewiness we all love. Remember, quality ingredients make for the best cookies!
Step-by-Step Instructions
Step 1: Prepare Your Oven and Baking Sheets
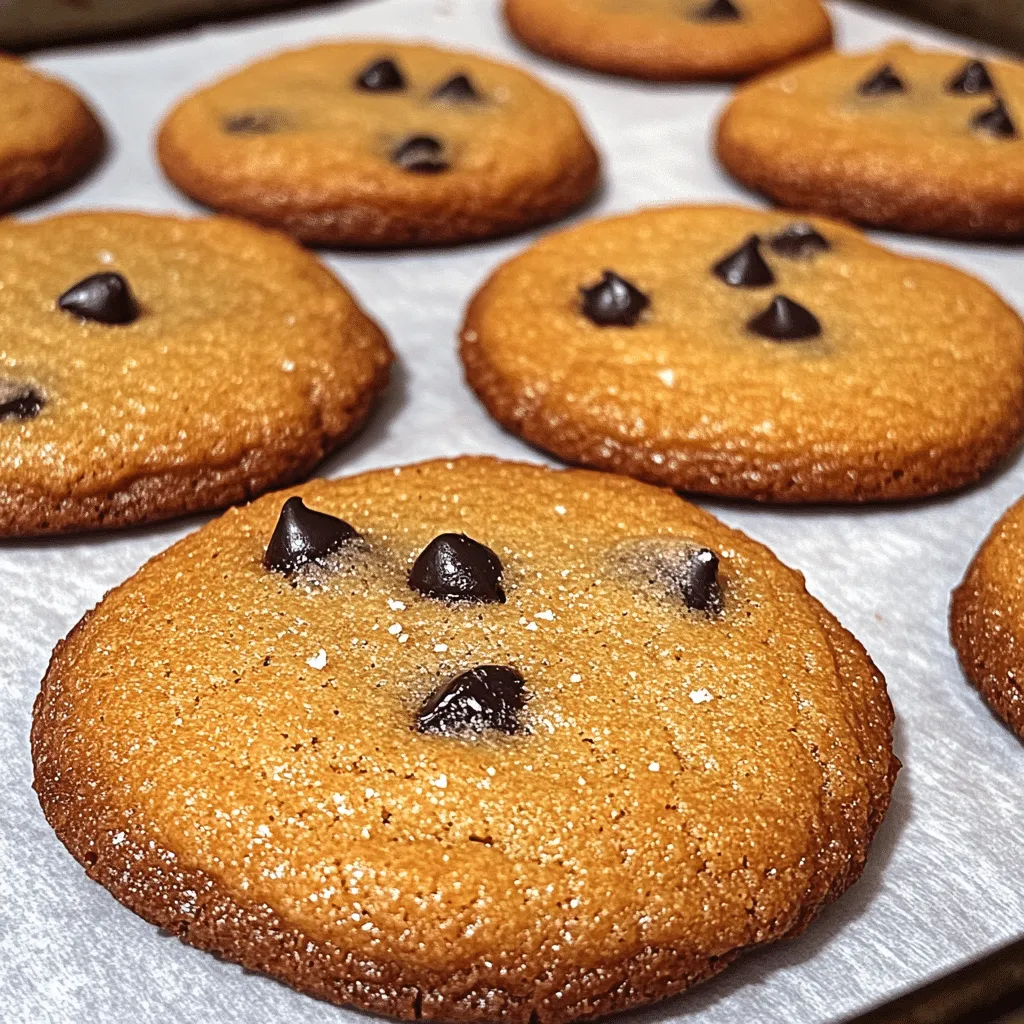
Preheat your oven to 350°F (175°C) and line your baking sheets with parchment paper. This step is essential to ensure your cookies don’t stick and to promote even baking.
Step 2: Mix Dry Ingredients
In a bowl, whisk together the flour, baking soda, and salt. This helps evenly distribute the leavening agent and ensures your cookies rise perfectly without any lumps.
Step 3: Cream Butter and Sugars
In a large mixing bowl, cream the cold butter with both sugars until light and fluffy. This process usually takes about 2-3 minutes. It’s crucial for creating the right texture, so don’t skip it!
Step 4: Add Eggs and Vanilla
Beat in the eggs one at a time, mixing well after each addition. Then stir in the vanilla extract. This adds flavor and moisture to your delicious cookies!
Step 5: Combine Wet and Dry Ingredients
Gradually add the dry mixture to the wet ingredients, mixing just until combined. Overmixing can lead to tougher cookies, so stop as soon as you don’t see any flour.
Step 6: Fold in Chocolate Chips
Gently fold in the chocolate chips or your chosen mix-ins. This is where you can let your creativity shine!
Step 7: Chill the Dough
Cover the dough and refrigerate for at least an hour. This step is a game-changer for thick and chewy cookies, helping them hold their shape during baking.
Step 8: Bake the Cookies
Scoop tablespoons of dough onto the prepared baking sheets, leaving space between each cookie. Bake for 10-12 minutes or until the edges are golden brown. The centers will look slightly underbaked, but they’ll firm up as they cool — trust the process!
Step 9: Cool and Enjoy!
Allow the cookies to cool on the baking sheets for about 5 minutes before transferring them to wire racks to cool completely. This helps them set and makes them even chewier!
Nutrition info (per cookie): Approximately 150 calories, 7g fat, 20g carbohydrates, 1g protein. These cookies are a delicious indulgence that’s worth every bite!
Extend instructions: If you find your cookies are too soft after baking, let them cool longer on the sheet. For a fun presentation, consider drizzling melted chocolate over the cooled cookies