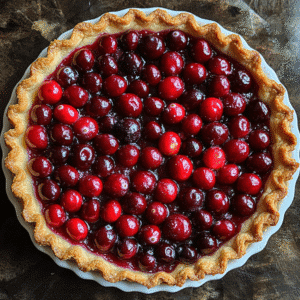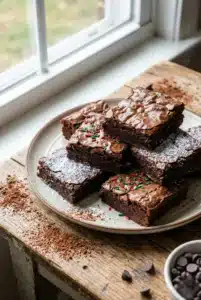
There’s something absolutely magical about the holiday season, and if you’re like me, it’s all about the Christmas chocolate desserts! I’ve made these decadent treats more times than I can count, and every single time, they disappear faster than you can say “Ho, ho, ho!” The combination of rich chocolate and tantalizing secret spices creates a flavor explosion that will have everyone asking for your recipe. Trust me, these desserts are a game-changer for any festive gathering!
Why You’ll Love This Christmas Chocolate Dessert
- Easy to Make: These desserts are simple enough for even the most novice bakers. You don’t need to be a chocolatier to impress!
- Versatile Options: You can customize these recipes to suit your taste or dietary needs. Swap ingredients or add your favorite flavors!
- Stunning Presentation: They look as good as they taste, making them perfect for holiday parties and family gatherings.
- Make-Ahead Convenience: You can prepare them in advance, leaving you more time to enjoy the festivities!
- Rich, Indulgent Flavors: Each bite is a delightful explosion of chocolatey goodness, elevated by those secret spices that you’ll just have to try for yourself.
The Secret to Perfect Christmas Chocolate Desserts
The magic lies in the secret spices! Incorporating spices like cinnamon, nutmeg, or even a hint of chili powder can take your chocolate desserts from ordinary to extraordinary. Trust me, just a pinch of these spices adds depth and warmth that will have everyone guessing your secret ingredient. I always recommend tasting your batter as you go, adjusting the spices to your personal preference. With this little tip, you’ll gain the confidence to whip up chocolate desserts that are truly unforgettable!
Rave Reviews from Friends and Followers
“I made these chocolate desserts for my holiday party, and they were a hit! Everyone wanted the recipe!” – Sarah L.
“The secret spices made all the difference! I can’t believe how easy they were to make!” – Jason R.
“These desserts are now a holiday tradition in our family! Thank you for sharing!” – Emily T.
Creative Variations to Try
- Mint Chocolate Delight: Add peppermint extract for a refreshing twist that’s perfect for Christmas.
- Spicy Mocha: Combine espresso powder with a dash of cayenne pepper for a kick that coffee lovers will adore.
- Orange Zest Joy: Incorporate orange zest into your batter for a citrusy boost that pairs beautifully with chocolate.
- Nutty Bliss: Fold in chopped nuts like walnuts or hazelnuts for added crunch and flavor.
Bonus: Try drizzling your finished desserts with a homemade chocolate ganache for an extra touch of decadence!
FAQs – All Your Questions Answered!
Can I store these desserts? Yes! They can be stored in an airtight container for up to a week. Just be sure to keep them in a cool, dry place.
Can I substitute ingredients? Absolutely! You can use gluten-free flour or dairy-free chocolate to accommodate dietary restrictions.
What if my batter is too thick? Add a splash of milk or water to loosen it up. It should be pourable but not runny.
How can I make these desserts more festive? Top them with seasonal sprinkles or edible glitter for a fun holiday touch!
Storage/Serving Tips
- Store in an airtight container to maintain freshness.
- These desserts can last up to a week at room temperature, or up to two weeks in the fridge.
- Serve warm with a scoop of vanilla ice cream for an indulgent treat!
Perfect Occasions for Christmas Chocolate Desserts
- Christmas parties with family and friends
- Office holiday celebrations
- Cozy movie nights at home
- Cookie exchanges with neighbors
- New Year’s Eve gatherings
The Complete Recipe
Thank you for sticking around! Let’s dive into making these irresistible Christmas chocolate desserts.
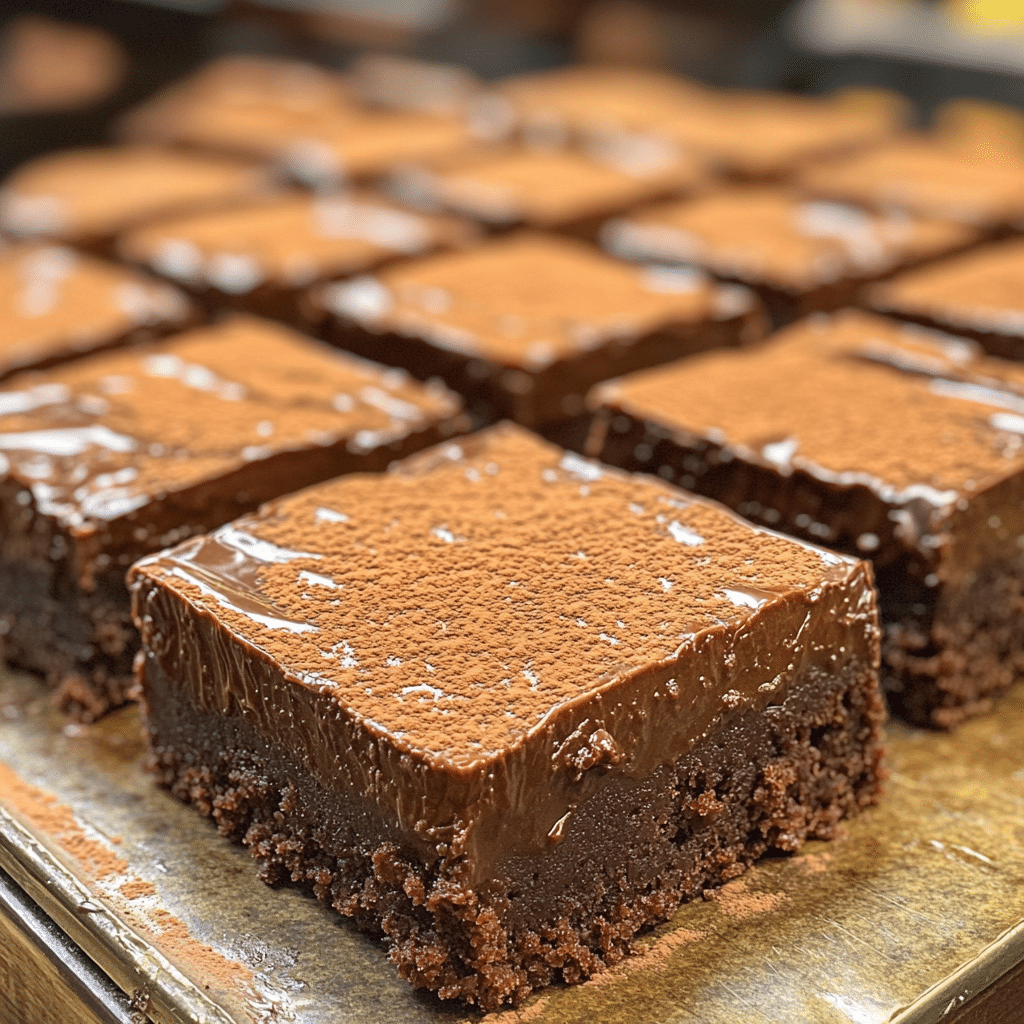
Christmas Chocolate Desserts
Ingredients
- 1 cup all-purpose flour
- 1/2 cup unsweetened cocoa powder
- 1 cup granulated sugar
- 1/2 cup unsalted butter, melted
- 2 large eggs
- 1 teaspoon vanilla extract
- 1 teaspoon cinnamon (or your secret spice of choice)
- 1/4 teaspoon salt
Tip: Make sure your butter is completely melted and cooled before mixing it with the eggs to prevent curdling. Each ingredient plays a vital role in the overall flavor and texture of your chocolate dessert!
Step-by-Step Instructions
Step 1: Preheat Your Oven
Begin by preheating your oven to 350°F (175°C). This ensures your desserts bake evenly and come out perfectly fluffy. While your oven is warming up, go ahead and grease or line your baking pan.
Step 2: Combine Dry Ingredients
In a mixing bowl, whisk together the flour, cocoa powder, sugar, cinnamon, and salt. This step is crucial for evenly distributing the cocoa and spices, ensuring every bite is packed with flavor.
Step 3: Mix Wet Ingredients
In another bowl, beat the eggs and then mix in the melted butter and vanilla extract. Whisk until well combined. The melted butter adds richness, while the eggs provide structure to your desserts.
Step 4: Combine Mixtures
Pour the wet ingredients into the dry ingredients and stir gently until just combined. Be careful not to overmix; you want a tender texture! If you’re adding any optional ingredients like nuts or chocolate chips, fold them in now.
Step 5: Bake!
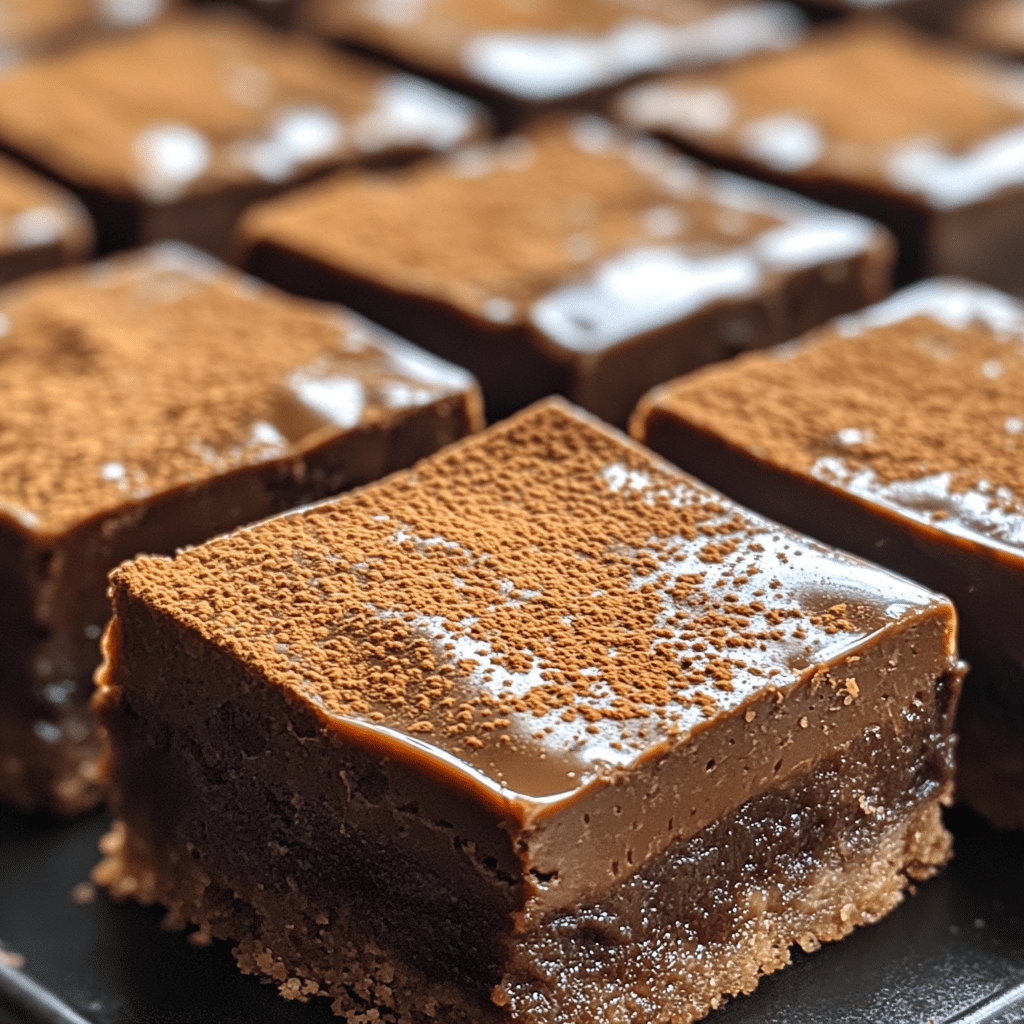
Pour the batter into your prepared baking pan and smooth the top. Bake for about 25-30 minutes, or until a toothpick inserted in the center comes out clean. The aroma wafting through your kitchen will be heavenly!
Step 6: Cool and Serve
Once baked, allow your desserts to cool in the pan for about 10 minutes before transferring them to a wire rack. This helps them set perfectly. Once cooled, slice into squares and serve them warm or at room temperature, and watch as your guests rave about them!
Nutrition Info: Each serving contains approximately 200 calories, depending on the size of your slices. Enjoy in moderation!
Final Thoughts
There you have it! A delightful recipe for Christmas chocolate desserts that will not only satisfy your sweet tooth but will also impress your friends and family. These treats are truly special, bursting with rich flavors and the warmth of holiday spices. I can’t wait for you to try them out and share your own experiences! Happy baking!