Christmas is one of my absolute favorite times of the year, filled with joy, laughter, and, of course, delicious treats! Every year, I make it a tradition to whip up a variety of Christmas finger desserts that are just perfect for festive gatherings. Trust me, I’ve made these delightful bites countless times, and they never fail to impress! Whether it’s for a holiday party, a family get-together, or simply to share with friends, these little sweet morsels are always a hit. Let me take you on a journey through my top picks that are not only easy to make but also bursting with flavor and charm!
Why You’ll Love These Christmas Finger Desserts
- Easy to Make: With straightforward recipes, you can whip these up in no time, leaving you with more moments to enjoy the festivities.
- Versatile Flavors: From rich chocolate to fruity delights, there’s something for everyone, making them perfect for diverse palates.
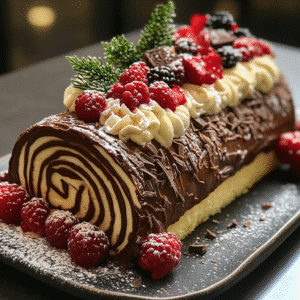
- Visually Stunning: These desserts aren’t just tasty; they’re a feast for the eyes and will wow your guests!
- Make-Ahead Convenience: Many of these recipes can be prepared in advance, allowing you to save time on the big day.
- Perfect for Sharing: Bite-sized treats mean everyone can indulge without feeling guilty—just a few sweet bites!
The Secret to Perfect Christmas Finger Desserts
The key to nailing these fabulous Christmas finger desserts is all about using high-quality ingredients and mastering a few essential techniques. For instance, when making chocolate-based treats, always opt for good-quality chocolate. It truly makes a difference in flavor and texture! Another insider tip is to let your desserts cool completely before decorating or serving. This helps maintain their structure and makes them easier to handle. Trust me, once you get these basics down, you’ll feel like a holiday baking pro!
Rave Reviews from Friends and Followers
“These finger desserts were the highlight of our Christmas party! Everyone kept asking for the recipes!” – Sarah M.
“I’ve made them for our family gatherings for years; they’re always a hit with the kids and adults alike!” – Tom R.
“I can’t believe how easy they are to make! They taste like they’re straight from a bakery!” – Lisa P.
Creative Variations to Try
- Peppermint Chocolate Bites: Add crushed peppermint candies to your chocolate desserts for a festive twist.
- Fruit and Nut Medley: Incorporate dried fruits and nuts for a chewy, crunchy texture in your bars.
- Spiced Gingerbread Cookies: Switch up your dessert game with spiced gingerbread bites for a holiday classic.
- Nutella-Stuffed Mini Muffins: Who wouldn’t love a gooey Nutella surprise inside a fluffy mini muffin?
Bonus: Consider using edible glitter or sprinkles for an added festive flair that’s sure to catch the eye!
FAQs – All Your Questions Answered!
Can I make these desserts ahead of time?
Absolutely! Many of these desserts can be made a day or two in advance. Just store them in an airtight container to keep them fresh.
What’s the best way to store these finger desserts?
Store them in a cool, dry place in an airtight container. Most will last about 3-5 days, depending on the ingredients.
Can I substitute ingredients?
Yes! For example, you can use almond flour instead of regular flour for a gluten-free option. Just be sure to adjust baking times accordingly.
What if my desserts don’t hold their shape?
If you find that they’re too soft, it could be due to underbaking or too much moisture. Make sure to follow the recipe measurements closely and bake them until set.
Storage/Serving Tips
- Keep your finger desserts in an airtight container to maintain freshness.
- Most of these delights can be stored at room temperature for up to 5 days.
- For desserts with cream cheese or whipped cream, refrigerate them to ensure they stay safe and delicious.
- Serve on festive platters or tiered stands for a stunning presentation at your holiday gatherings!
Perfect Occasions for Christmas Finger Desserts
- Holiday parties with family and friends
- Office holiday celebrations
- Cookie exchanges or bake-offs
- Christmas brunch or dinner gatherings
- New Year’s Eve parties
The Complete Recipe
Thank you for joining me on this delicious adventure! Now, let’s dive into the recipe that will have everyone raving.
Christmas Finger Desserts
Ingredients
- 1 cup all-purpose flour
- 1/2 cup unsweetened cocoa powder
- 1/2 cup sugar
- 1/2 cup butter, softened
- 2 large eggs
- 1 tsp vanilla extract
- 1/4 tsp salt
- 1 cup chocolate chips
- 1 cup powdered sugar (for dusting)
Tip: Ensure your butter is at room temperature for easier mixing and a smoother batter.
Optional Add-Ins: Feel free to mix in crushed peppermint candies or chopped nuts to give your desserts a unique twist!
Step-by-Step Instructions
Step 1: Preheat Your Oven
Start by preheating your oven to 350°F (175°C). This ensures that your desserts bake evenly and come out perfectly fluffy!
Step 2: Mix the Dry Ingredients
In a medium bowl, whisk together the flour, cocoa powder, and salt. This step is crucial as it evenly distributes the cocoa, ensuring every bite is chocolatey goodness.
Step 3: Cream the Butter and Sugar
In a large bowl, cream together the softened butter and sugar until light and fluffy. This usually takes about 2-3 minutes. The fluffiness of the mixture adds air, which is essential for a light texture.
Step 4: Add Eggs and Vanilla
Beat in the eggs one at a time, then stir in the vanilla extract. Mixing well after each addition will help your desserts rise beautifully!
Step 5: Combine Wet and Dry Ingredients
Gradually add the dry mixture to the wet mixture, stirring until just combined. Avoid overmixing to keep your desserts tender—no one likes a tough bite!
Step 6: Fold in Chocolate Chips
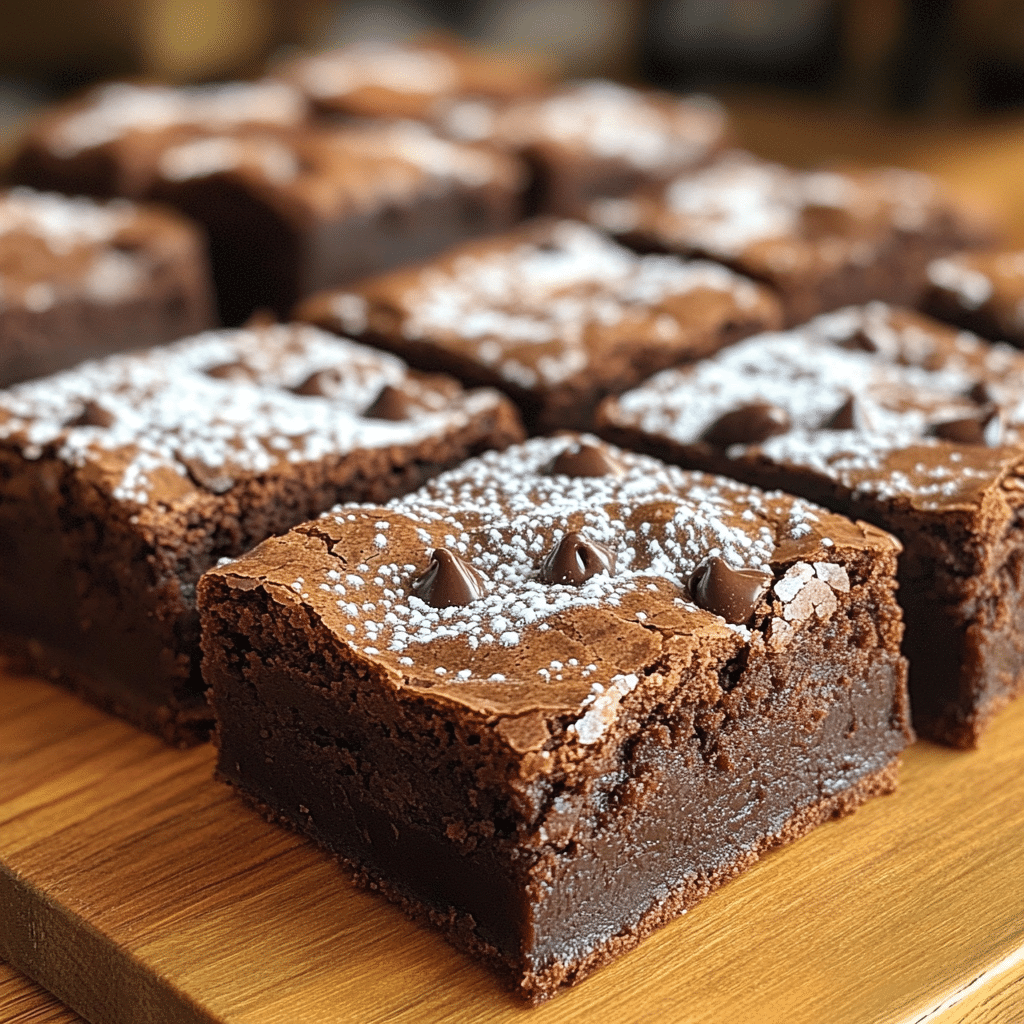
Gently fold in the chocolate chips for that irresistible melty surprise in every bite. It’s the little things that make a huge difference.
Step 7: Bake
Pour the batter into a greased baking pan and spread it evenly. Bake for about 20-25 minutes or until a toothpick inserted into the center comes out clean. Your kitchen will smell heavenly during this time!
Step 8: Cool and Dust
Once baked, let your desserts cool in the pan for 10 minutes before transferring them to a wire rack. Once completely cool, dust with powdered sugar for that festive touch!
Nutrition per serving: Approximately 150 calories, with 7g fat and 2g protein.
Final Thoughts
I can’t express enough how special these Christmas finger desserts are to me and how they elevate every holiday