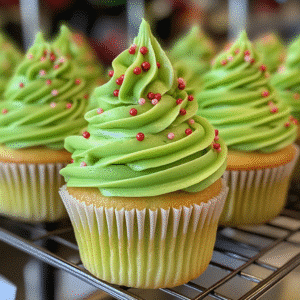
Oh my goodness, friends! If there’s one thing I look forward to every holiday season, it’s whipping up a batch of delightful mini Christmas desserts. I can’t tell you how many times I’ve made these little festive bites—trust me, it’s been a lot! Each time, I’m met with the same wide-eyed excitement from friends and family. They’re not just desserts; they’re little pieces of joy that spread holiday cheer with every sweet bite. Today, I’m excited to share my favorite mini Christmas desserts that’ll impress your guests and elevate your holiday celebrations!
Why You’ll Love These Mini Christmas Desserts
- Easy to Make: These desserts come together quickly, making them perfect for busy holiday schedules.
- Visually Stunning: Mini desserts are always a showstopper at gatherings and look fabulous on any dessert table.
- Versatile Flavors: You can play with various flavors and ingredients to match your festive mood.
- Make-Ahead Convenience: Many of these treats can be prepared in advance, saving you time on the big day.
- Perfect Portion Sizes: Because they’re mini, they satisfy your sweet tooth without the guilt of a large dessert.
The Secret to Perfect Mini Christmas Desserts
The real magic behind these mini Christmas desserts lies in their balance of flavors and textures. Whether it’s the rich creaminess of chocolate or the refreshing zing of peppermint, the key is to use high-quality ingredients. I’ve learned that fresh spices and premium chocolates make a world of difference. For instance, when I make peppermint bark, I always opt for real peppermint extract instead of artificial flavoring—it elevates the dessert to a whole new level. Trust me, anyone can make these with just a few insider tips and a bit of practice!
Rave Reviews from Friends and Followers
“These mini Christmas desserts are a hit! Everyone raved about the flavors at our holiday party!” — Sarah T.
“I can’t believe how easy these were to make! They looked so impressive on the table.” — James R.
“I made these for my coworkers, and they disappeared in minutes. I’ll definitely be making them again!” — Emily K.
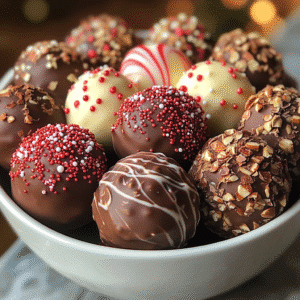
Creative Variations to Try
- Chocolate Peppermint Bites: Swap out regular chocolate for dark chocolate for a richer flavor.
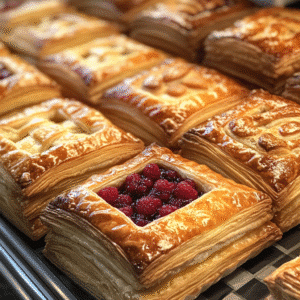
- Fruit and Nut Mini Tarts: Use seasonal fruits like cranberries or pomegranates for a fresh twist.
- Gingerbread Cookie Cups: Fill gingerbread cups with spiced cream cheese frosting for a festive treat.
- Eggnog Cheesecake Bites: Add a splash of eggnog to your cheesecake filling for a holiday twist.
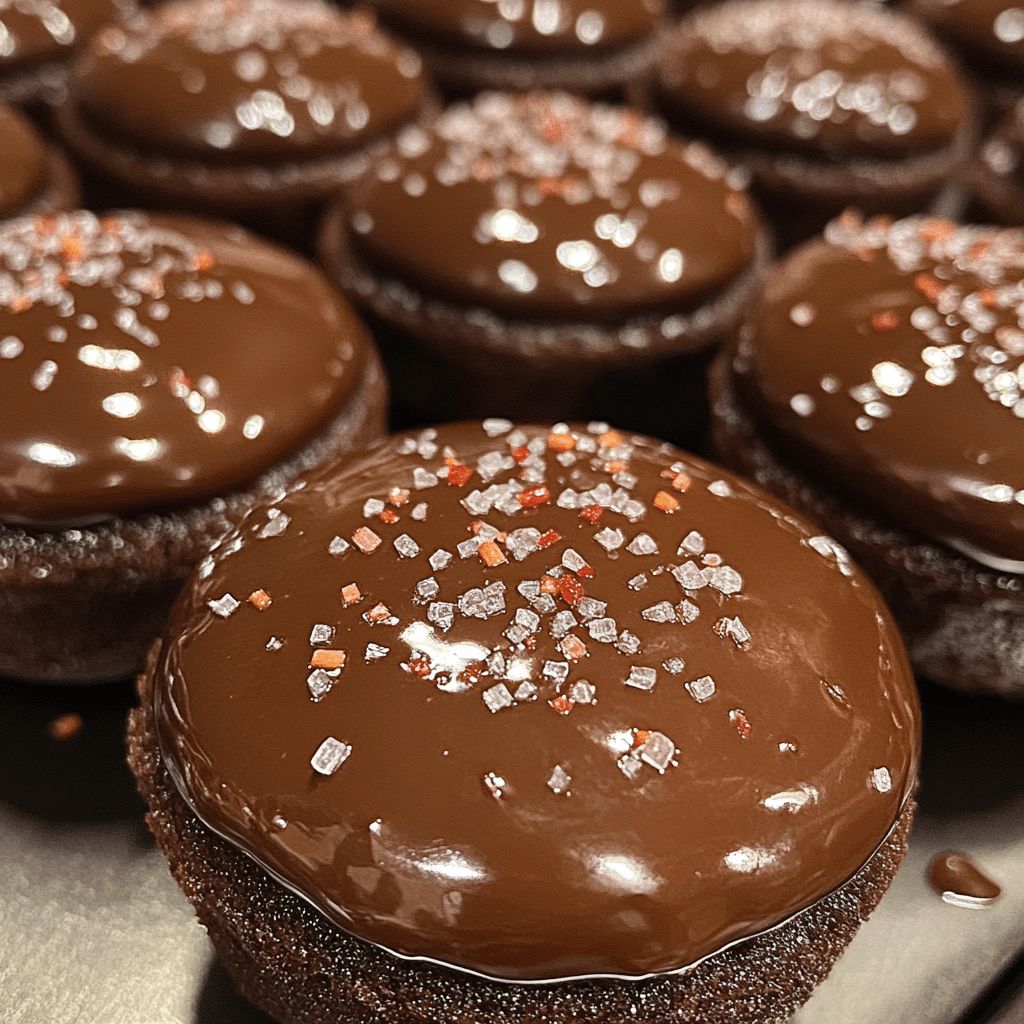
Bonus: Try adding a sprinkle of sea salt to your chocolate desserts for a delightful contrast!
FAQs – All Your Questions Answered!
Can I make these mini desserts ahead of time?
Absolutely! Many of these desserts can be made a day or two in advance. Just store them in an airtight container to keep them fresh.
What’s the best way to store these treats?
Keep them in a cool, dry place. Most mini desserts stay fresh for about 3-5 days, but check for any specific storage needs based on your ingredients.
Can I substitute ingredients?
Definitely! Feel free to swap out nuts for allergies or use gluten-free options if needed. Just keep in mind that it may alter the final texture or flavor slightly.
How can I make these vegan?
You can often replace dairy ingredients with plant-based alternatives. For instance, use coconut cream instead of heavy cream and a flax egg in place of regular eggs.
Storage/Serving Tips
- Store mini desserts in a single layer to prevent them from sticking together.
- Consider refrigeration for desserts with cream fillings to keep them fresh.
- Serve on a festive platter for a beautiful presentation that highlights their mini charm.
- Pair these treats with a warm beverage, like hot cocoa, for a cozy experience.
Perfect Occasions for Mini Christmas Desserts
- Holiday office parties
- Family gatherings and reunions
- Festive brunches with friends
- Cookie exchanges
- New Year’s Eve celebrations
- Christmas Eve dessert tables
- Winter birthday parties
The Complete Recipe
Thank you for following along! Now let’s dive into the recipe for these delightful mini Christmas desserts.
Mini Christmas Desserts
Ingredients
- 1 cup all-purpose flour
- 1/2 cup unsweetened cocoa powder
- 1/2 cup granulated sugar
- 1/2 cup butter, softened
- 2 large eggs
- 1 teaspoon vanilla extract
- 1/2 teaspoon peppermint extract (optional)
- 1/4 teaspoon salt
- 1 cup mini chocolate chips
Tip: If you want to add a little flair, consider using festive sprinkles or crushed candy canes for topping.
Extend ingredients section:
- All-Purpose Flour: Provides structure to your mini desserts.
- Cocoa Powder: Choose high-quality cocoa for the best chocolate flavor.
- Granulated Sugar: Balances the flavors and adds sweetness.
- Butter: Adds richness; make sure it’s softened for easy mixing.
- Eggs: Help bind the ingredients and create a light texture.
- Chocolate Chips: Use semi-sweet or dark chocolate for a decadent touch.
Step-by-Step Instructions
Step 1: Preheat the Oven
Begin by preheating your oven to 350°F (175°C). This ensures that your mini desserts bake evenly and rise beautifully.
Step 2: Mix Dry Ingredients
In a mixing bowl, whisk together the flour, cocoa powder, sugar, and salt. This step is crucial as it evenly distributes the dry ingredients, preventing clumps in your batter.
Step 3: Cream Butter and Add Eggs
In a separate bowl, cream the softened butter until smooth. Then, add the eggs one at a time, mixing well after each addition. This creates a fluffy base for your desserts.
Step 4: Combine Mixtures
Gradually add your dry ingredients to the wet mixture, stirring until just combined. Be careful not to overmix; you want a tender texture. Fold in the mini chocolate chips for that extra indulgence!
Step 5: Bake
Pour the batter into mini muffin tins, filling each cup about 2/3 full. Bake for around 12-15 minutes, or until a toothpick inserted in the center comes out clean. The smell will be heavenly!
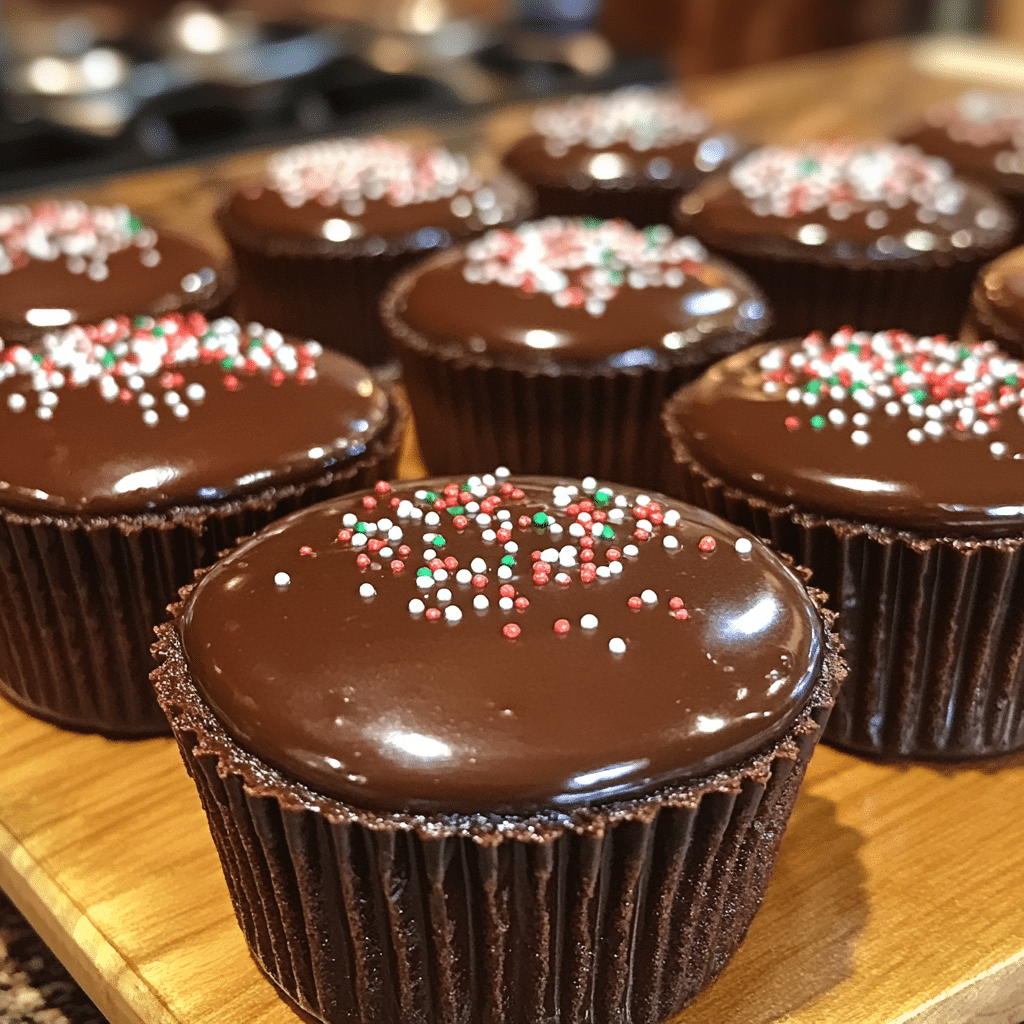
Step 6: Cool and Decorate
Once baked, allow the desserts to cool in the pan for a few minutes before transferring them to a wire rack. This is where you can get creative with decorations—think whipped cream, sprinkles, or a drizzle of chocolate.
Nutrition info (per serving): approximately 150 calories, 8g fat, 20g carbohydrates, and 2g protein.
Extend instructions: If you want to impress your guests, consider dusting the tops with powdered sugar right before serving for a snowy effect!
Final Thoughts
There you have it—my go-to mini Christmas desserts that are sure to become a staple